|
Bass 8: Diary 3 Five string 50's inspired P bass --------- o ---------- I've not built a P bass yet, which is a suprise considering a single pickup MM was my first bass. While I was considering this, I thought that if I'm going to build a P bass...then I might as well go right back to the very beginning of the electric bass guitar and draw some inspiration from the bass that started it all. That menas that the primary pickup needs to be a single coil P bass PU. Probably hand wound for me by either Kent, Arron or Nordstrand and it needs to be a noiseless PU. The question is which other pickup do I pair with it. It's a bass that is intended for flat wound strings for that 50's sound and although it's a 5 string it'll have a high C and not a low B. Low B flats sound pretty bad to my ears. I'll probably make the string spacing quite wide, either 18 or 19mm at the bridge. I like the idea of a MM in the bridge placement. That Pick up with with a coil tap switch will offer a range of P/MM/J sounds and be really neat looking. The other idea is for a pair of J's either side of the single coil P. That would full fill two specific bass roles rather well. I could go even wilder and fit a MM and a single Jazz. Or I could try and break with traditional spacing and fit a pair of J's, a split P and a single coil P, but that might be pushing it a bit too far. Between page 2 and 3 of this diary a lot has happened in my world. I got married, sold our house (loosing my workshop), changed job and then we moved area and bought a house (that needs a lot of work). So this build has had an 13 month hiatus. So in order to re-start this build, I've had to unpack and fit out my garage space as a workshop and also work out how I'm going to spray the finish without any gear or former knowledge of spray painting.
---------- o ----------
|
|
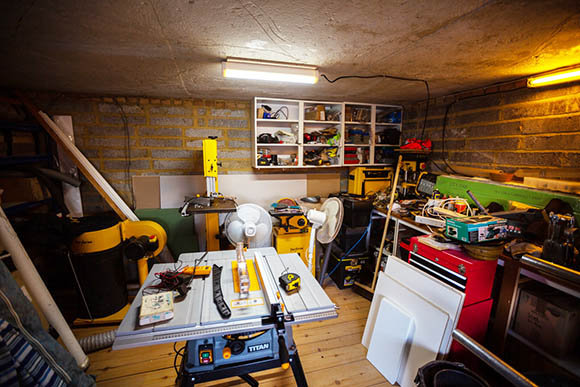
My new Guitar Making workshop / space
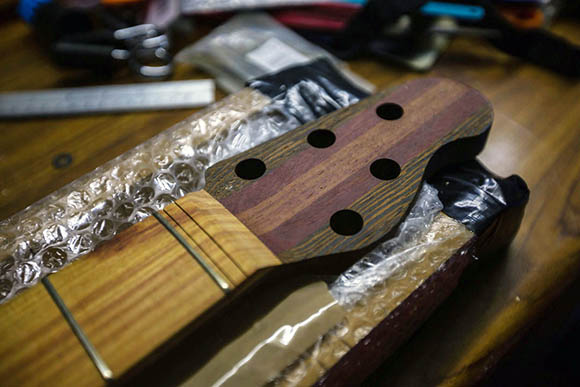
Unpacking the stored bits...this has been in storage fro the last 6 months
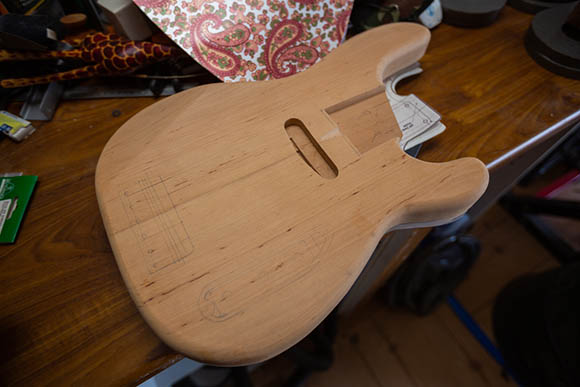
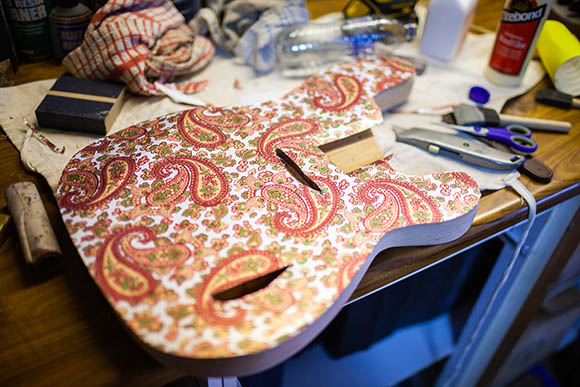
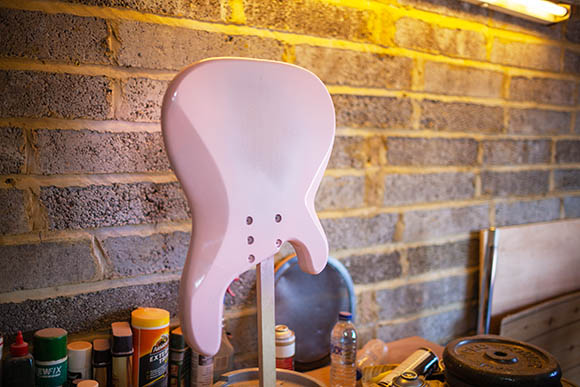
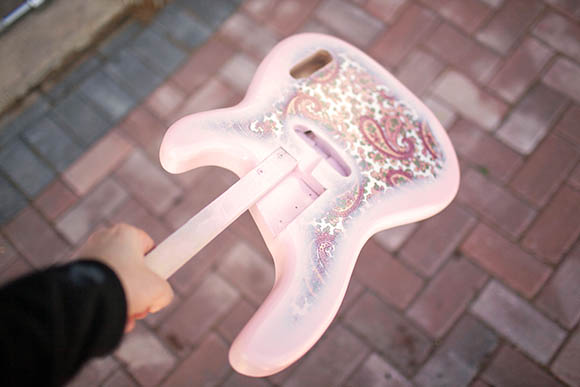
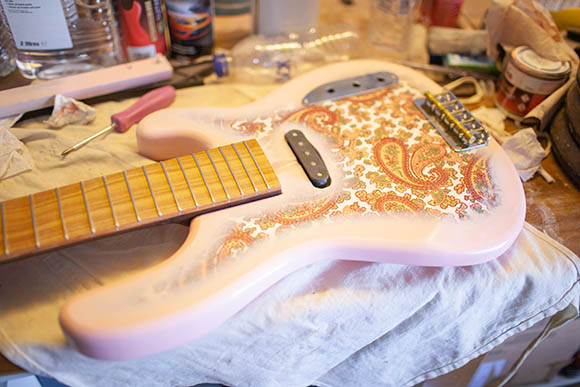
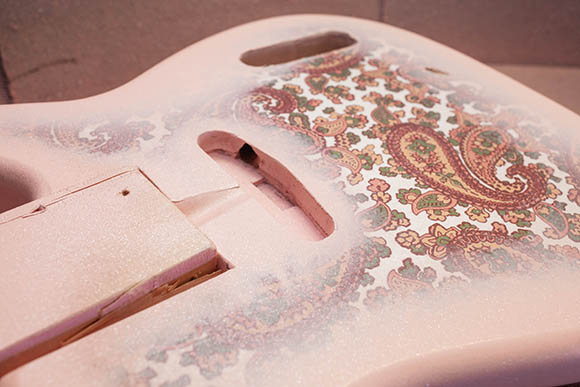
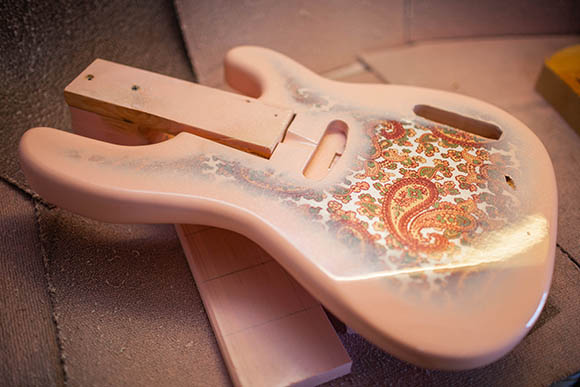
IUnpacking the body and getting ready to afix the paisley paper
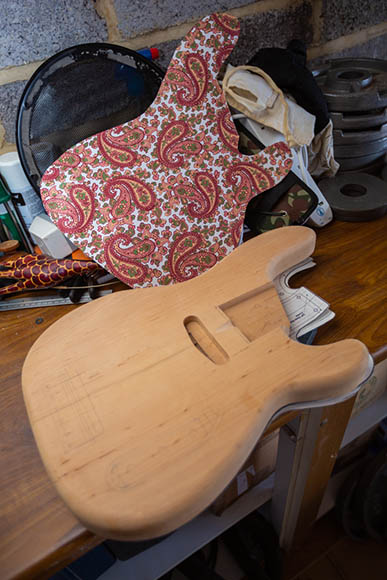
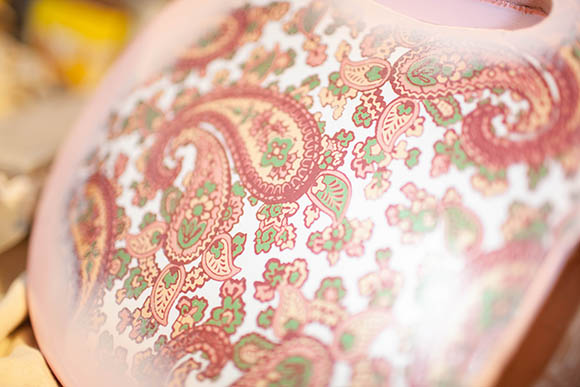
That's the paisely paper unpacked
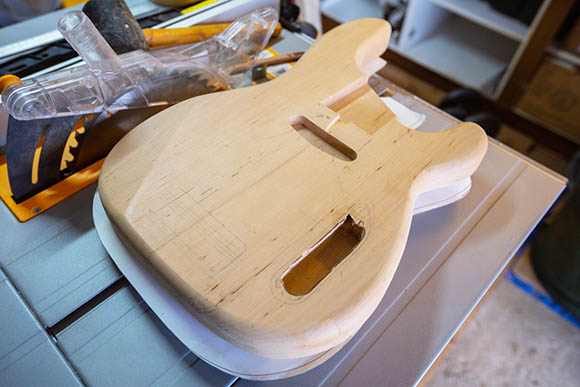
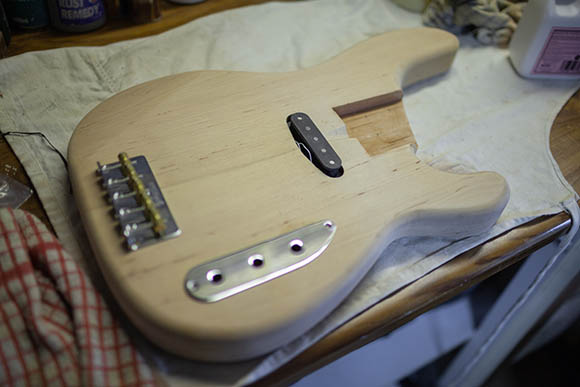
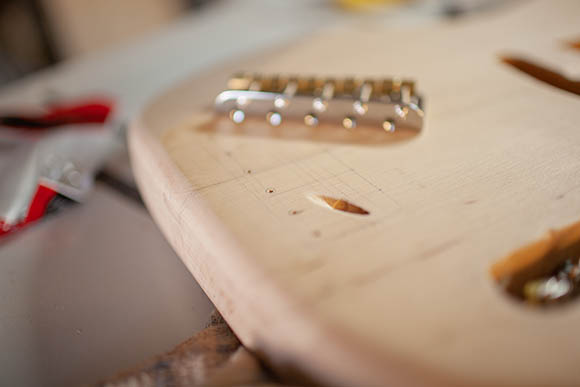
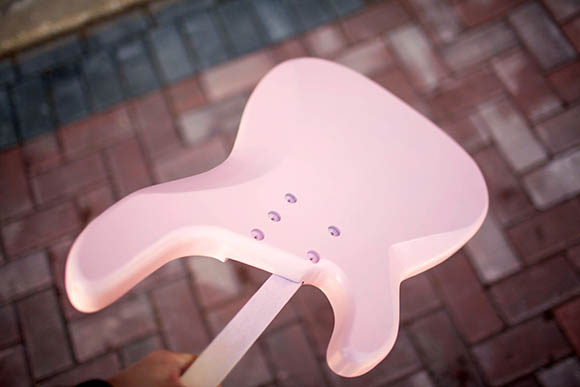
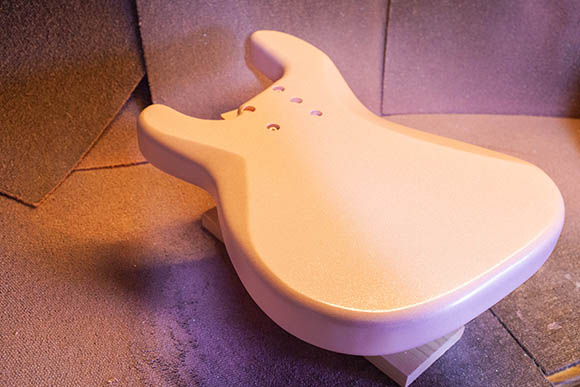
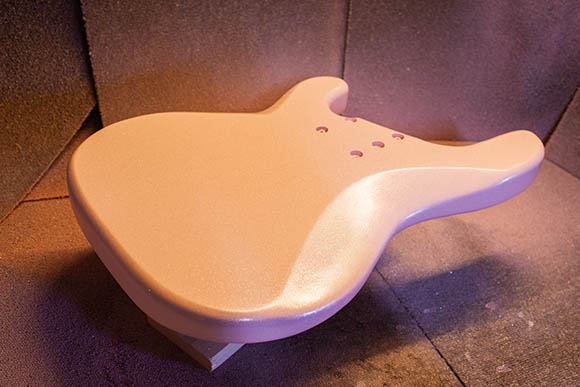
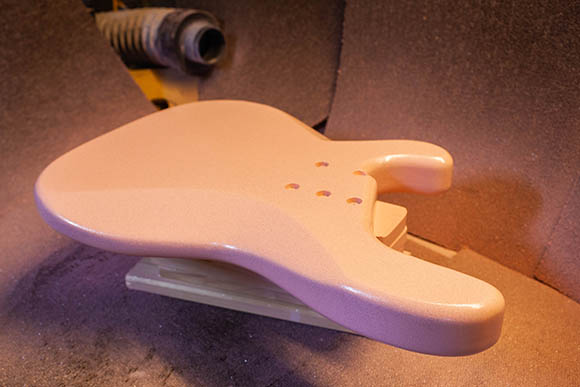
A routs to the the body to deepen the channels / cavities and pocket
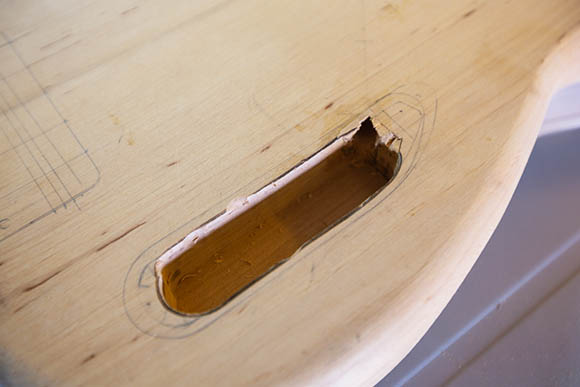
The pickup hole needed deepening
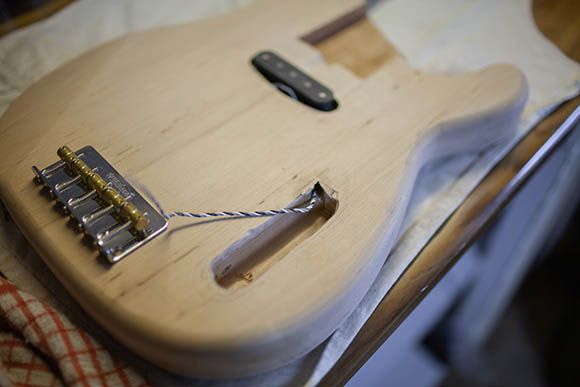
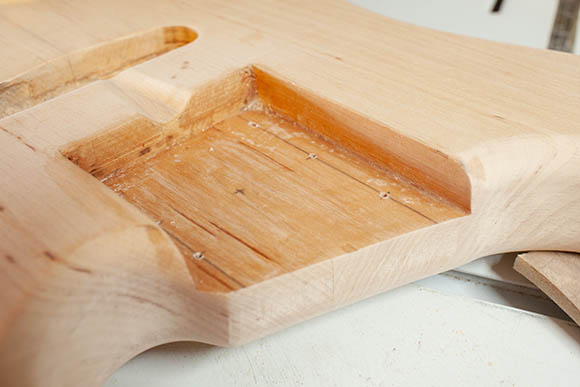
I routed out the control cavity...not my best work
...but it'll be covered with a chrome plate
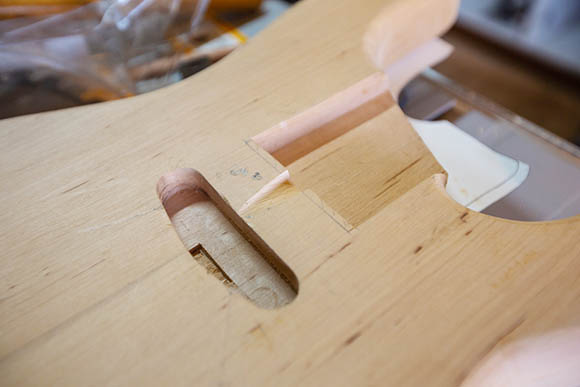
I drilled out the pickup to control cavity channel
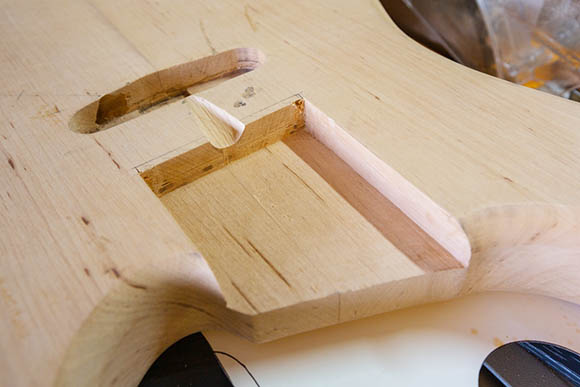
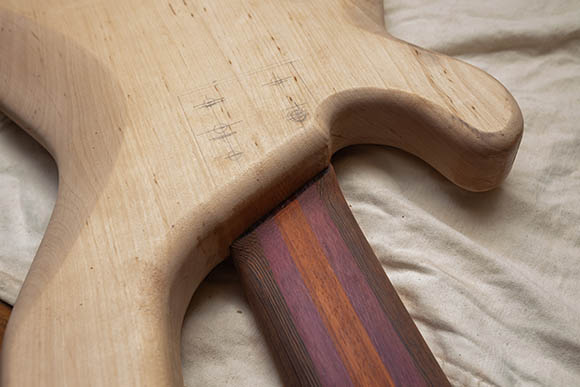
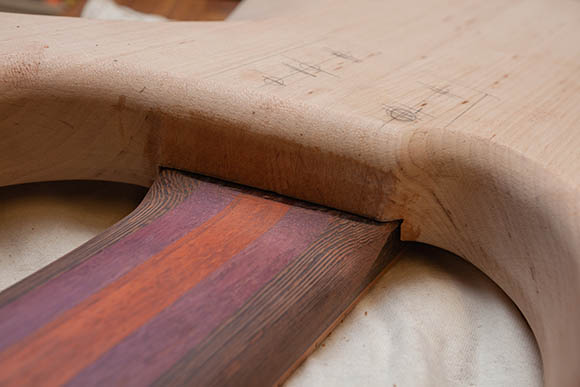
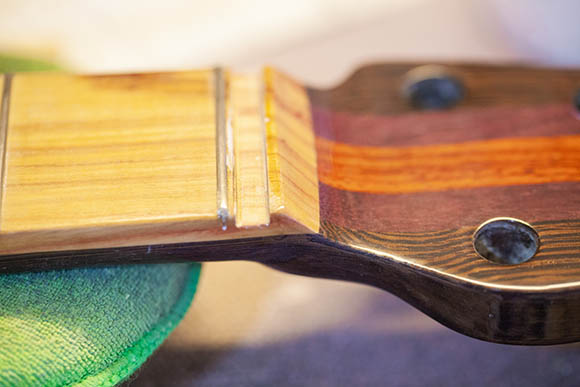
The neck pocket needed to be deeper. This routed a lot better then the cavity hole! I also enlarged the truss rod access channel
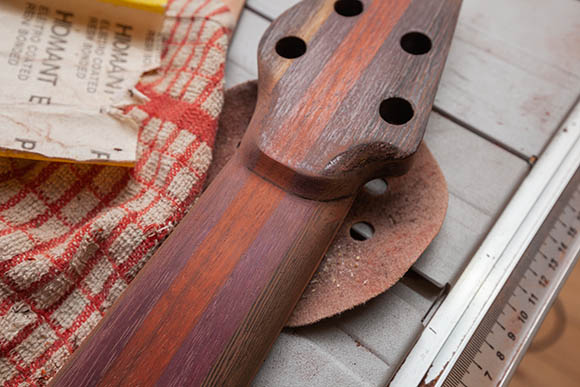
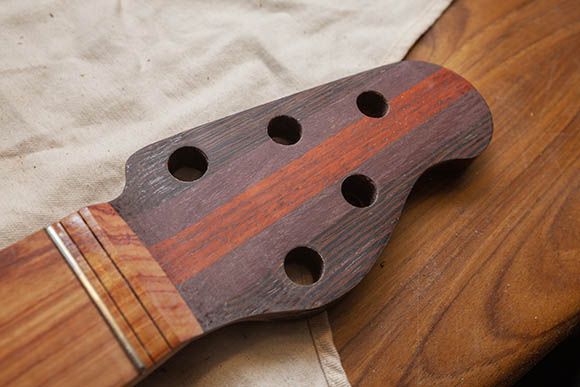
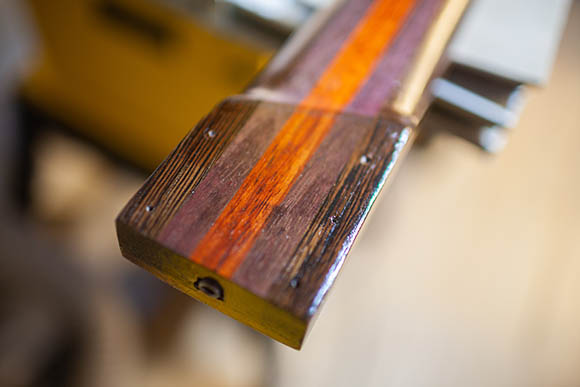
Lots of sanding around the volute and neck to headstock transition
The neck needed a lot of final shaping and sanding
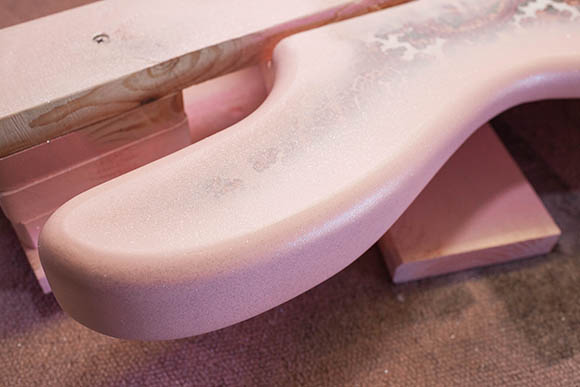
The neck heel needed carving and sanding to look smooth
That's nice and smooth looking
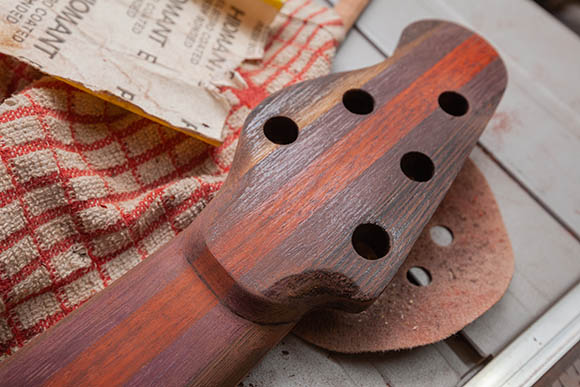
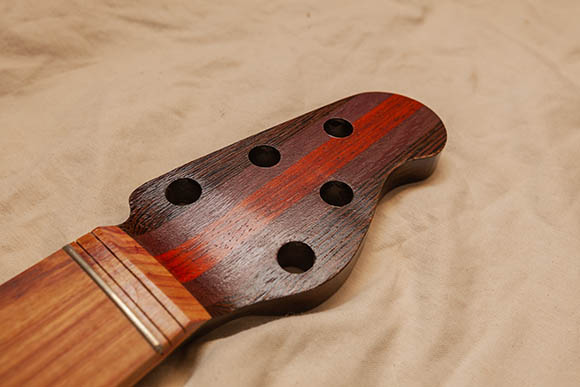
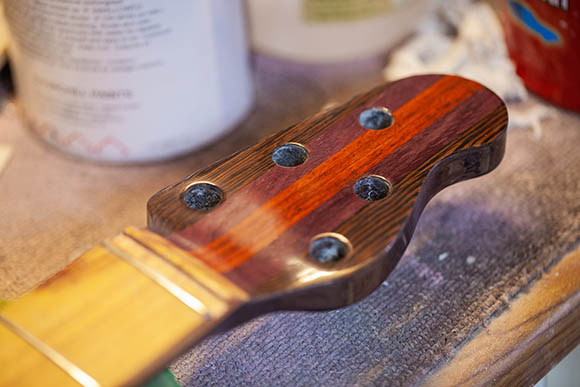
Finish sand to the headstock
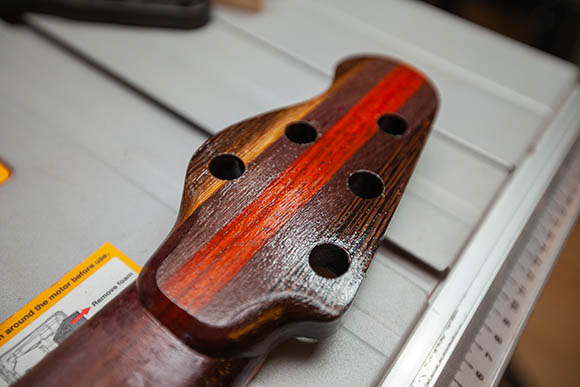
1st sealer coat of Acrylic Poly lacquer
1st sealer coat of Acrylic Poly lacquer, this gets sanded right back after a few days
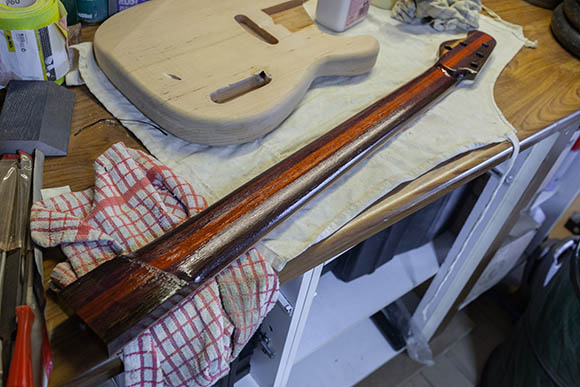
2nd coat of lacquer, brushed on with a foam pad. nice and thick
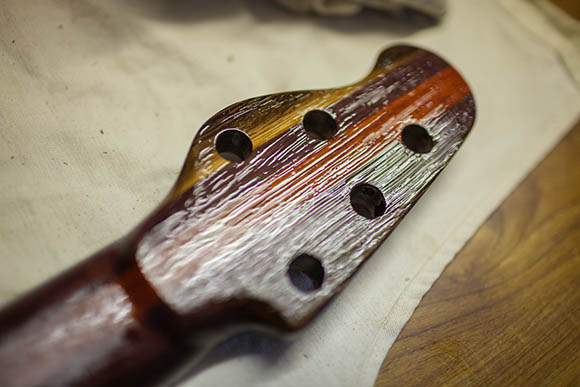
2nd coat a;; over the neck. I'll leave this for 3-4 days to harden and then flatten back with 1200 grit
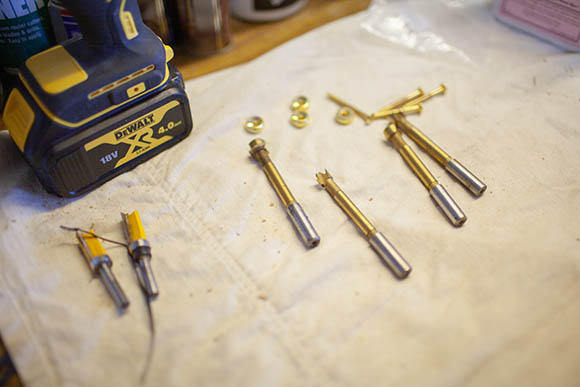
Forsner bits to the ready....
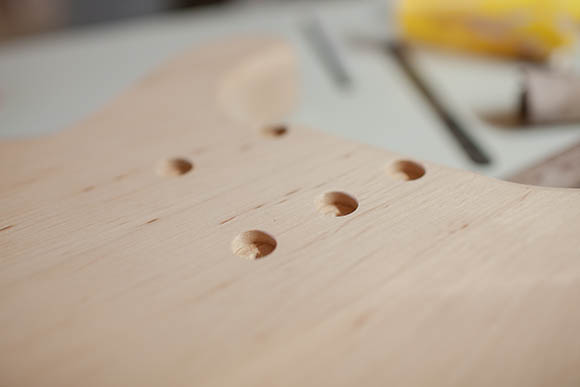
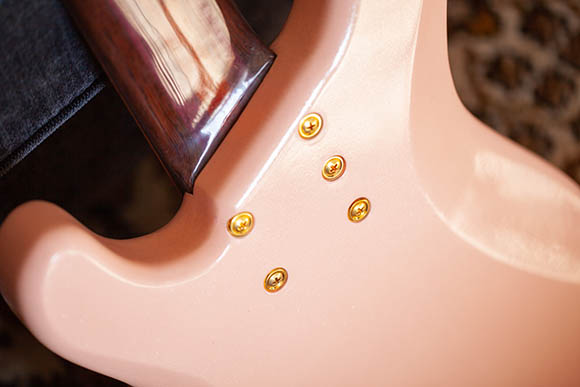
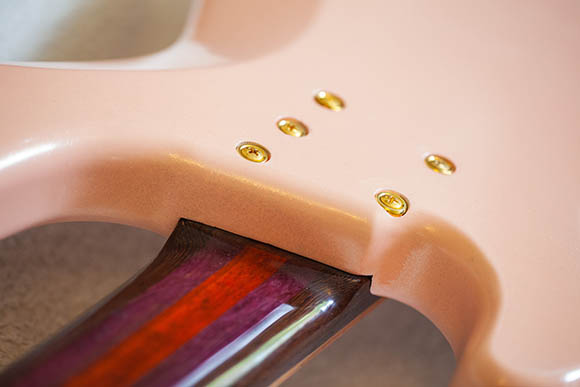
Neck pocket holes and cup holes are drilled....a 5 string needs 5 screws right?
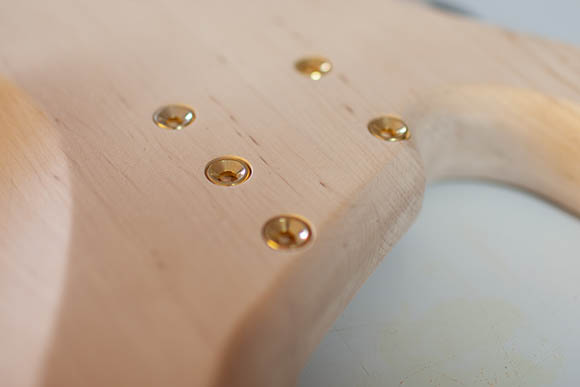
The gold screw cups fit like a glove and look really nice
The other side after drilling
The neck underside - post drilling
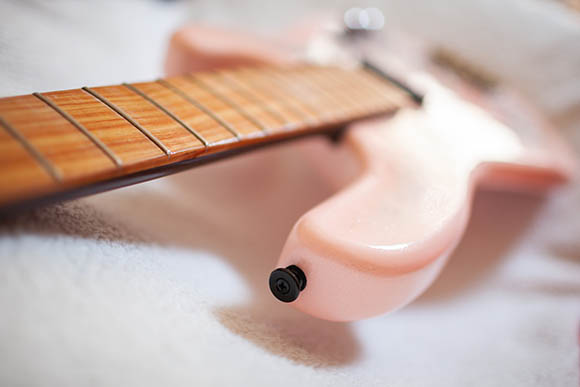
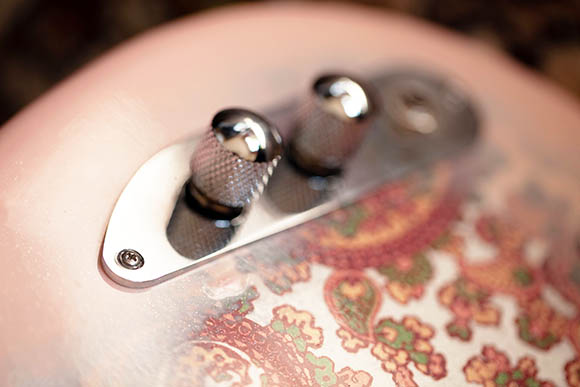
Drilled out bridge earth strap hole
The brushed on acrylic lacquer is getting a nice build
I think it'll need about 10 coats in total with a light sand inbetween each coat. Unlike Nitro...it doesn't blend into the previous coat...each coat sits on top of the last coat
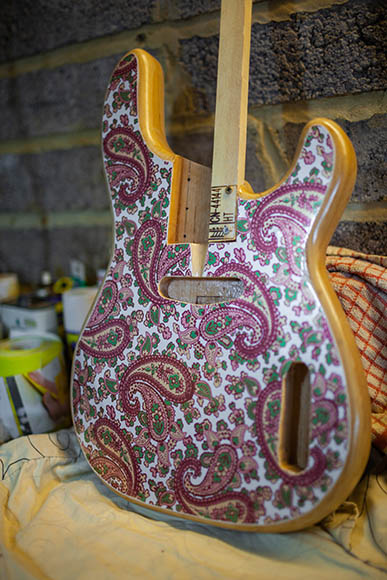
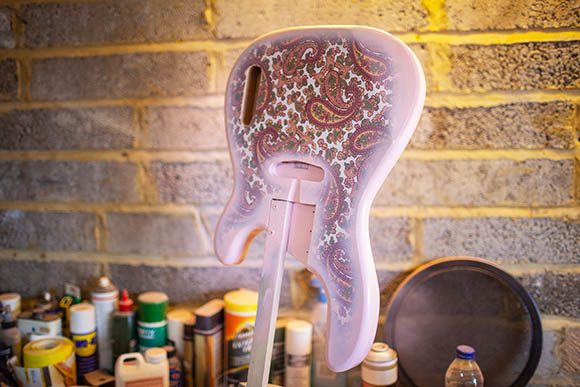
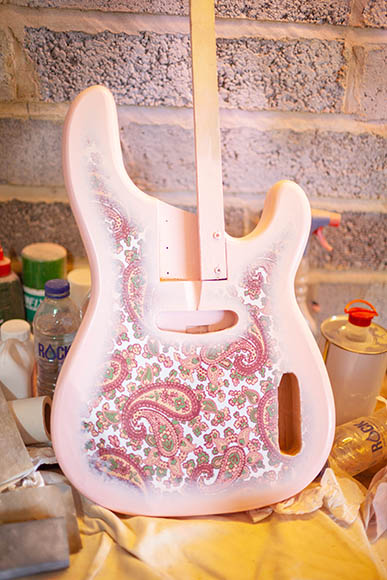
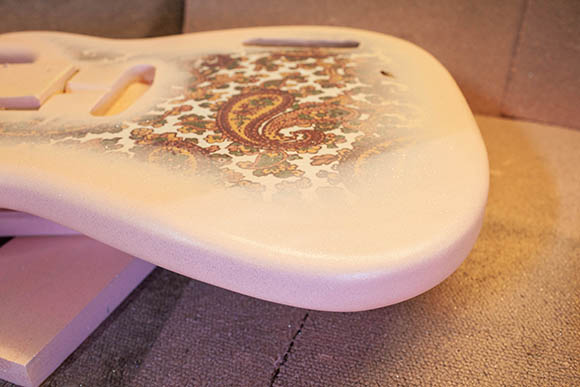
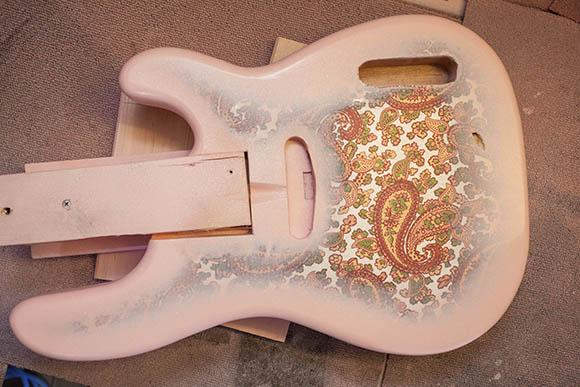
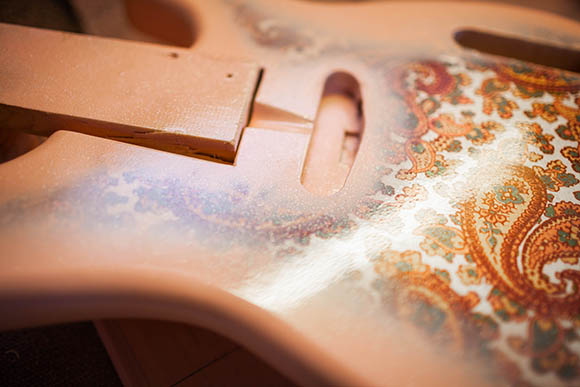
I Glued down the paisely paper to the body using wood glue. This photographic paper is THICK
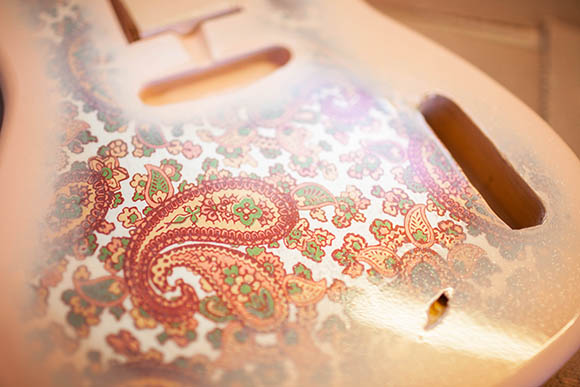
Trimmed down the paper, there's quite a large ridge between the body and paper join
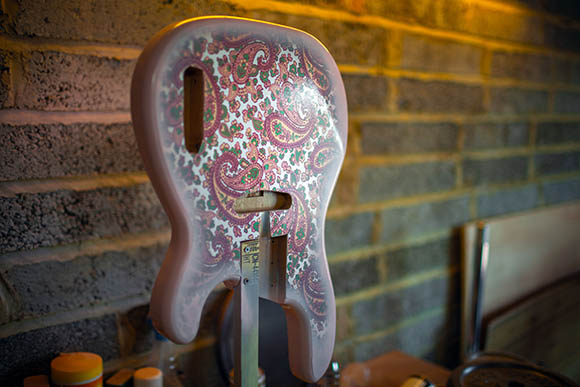
I sprayed two coats of lacquer to seal and protect the paper from scuffing
Two coats of grey undercoat / primer. There's a big ridge between the paper edge and the body...that's going to need a LOT of paint to fill.
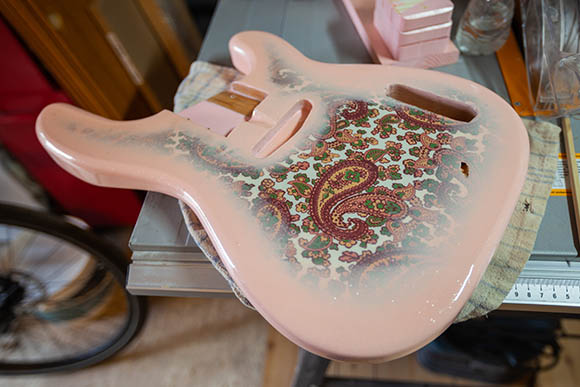
First coat of shell pink / burst
3rd coat of shell pink burst - not bad for a rattle can! After each coat I needed to sand back with 1200 grit to remove the overspray
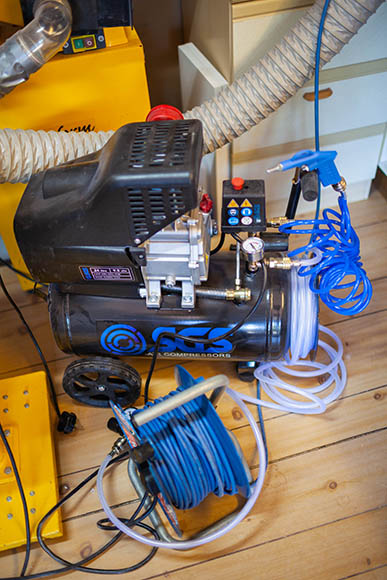
My new compressor, this bass will need so much paint...rattle can's aren't a viable cost option
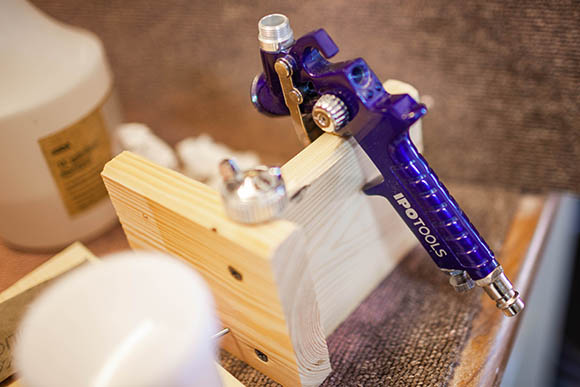
My gun of choice, a 1mm mini gun.
First use, I shot without a PSI restrictor valve...I shot a whole can of shell pink...at about 60psi...most of it went into the air as over spray or bounce off spray!
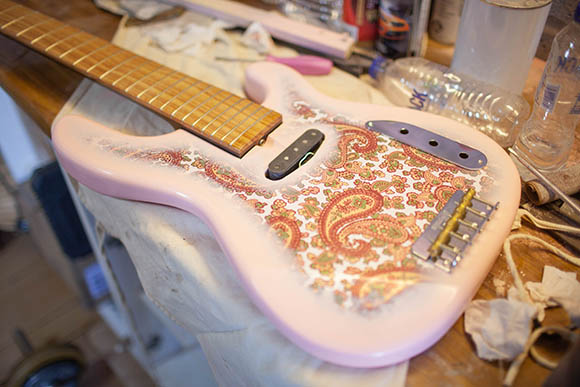
That's the shell pink done on both sides, time for a few sealer coats of laquer to protect the photographic paper. I'm getting nicer results now that I can dial down the air pressure to around 35psi.
The sealer coats were sanded back to 1200 grit after leaving for 3 days to harden
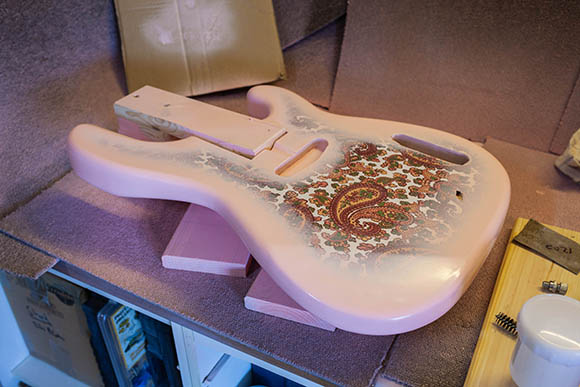
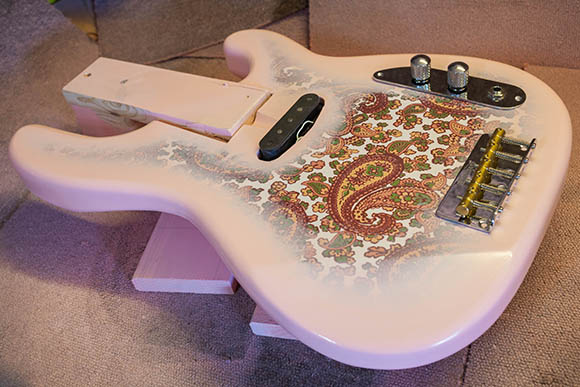
Parts tryout...looking nice and funky
Parts tryouts :D
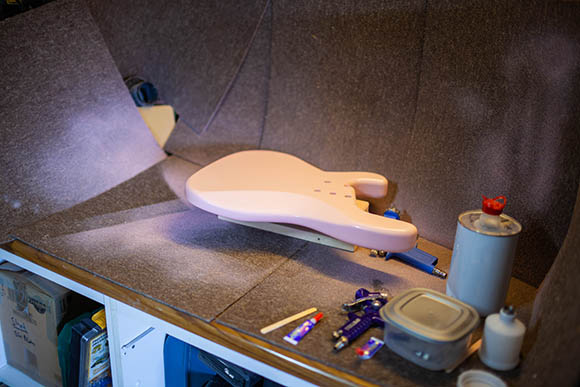
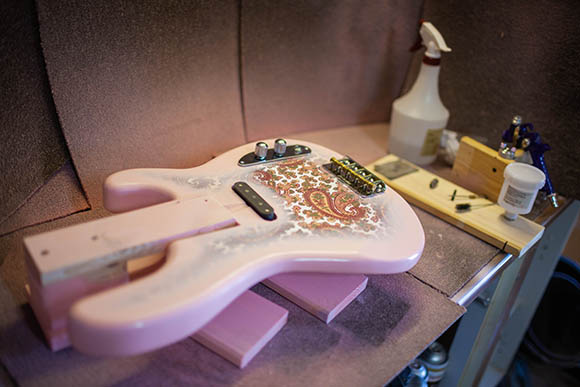
Here's my make shoft spray booth...I'm using my chip extractor to suck the air from the body
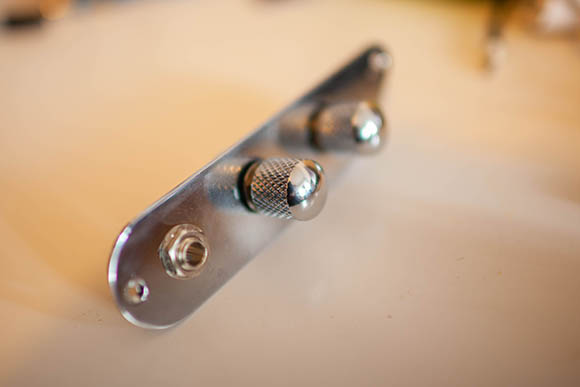
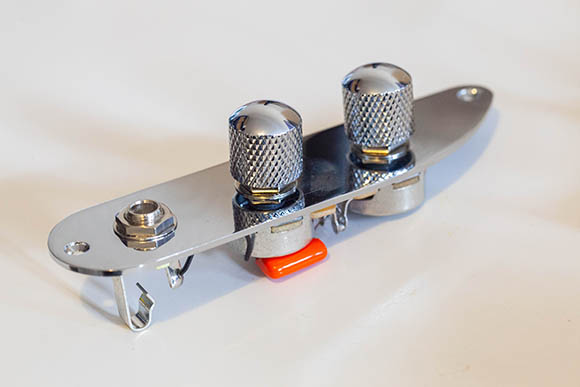
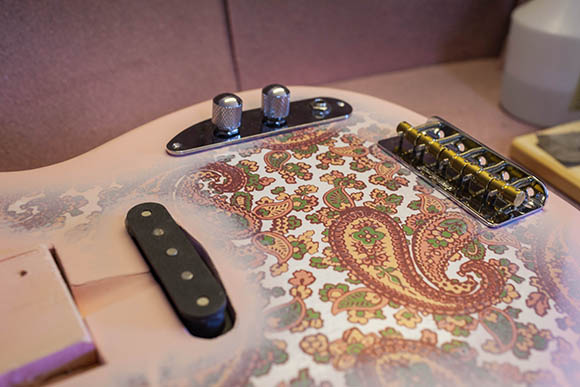
Putting the pots and control panel parts together
Passive Vol / Tone / jack...keeping it simple
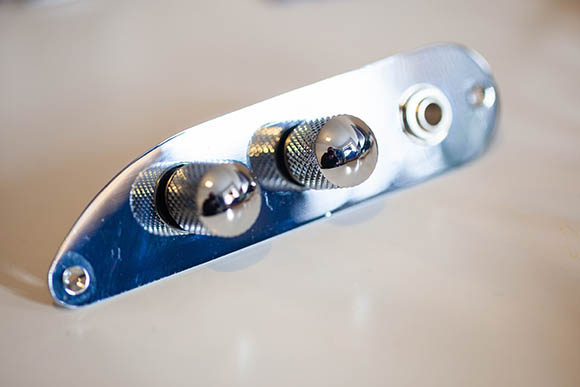
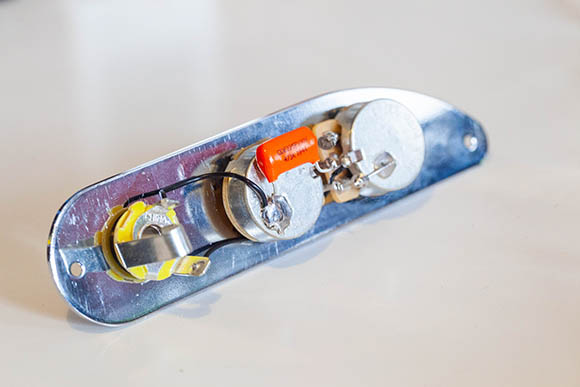
All fitted and soldered. It now just needs the bridge ground wire and the pickups soldered
That's the control panel, knobs and pots soldered up.
This is after about 6 thick coats of Nitro lacquer, which I left for about 3 days to harden
I can dial this back to just under 20 psi and I get a nice gentle spray
This is after shooting three coats of a metallic clear lacquer. I needed the previous coat to harden before I shot this stuff. It's compatible but only if the Nitro coats had hardened sufficiently. Once shot...I had to leave this to harden too before I could shoot more Nitro over it.
I shot the metallic clear lacquer from different directions to break up it's glitter pattern. I also didn't want this to be a full metallic looking bass. It's just a litle bit of unexpected sparkle and it helps lighten the shell pink a bit too.
After another few rounds of clear lacquer...6 more...looking nice and shiney and I'm seeing a nice build.
There's a subtle orange peel, which is normal. However it will sand and buff out once it's hardened enough.
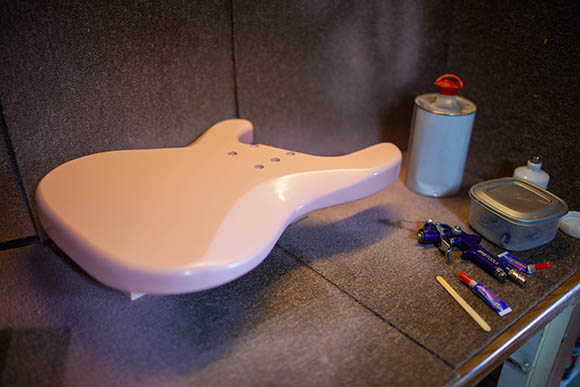
That's the last coat..22 in total. Looking superb, but feeling a little soft and plasticy. This will need to harden for about 4-6 weeks before I can final sand and buff.
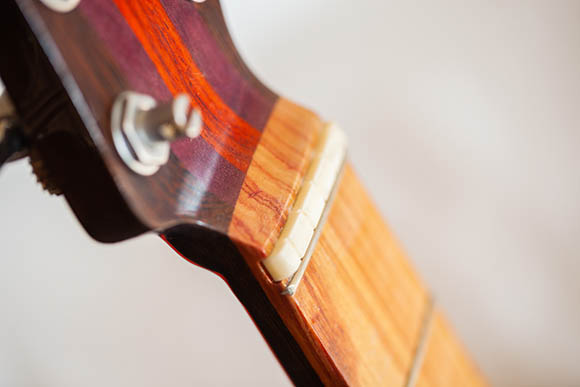
That's the nut slot cut
..and filled with a fresh new bone nut, carved to shape.That's the nut slot cut
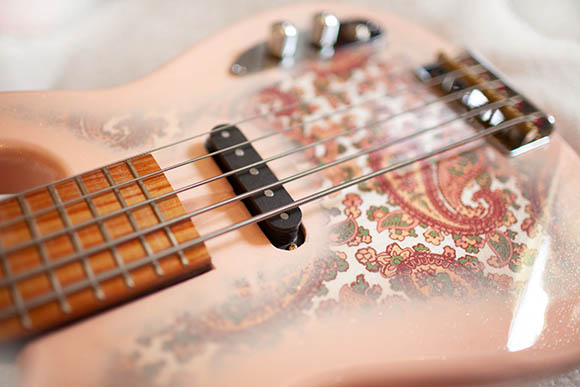
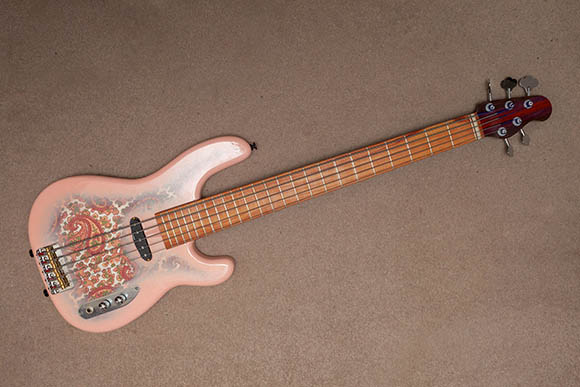
I bolted her all together, soldered up the pickups, soldered the earth strap and controls to the jack.
These gold cups and screws are only temporary until the chome ones arrive
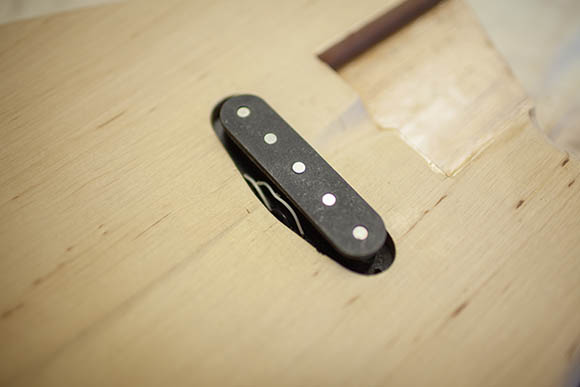
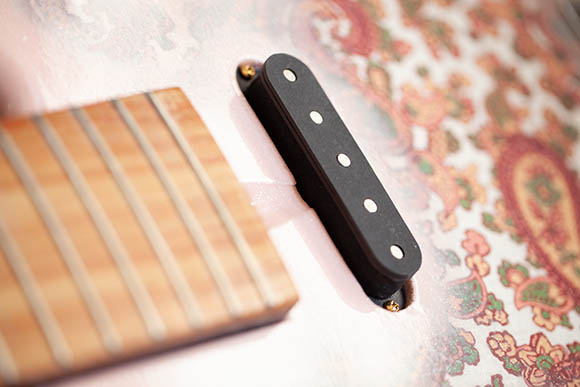
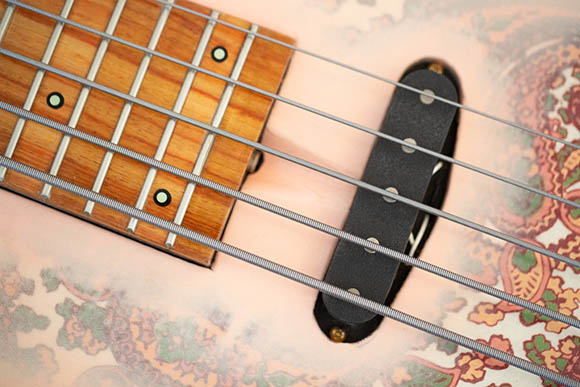
That stacked Nordstrand pickup sure looks the part.'s the nut slot cut
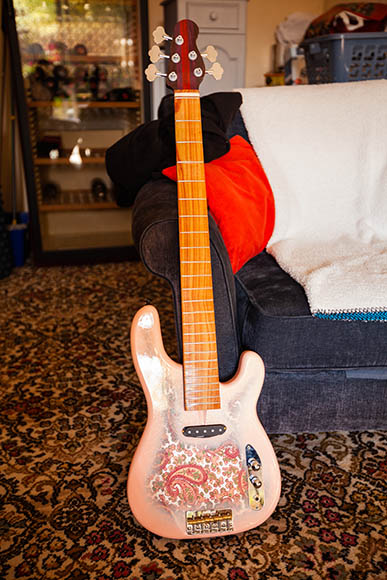
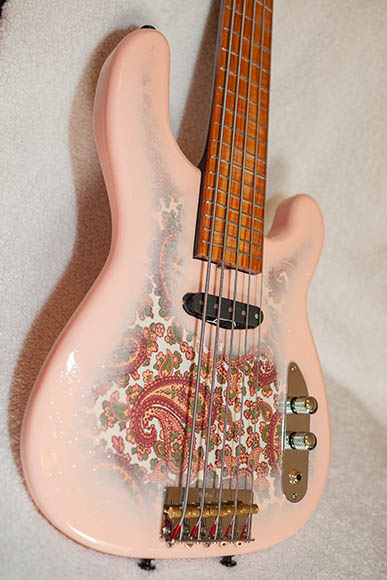
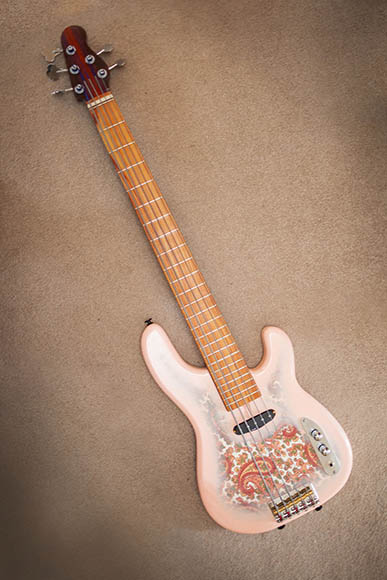
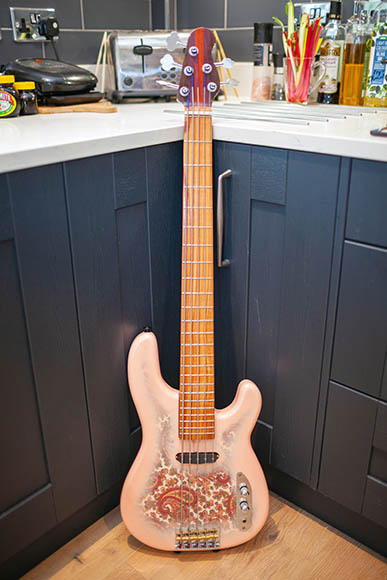
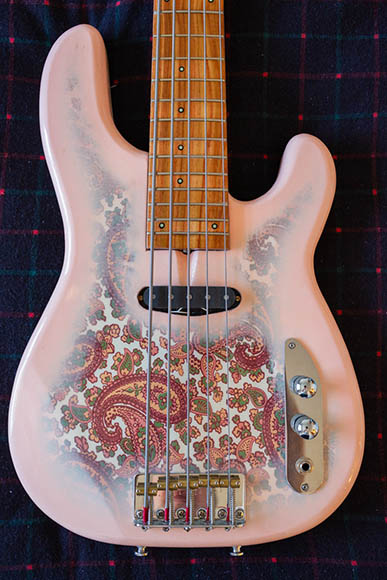
Looking a lot like a completed instrument
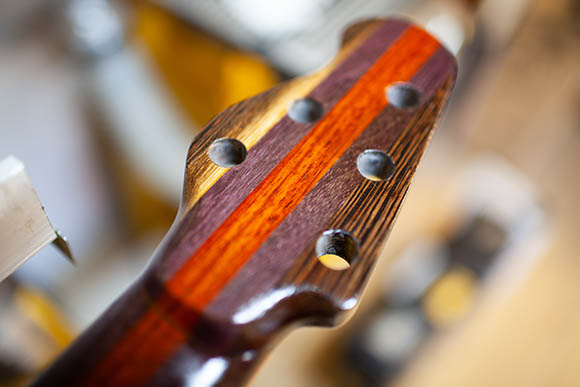
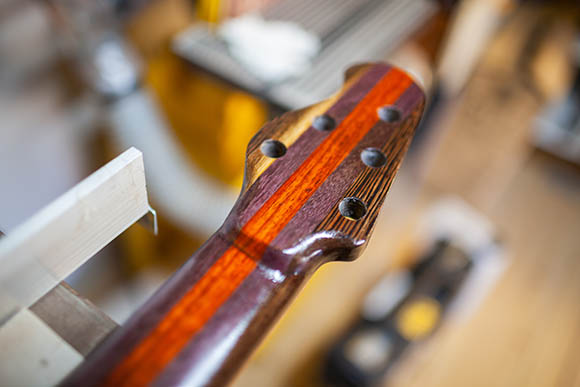
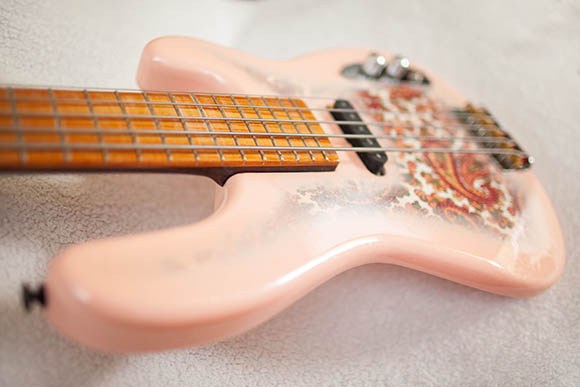
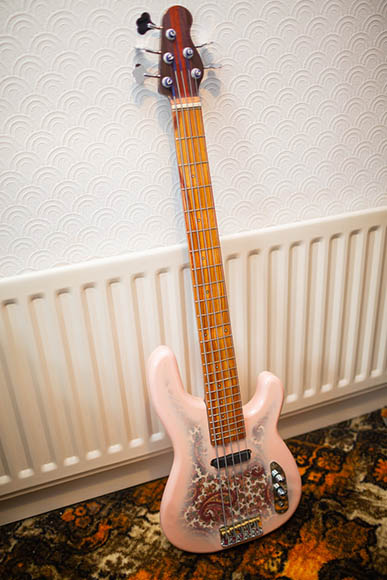
A 5 bolt neck and reduces heel. Love the 5 piece laminated neck against the shell pink
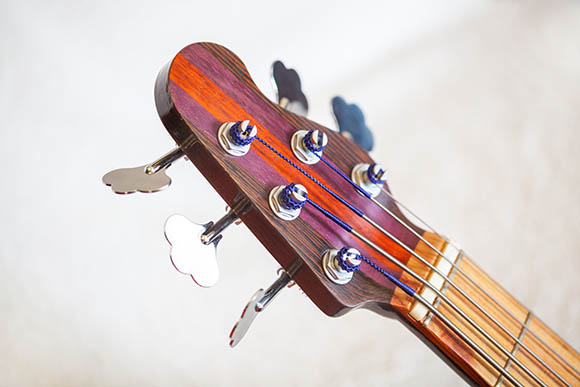
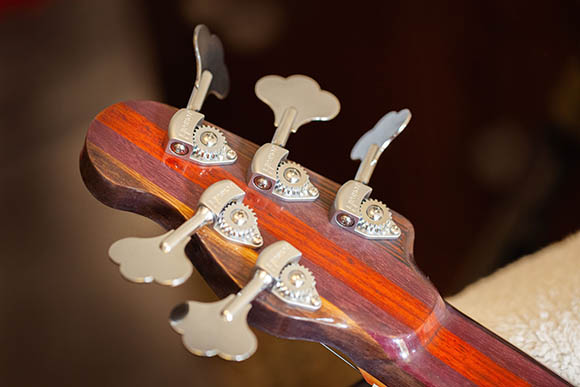
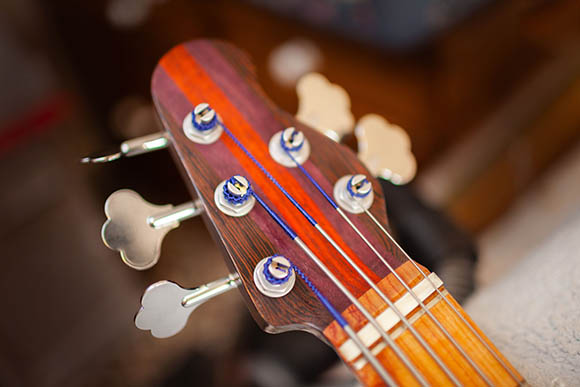
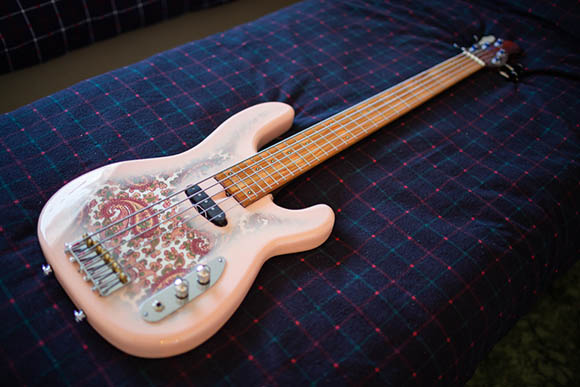
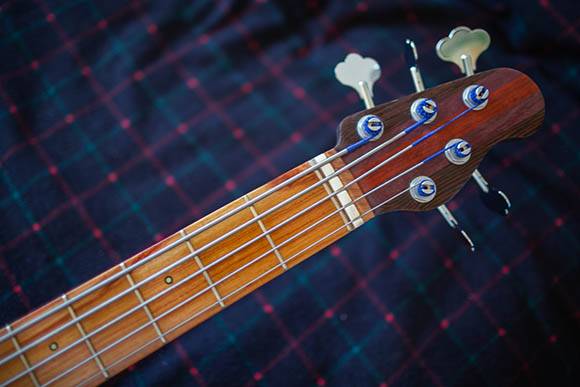
Hipshot ultralite tuners with trad clover paddles.
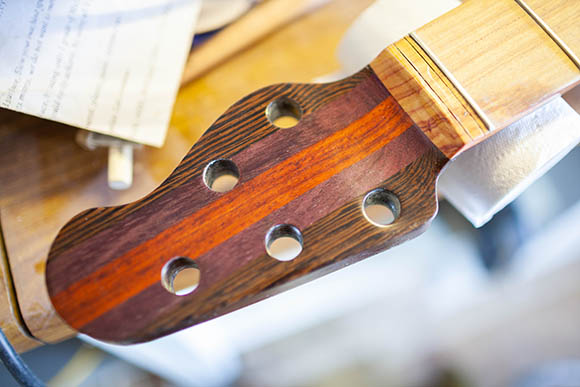
The reduced mass of the headstock looks strangely Fender-esq...and yet it's totally original. Also moving the truss rod adjustment to the other end of the bass allows for a slightly stronger headstock.
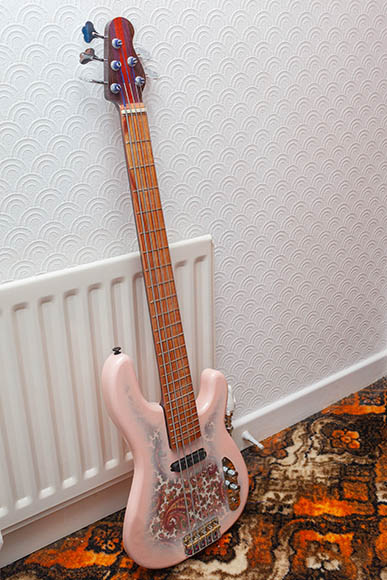
There she is...finished except for a final snad a nd buff.
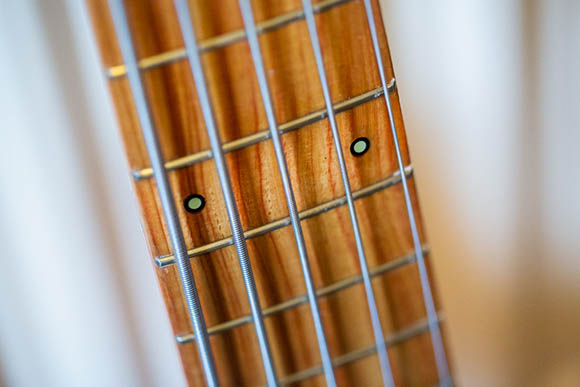
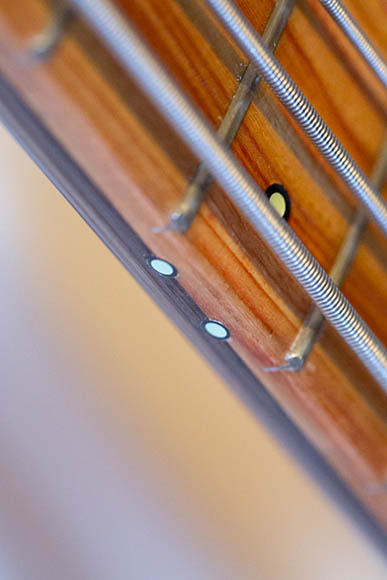
New Luminay Fret dots are now installed
---------- o ---------- ---------- o ----------
---------- o ----------
---------- o ----------
|
|
|
|
|
|
|