|
Recently I have been using a different workshop, I used to go to an adult education Wood work course which was held in a local school. They had a band saw, a router and a lot of manual tools. The problem I had there was that I had to share the tools with 8-10 other students and were badly looked after. When the local authority closed down the course I was devastated, I wanted to carry on building basses but had no where to go. So I phoned up Dave Burton, who used to run the course and asked him for suggestions. Dave let me use his workshop for one evening a week, which has proved to be really helpful because I don't have to stop between term-time. Also his workshop is stacked full of really good quality tools, many of which are power tools. Over the last 3 months I have tinkered with several small simple projects, such as recovering my bass cab, fitting the 3 band EQ to the upper horn of my 5 string bass etc, but last night I started the machining of a new bass. I was astounded how much I had got done in one evening! I planed all the neck laminates smooth, cut out the body wings and smoothed the edges to take off the bandsaw marks. In the last workshop this took 4 weeks! Also the quality of my work is far superior. The initial design and paper template didn't take that long to finalise, in fact I spent more time deciding which wood to use! My design brief was simple - a 4 String fretless version of my first bass. It was to be identical except for the wood choice and it was to be fretless. I wanted the same pickup, EQ, knobs etc. I was so surprised at how little time it all took, I had to put the project on hold until the components arrived! |
|
Week one Basic planning, component selection, drawing up the paper template and wood selection Week two Ordering of components and extra tools. Refining the paper template and checking of the quality of the wood Week Three Mark the body wood planks ready for cutting Week Four Plane the neck laminates to equal thickness. Glue the laminates together, one laminate at a time and allowing 48hrs to set each time.
|
Week Five Cut out the body wood shape on a band saw and using a drum-sander, smoothing down the edges (removing the band-saw marks). Week Six Plane the top and bottom of the neck blank to size, checking for square ness. Mark out the neck plan with correct nut spacing and truss rod placement Week Seven Cut out the neck profile and head angle on a band saw. Rout out the truss rod channel, inserting the truss rod and fitting with epoxy. Allowing drying for 48hrs The basic wooden planks are layed out and the direction of the grain selected |
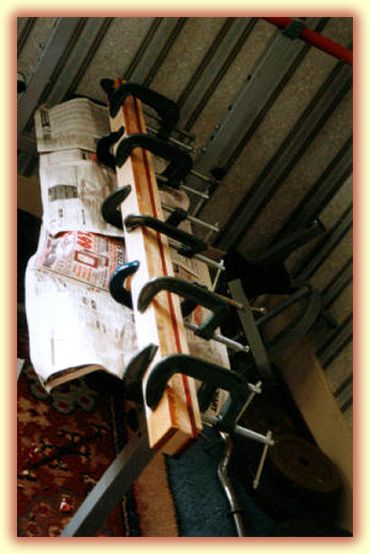 |
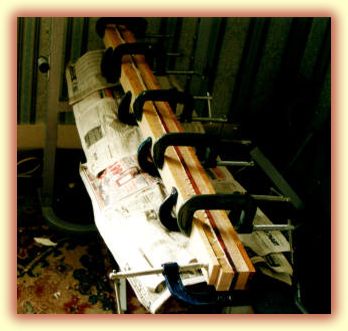
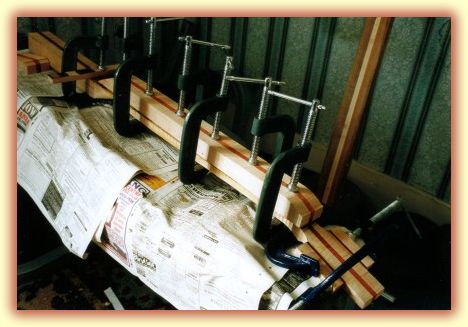
The first two neck laminates are glue together with a piece of maple each side to spead out the force of the G-Clamps along the length of the neck. Enough G-Clamps are used to apply an even pressure, but not too much as to squeeze all of the glue out of the join.
|
|
|
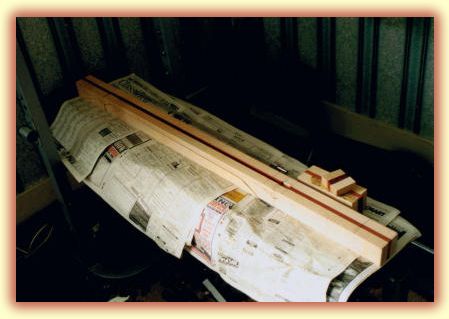
In the same way as before, the last neck laminate is glued on. This picture also shows a copius amount of glue seeping from the join, this is a good sign. It shows that the glue has spead evenly across the two surfaces. Again, evenly applied with not too much pressure. |
 |
|
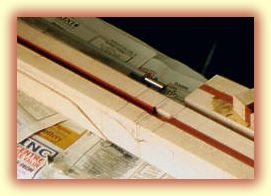 |
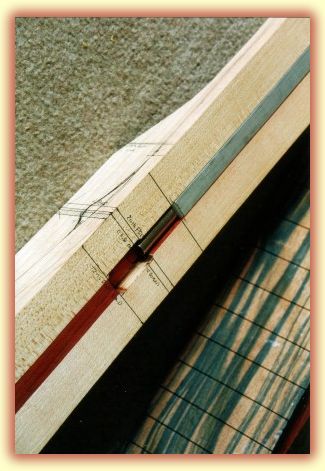
After extensive plaining
and squaring the neck depth and width can be marked with a pen. The
head angle is marked and the nut located, along with the truss rod markings.
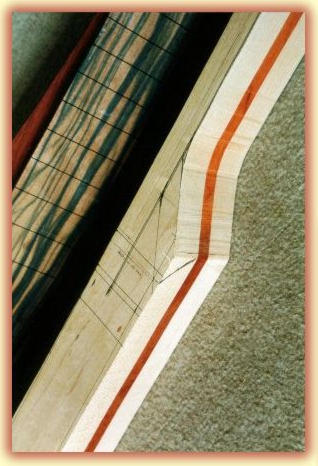
Also the 34" bridge line can be seen.
|
|
|
The neck depth is cut
out on a band-saw as is the head angle and volute. The truss rod is
cut out with a Router and the fingerboard length and 24th scale points
are marked.
|
|
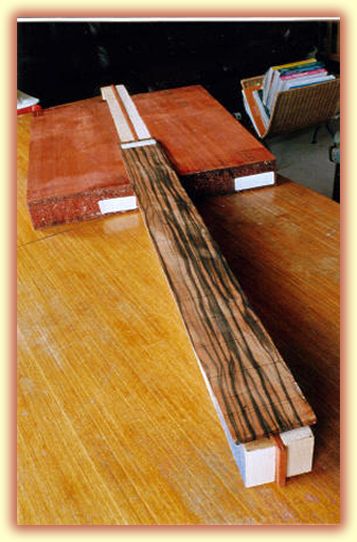
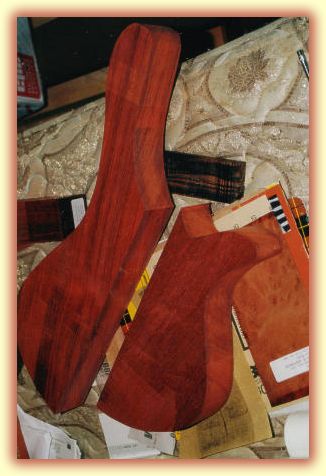
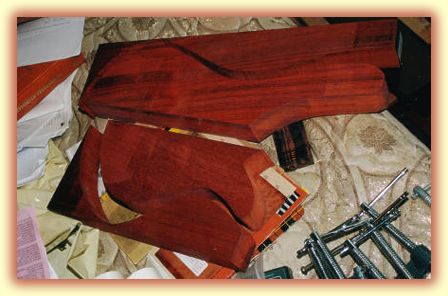
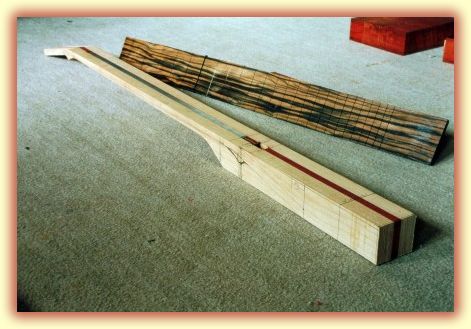
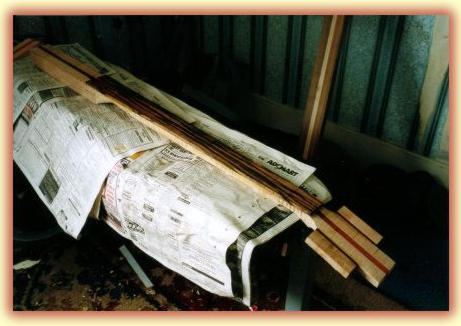
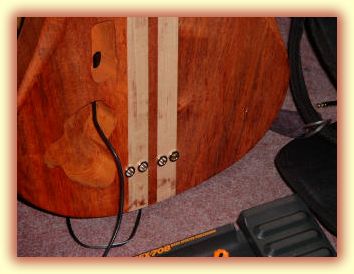
The two body wings
are cut out on a band saw and the left overs are kept as clamping molds
later. I cut the Paduak boards so that the grain runs out at a sharp
angle. This uses about 20% more wood but I think the results will be
worth it.
|
 |
 |
|
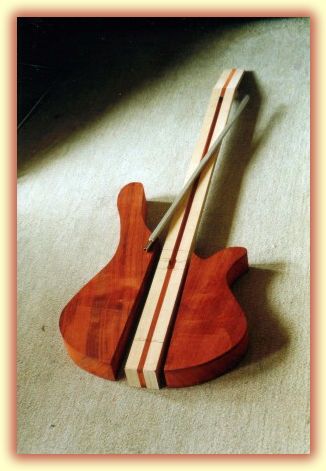
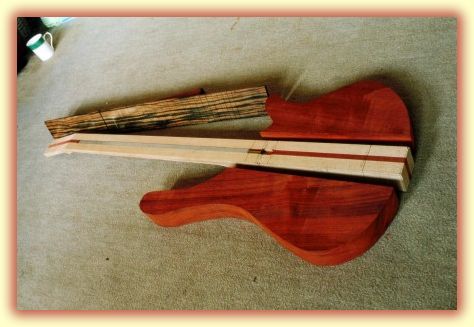
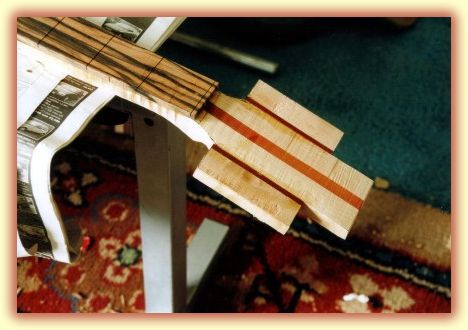
Arranging the pieces together allows me to check they fit together well and to see what it is going to look like. |
Week Eight Cut the neck angle so that the strings will be presented to the fingerboard at the right height. I marked out the pickup placement. Cutting these out now on a band saw means less to do with the router later. Week Nine Glue on the fingerboard. Allow 48hrs to dry. Week Ten Trim down the fingerboard to match the neck. Test the truss rod is working correctly. Cut the neck width tapering from the nut (40m/m) to the 24th fret. Rout out a slot for the pickup wires to travel down on the body wings. Gluing on the body wings (one at a time, allowing 48 hrs to dry each). Week Eleven Build up the headstock width by adding extra 1x2" lengths both side and allowing to dry. Plane down the body top and bottom to match the same thickness as the neck. Marking out the body top and bottom contours. Rout out the control and battery box cavities BEFORE the body is contoured (I forgot to do this on the first bass and made life hard). Rout out a lip on the edges of the Control cavity, so it's cover can sit flush with the body surface. |
 |
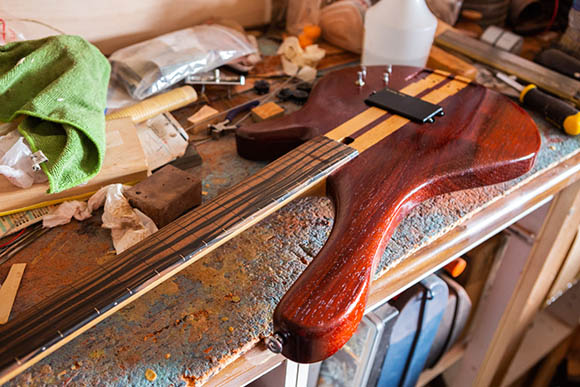
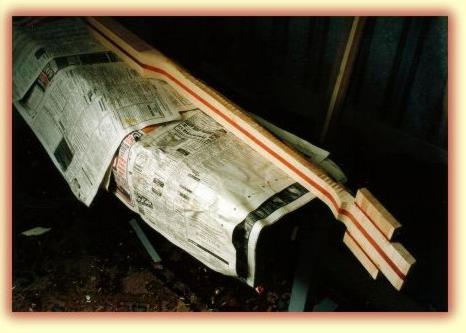
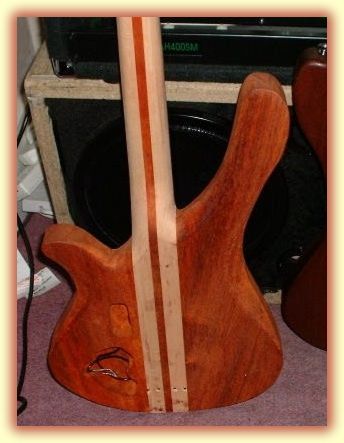
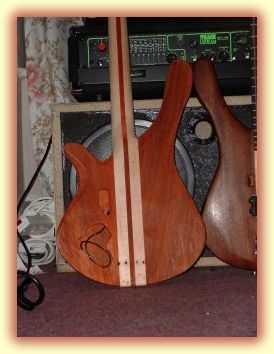
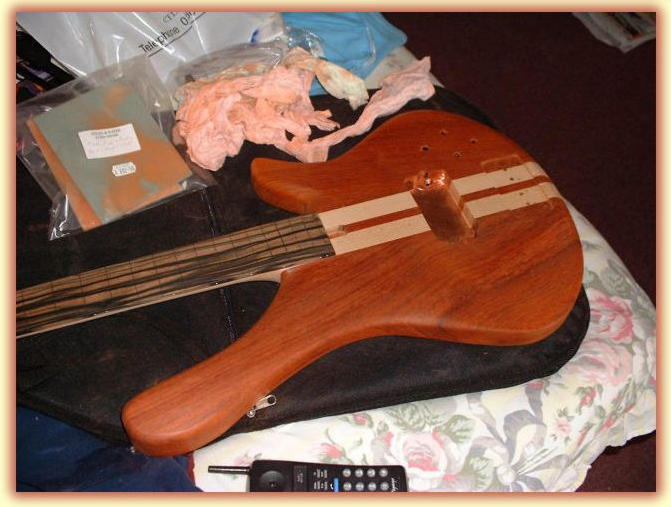
This picture shows how much of the body blank is wasted. A lot of the spare wood I cut up and use for sanding blocks or door stops! The outer pieces I use as clamping moulds when I glue on the body sides. Unfortunately I don't know any other way to build a guitar using less wood. The neck shape has been cut out on the band-saw, the head angle, the heel are roughly cut and the truss rod slot is routed out. Also the early stages of the volute can be seen.
|
|
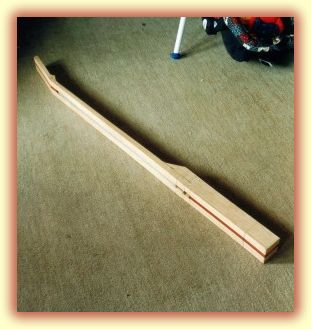
The neck shape has
been cut out on the band-saw, the head angle, the heel are roughly cut
and the truss rod slot is routed out. Also the early stages of the volute
can be seen.
|
 |
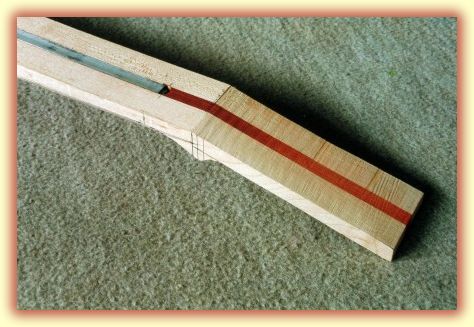
The neck angle is calculated
by taking the lowest height of the bridge minus the fingerboard height.
In this case a neck angle wasn't needed, the bridge saddles are quite
small and after countersinking the bridge into the body, the depth +
fingerboard height = the minimum saddle height.
|
 |
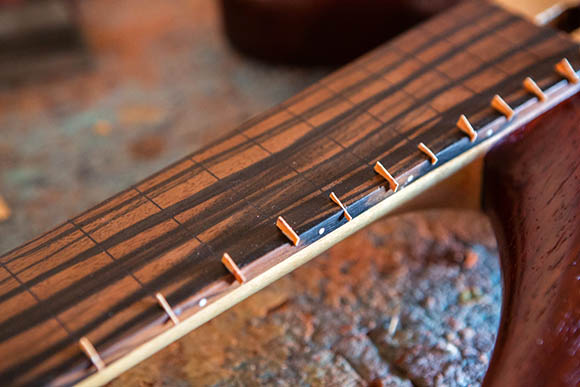
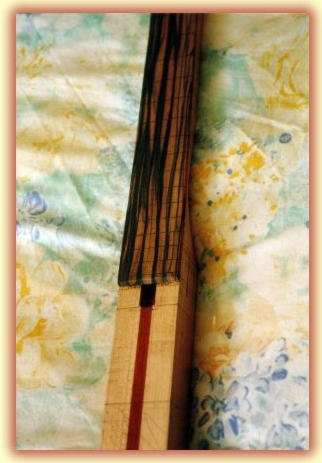
The Truss Rod is epoxied
into the slot and while it was drying I cut some veneer strips and placed
them into a few fret slots to see which colour would suit the finger
board. I like the subtle black more than the garish maple. Black it
is then!
|
|
Here's a close up of the truss rod nut. The truss rod needs to be tested BEFORE the fingerboard goes on. If it doesn't work it can be milled out-saving the neck and the fingerboard. |
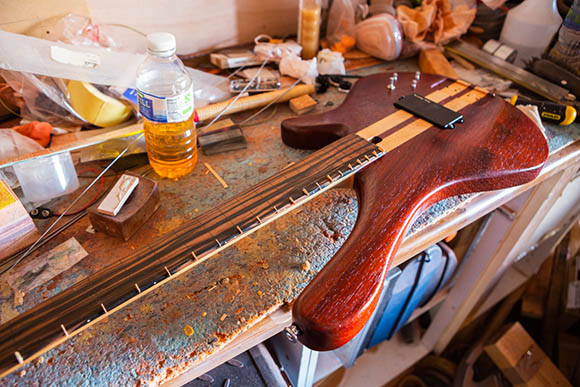
The headstock is too narrow at the moment, so extra bits have to applied to either side. Also those band-saw marks will need to be planed and sanded smooth. |
 |
 |
When I was sanding
the end of the fingerboard, I caught the belt sander at an awkward angle
and splintered half of the last two frets across the workshop. Thankfully
I was able to carefully re-assemble and glue most of the bits. But there
was a big chunk missing. So I chistled out a flat square and grafted
in an off cut with a matching grain and figuring. Hopefully it won't
notice on the the finished bass.
|
|
The fingerboard is glued and clamped down firmly with a lot of G-clamps. This will force the fingerboard to follow the line of the neck, which may not be as flat as it looks-experience says that it usually isn't! The top surface will be planed and sanded totally flat later. |
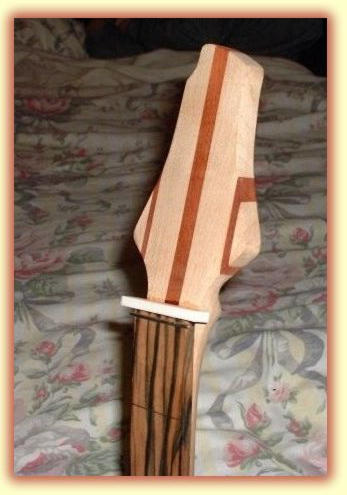
The headstock width
is made to the correct size by adding side strips made from off cuts
of the same neck blank. This has to be carefully glued and there is
littleroom for error. 2 clamps have to be used in opposition so that
their turning action dosen't cause the pieces to slowly move while the
glue dries.
 |
|
After a few days drying time, the clamps can be removed. The top and bottom headstock surfaces can be checked before sanding and the fingerboard edged must be sanded flush to the neck. The top surface of the fingerboard is checked with a flat ruler to see if it needs planing flat. |
 |
|
Above you can see the roughly band sawn hee and in the picture below, I have started to carve it. |
Week Twelve Cut down the neck sides to the correct width using the band saw then smooth the saw marks with a drum sander Fit fret markers and side dots Week Thirteen Cut out the headstock shape. Begin to carve the neck profile, the heel to body join and top contour.
|
|
|
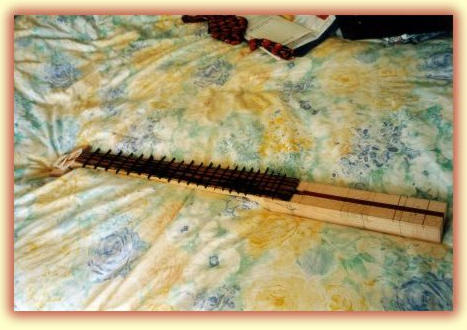
Week Fourteen Smooth the neck profile and carve the heel to give a nice flowing look. Make sure the neck has a nice slender profile. Sand a 16" radius to the fingerboard. Sand the fingerboard smooth with various grades of sandpaper and finally buff off with 0000 grade wire wool. Fit the Zero fret, level, file its profile and trim the edges smooth. |
|
Week Fifteen Drill out the 4 holes for the rear loading ferrules. carve the body bottom contour and round over the edges. cut out a control cover to the correct shape and fit with brass set screws. Week Sixteen Rout out the bridge recess and pickup hole and neaten with chistles. make sure the pickup table has a clear path to the control cavity. Drill out the holes for the switch and 3 pots. Also drill out the locking jack socket hole. Drill out the holes for the tuners on the headstock. Week Seventeen shield the control cavity (copper foil) and the Pickup cavity (aluminium foil) and connect the two with conductive-paint. |
|
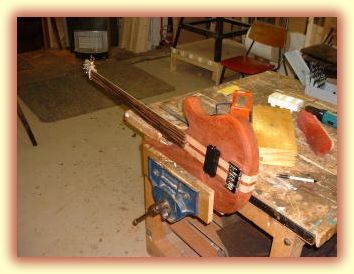
This picture shows the freshly glued fingerboad. The headstock still needs to be plained and sanded smooth. Also the sides of the neck will need sanding to remove the glue seepage. |
 |
|
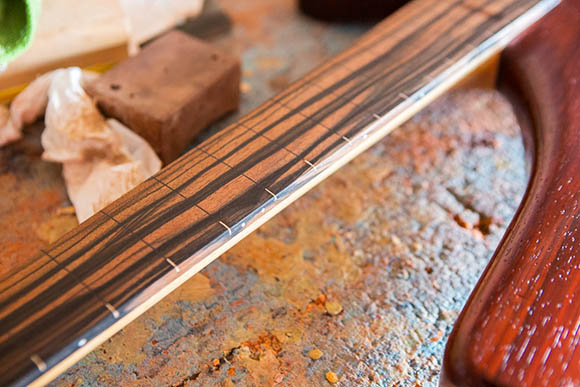
The truss rod is tightened to give the neck a back bow. this will open up the fret slots and make the fitting gf the fret lines easier. All the fret slots are filled with the black veneer and glued into place (except the zero slot which will have standard fret wire). Then the truss rod is slackened off before the glue dries.
|
|
|
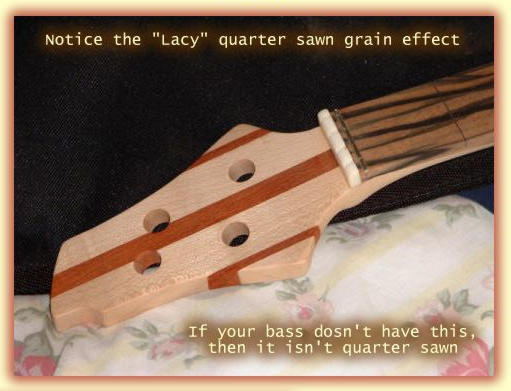
The Headstock shape is drawn onto the top surface from a template. The holes for the tuners are marked.
|
|
|
Then the fingerboard
is careful planed flat and s 16' Radius is sanded into the flat surface.
This is very tedious but is a good way to ensure an even fingerboard
radius. The fingerboard is smoothed down usinq various grades of sandpaper
and finished with 0000 grade wire.
|
 |
|
 |
The
Fingerboard repair is almost invisible. You can only see It if you know
it's there and you look really close.
|
|
 |
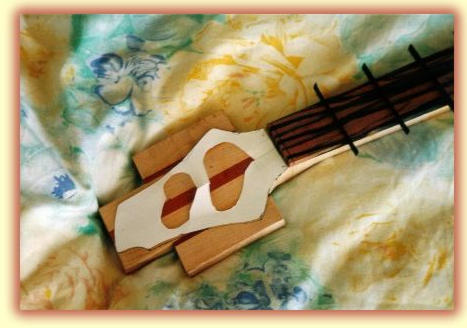
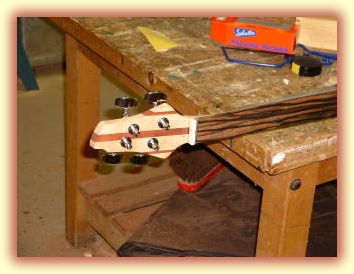
The shape of the headstock has been cut out and the edges sanded to remove the saw marks. I glued in the Bone nut and fretted the zero fret. The top and bottom surfaces of the headstock were then sanded flat |
|
The battery box and tone control holes were routed out. Then I drilled a hole from the pickup cavity to the control cavity. Then a hole from the battery box to the control cavity. I Rounded the top edges of the horns to neck joins and further carved the neck and heel join. I like to take my time at this point. I drilled out the string access holes to the bridge (I never seem to be able to get these in a nice line!) and I counter sunk them ready for drilling out the ferrule holes. |
 |
 |
I then contored the back with a concave radius. This is such hard work and very time consuming and I would not advise anyone to attempt this. It looks nice but really isn't worth the bother! I carved out the rig cage contour on the upper horn and the leg contour on the lower horn. I also sanded all of the corners because they were razor sharp after the planing. Next to this bass is my first bass project, notice the how the paduak looks orange compared to the mahogany. |
|
I contored the top of the bass by plaining a gentle radius across it. I Routed out the Pickup cavity and the bridge recess. I then drilled the screw holes. |
 |
 |
I carved a chamfer around the bottom edge of the top, I will tidy this later. I Planed the arm recess/contour on the upper horn. I fitted the Pickup and the bridge to make sure the fit well. My pick up routing proved to be a little sloppy I think I was using a blunt bit. The bridge fits perfectly and I am really pleased. I sanded the edges to take the sharpness out of them. |
|
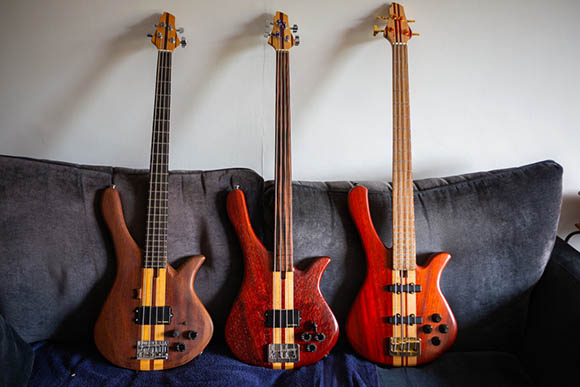
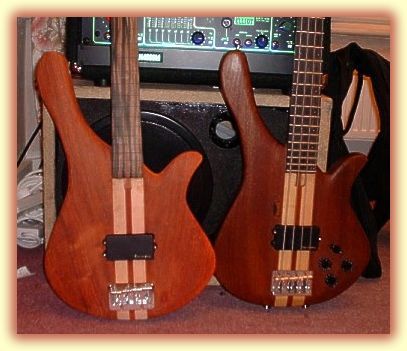
I couldn't resist this photo. Both cousins together. I love the colours on both of these basses, the mahogany is a lot darker than the paduak and the paduak's figuring is more spectacular. Also I like the figured fretless fingerboard. It gives the bass detail which would be lost on the fretted version. This bass is starting to look good! |
 |
 |
I have glued in the nut and fretted the zero fret. Then I drilled out the tuner machine head holes and fitted them. |
 |
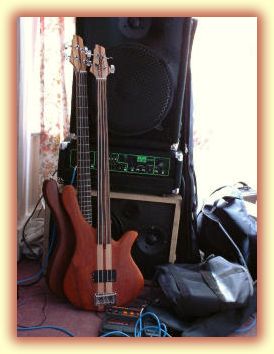
Here
is a nice view of Dave's workshop.
|
 |
I drilled out the rear string holes using a normal bit, but the ferrules were drilled out using fausner bits.These cut a flat bottom to the hole. |
 |
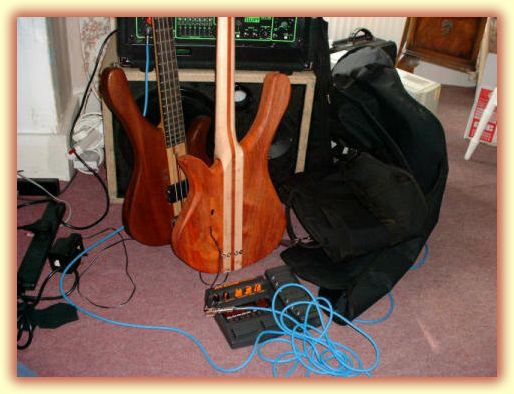
I then cut the nut slots and fitted a tempory jack. Then I strung her up with a set of new Elites Flatwounds. I coildn't wait to hear what she sounds like! Very punchy and solid. I also roughly set up the intonation. Notice that the E string has been strung through body, the strings are designed for a 35" scale and wouldn't wind around the post otherwise. |
|
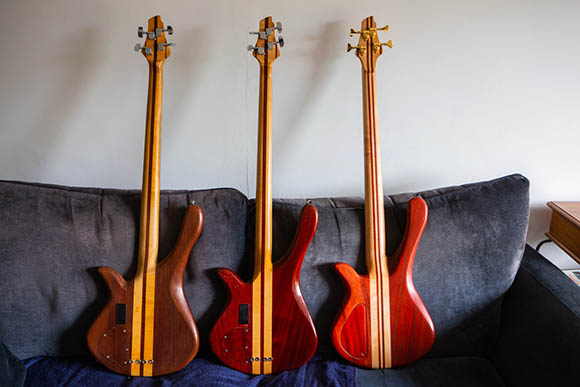
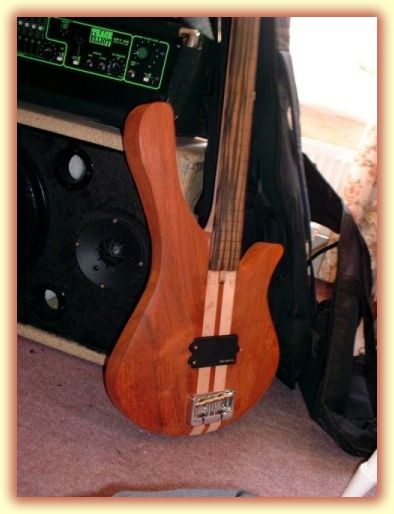
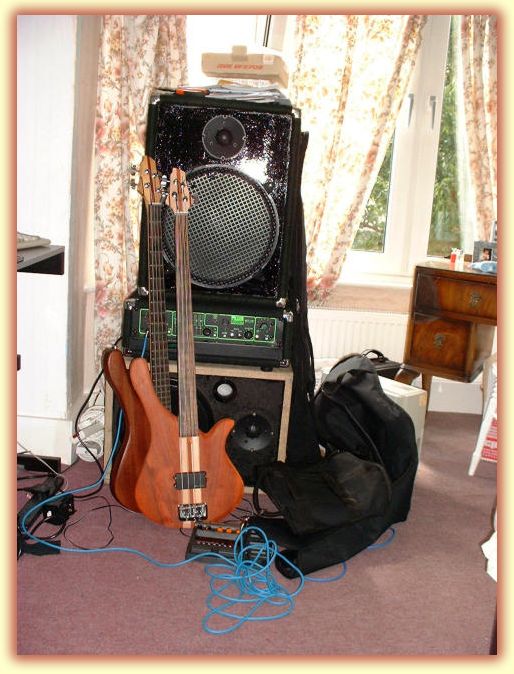
What a nice pair, one fretted and the other's fretless! in this picture you can really see the diferences between the neck widths at the nut on both basses. This new fretless is a lot narrower, even thinner than a Jazz "C" neck! It's very comfortable and easy to play Both have simular tonal charecteristics, they are both very dynamic and punchy, with lots of charector and clarity. I just can't wait to get this bass finished. |
|
The rear contour still needs a lot of work, along with the neck to body contours, they are both a bit too blocky at the moment. The control cavity needs to be a little deeper for the pots and the holes need to be drilled.
|
 |
|
Week Nineteen Apply 2 coats of Oil, allowing 2 days to dry between each coat. Apply wax finish and buff to a satin shine Week Twenty Assemble components. Solder electrics. Fit strings and set up. Job done |
Week Eighteen Cut the Nut slots to accept the strings easily. Sand the Carcass using 3 grades of sand paper. Closely Scrutinize the surfaces for scratches. Sand using 2 ultra fine grades before 0000 grade wire wool on the body.
|
 |
 |
I cut the nut using a number of small files to get the correct thickness. I sanded using 80/120/240 grits. then I wire wooled the surfaces which brings out any missed scratches. Then I checked very carefully for scratches, redoing area's of concearn. I finished sanded using 300/400/500 grits (the sanding dust at these grits is like talcum powder!) and ended with 0000 grade wire wool. |
|
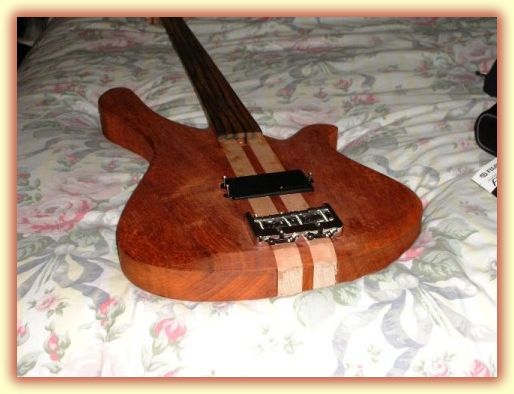
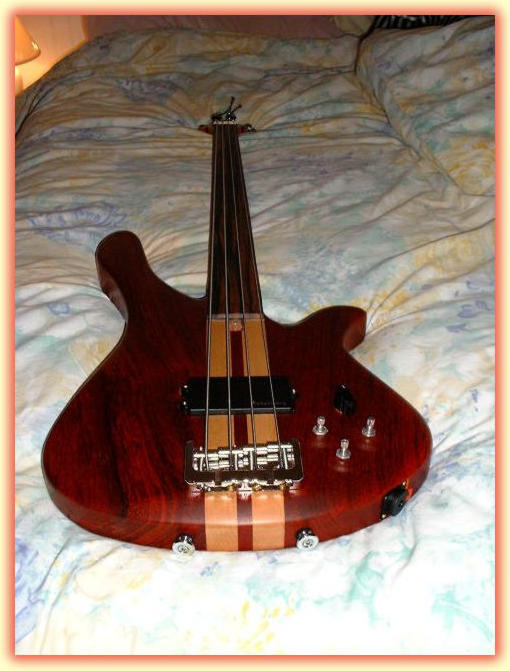
That's the finish done and all the components assembled. All I am waiting for is the control knobs. Other than that she's finished! Best one yet!
|
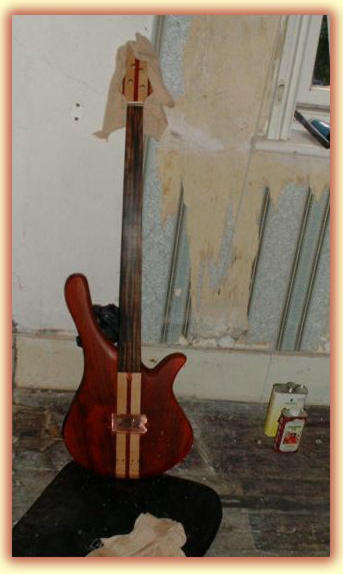
I did the oiling in my son's room, which is being decorated (hence the mess!) I used Lemon oil for the fingerboard, which has brought out the figuring well and I used Liberon Finishing Oil for the body (which smells wonderfull). |
 |
|
|
2022 Overhaul I love playing this bass, however the dark fretlines on the Macassar ebony board are nearly impossible to see on a dark stage. So i cut into the fret line veneers carefully with a fret saw and glued in some maple veneer along the edge facing side of the fingerboard. This worked well and I sanded it back and polished up the fingerboard. I then coated the body in about 8 coats of poly. I wanted a shine, but I wanted to see the grain detail of the paduak too. This worked well and i'm really happy with the results!
|
|
|
|
|