Back to the beginning
|
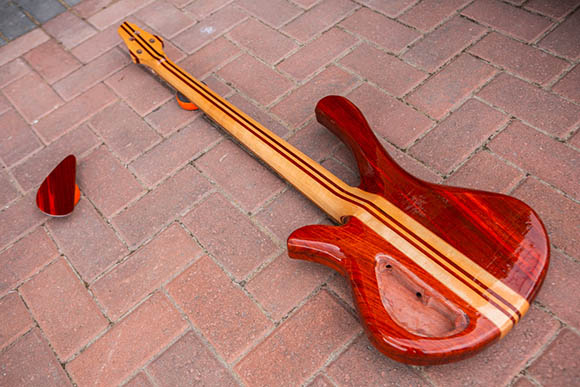
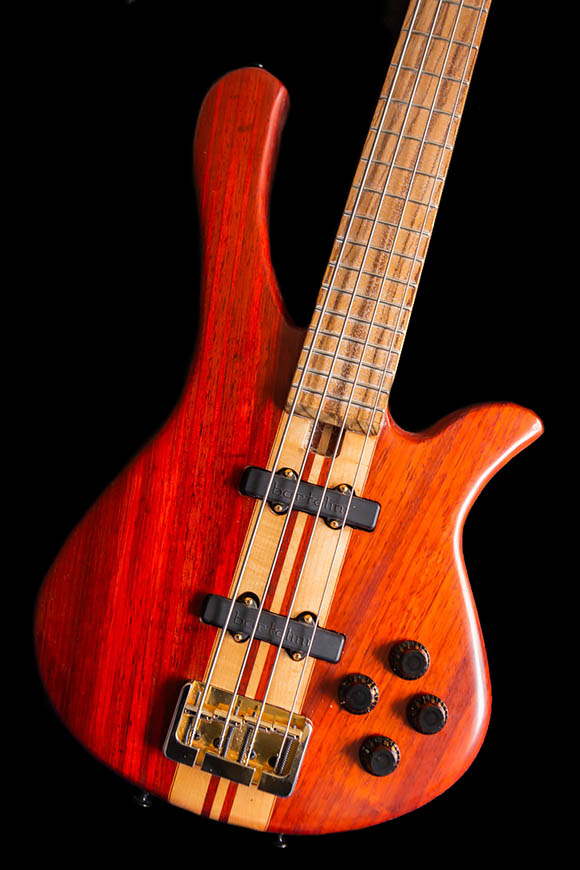
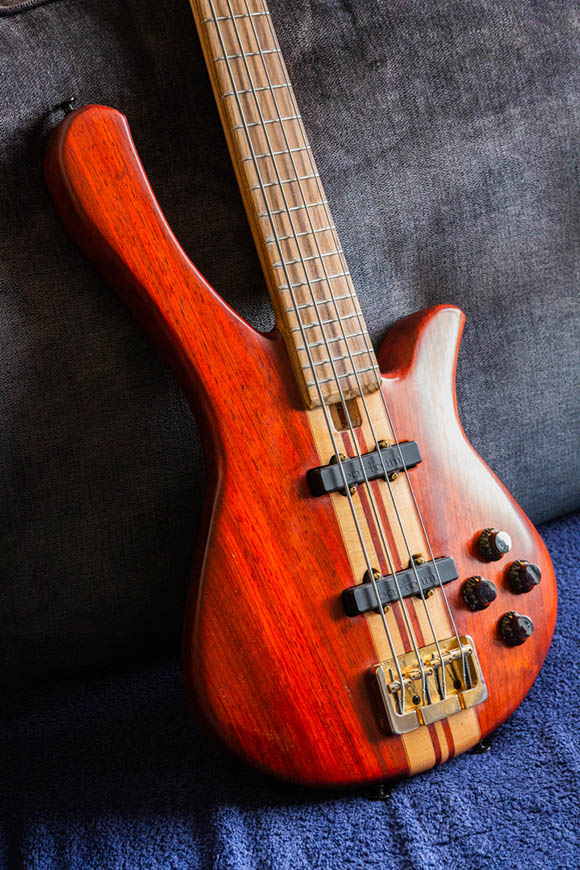
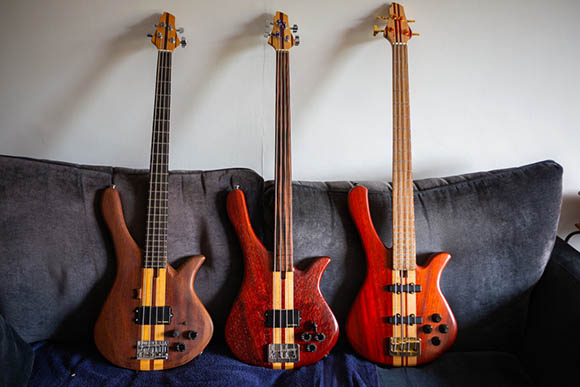
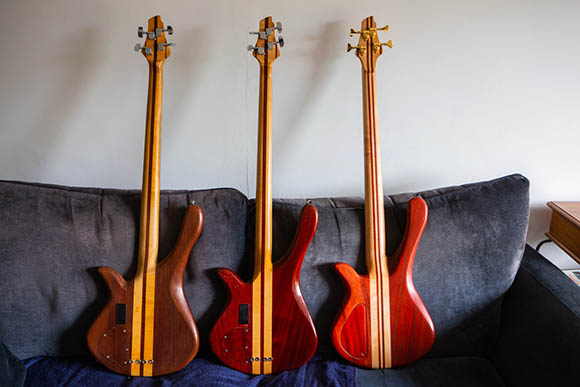
Bass 9: Diary 1 Four string Jazz Bass simular to Bass #1 --------- o ----------
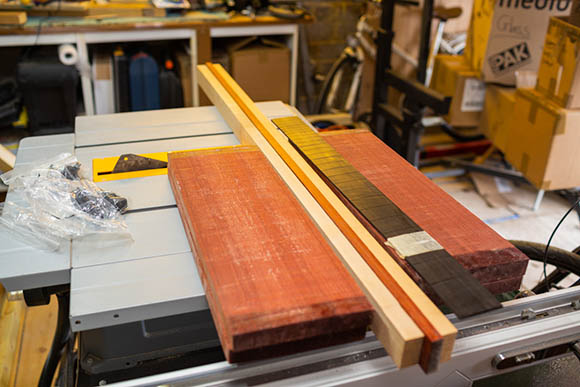
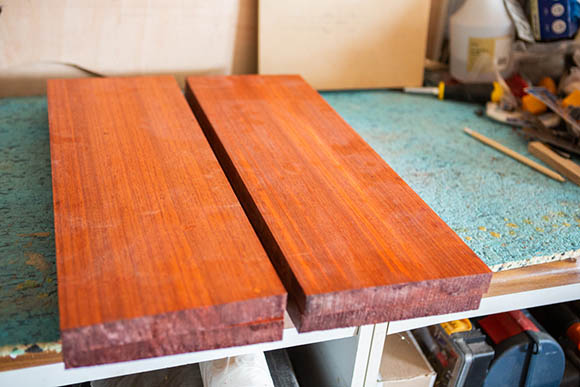
Starting with the roughly re-sized lumber, the first step is selecting the neck laminates. Most of these laminates have been sitting in my storage for nearly 20 years! They should be nice and stable by now!
---------- o ----------
|
|
|
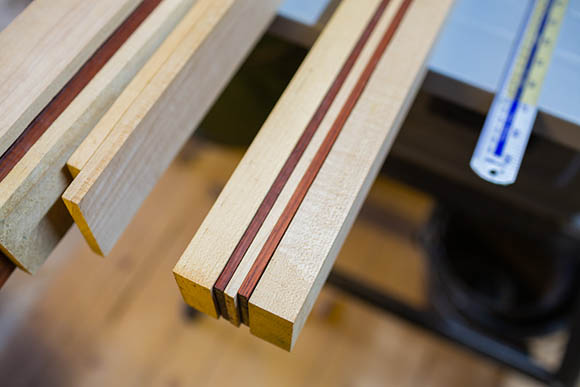
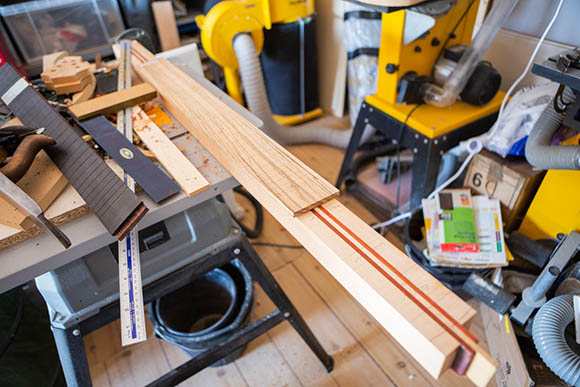
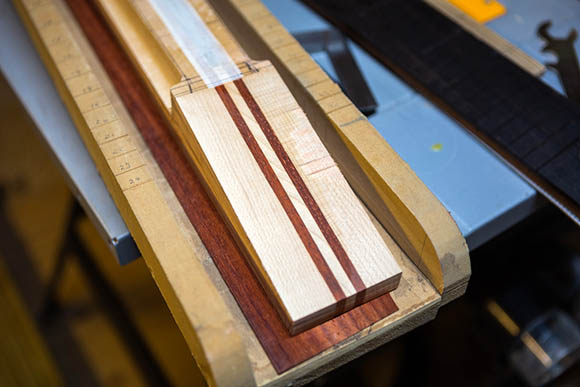
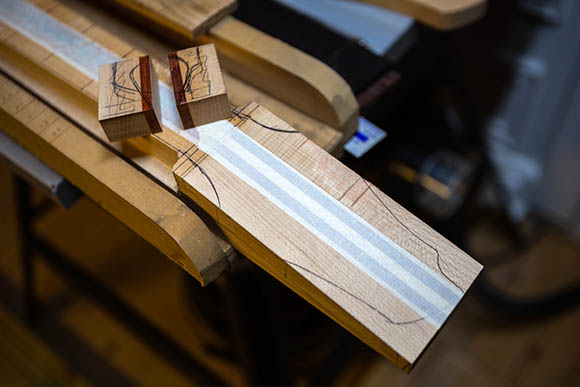
Laying out and selecting the wood stock. It's good to see how the grain direction is working. How the boards and plates are looking. It's good to see how much machining is going to be needed to correct any warps or bows. The 1" Paduak boards have moved slightly in storage, so they will need re-machining to bring them back to shape.
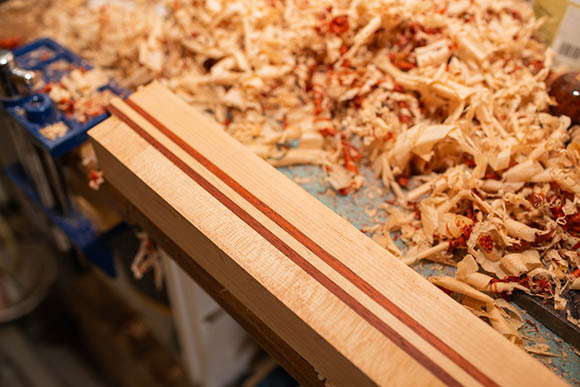
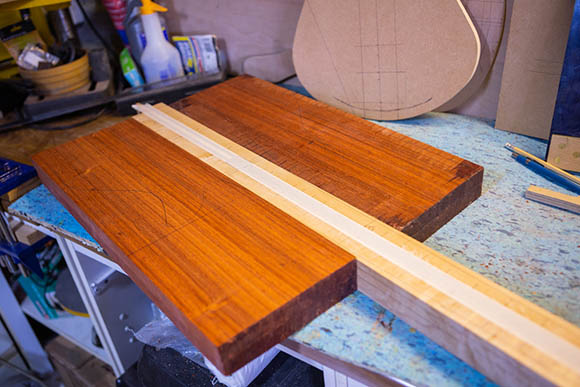
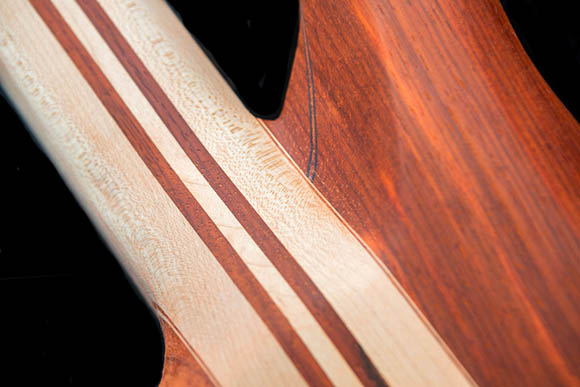
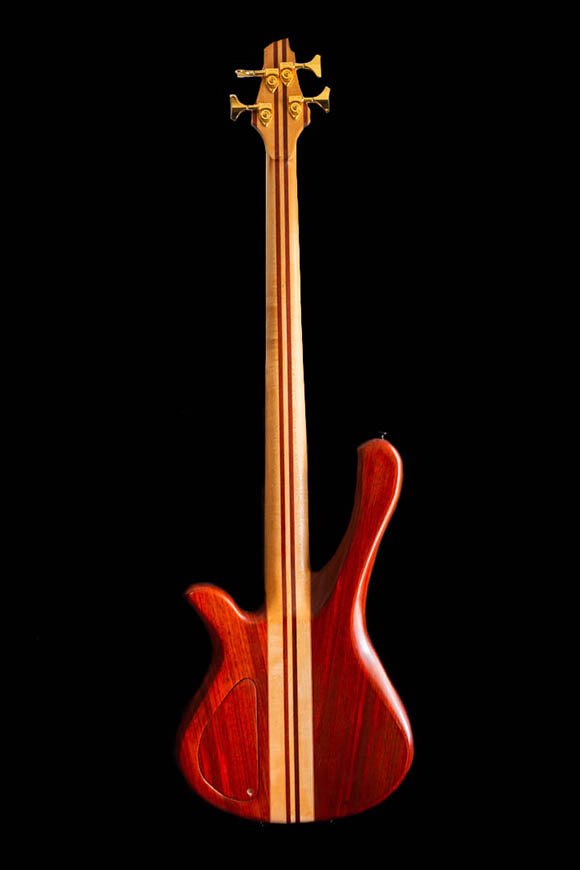
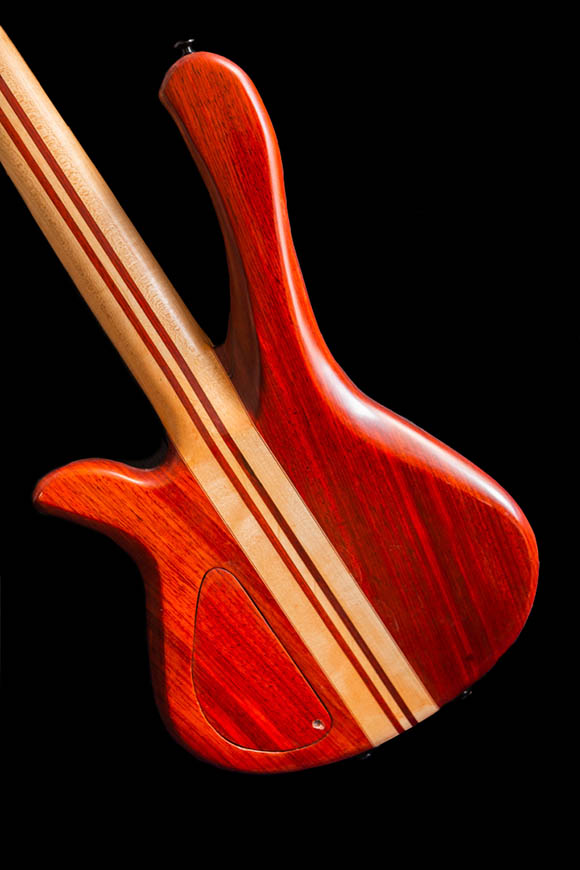
The centre strip of Paduak is looking very nice. The two maple planks either side are a little under sized. So i might split the centre strip and put a a thin maple strip in there to a) look nice and b) add a bit more width.
The ebony slotted fingerboard is just a place holder at the moment. I'm on the look out for some nice Zebrano.
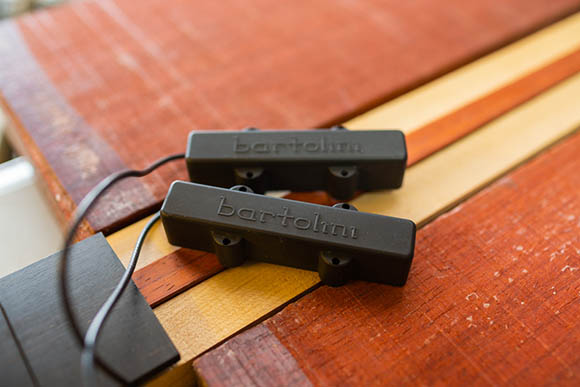
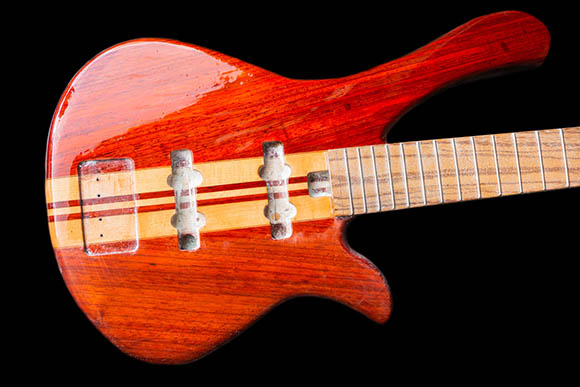
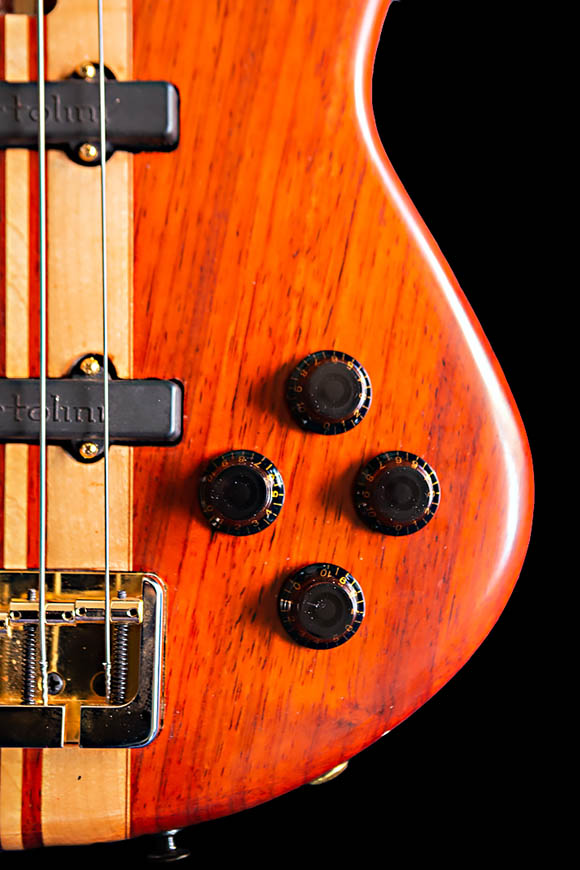
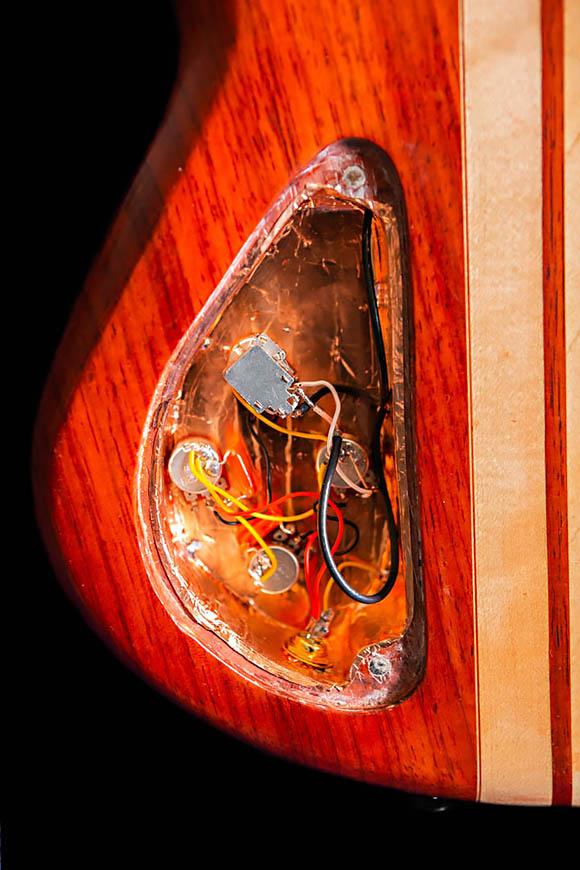
The Bartolini Jazz pickups really look nice |
|
|
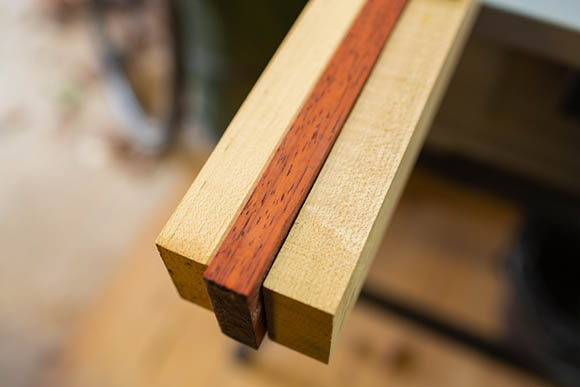
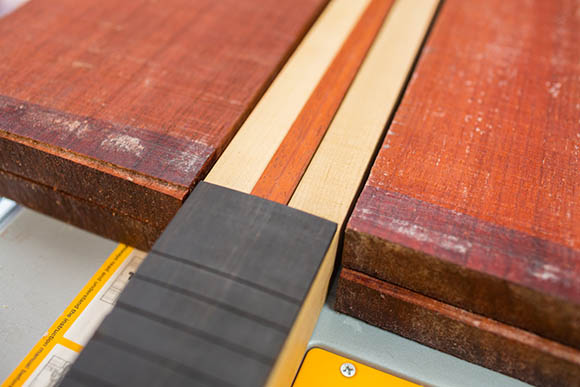
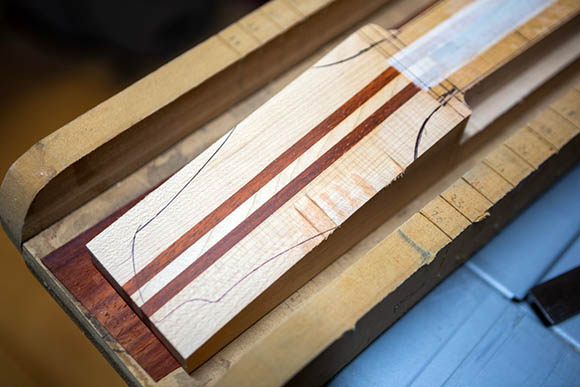
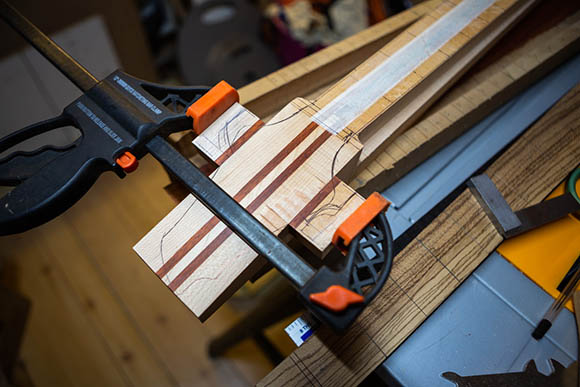
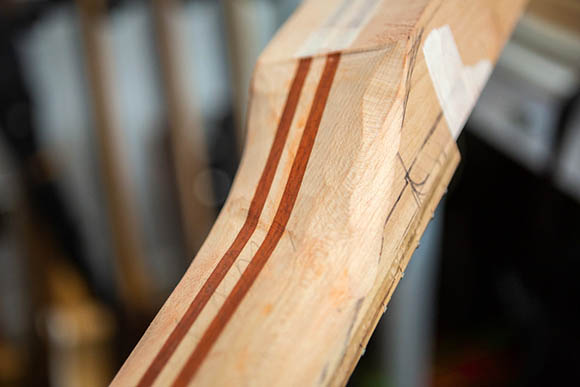
I've split the centre Paduak strip and placed a maple piece between them. It looks really nice. I've machined the three strips so they are the same thickness. Now I have a little excess width to play with.
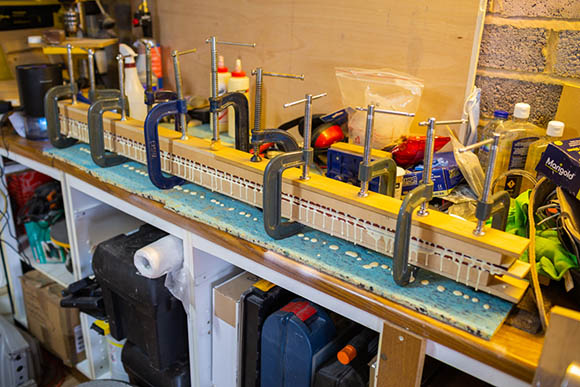
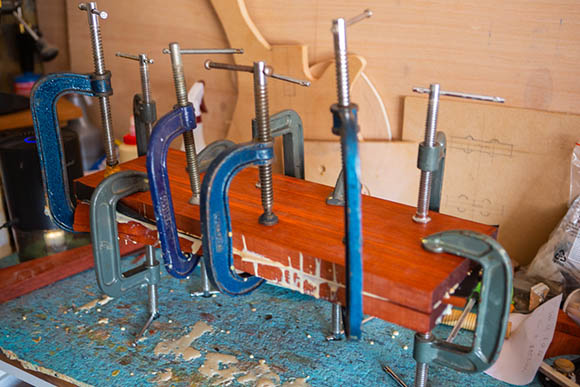
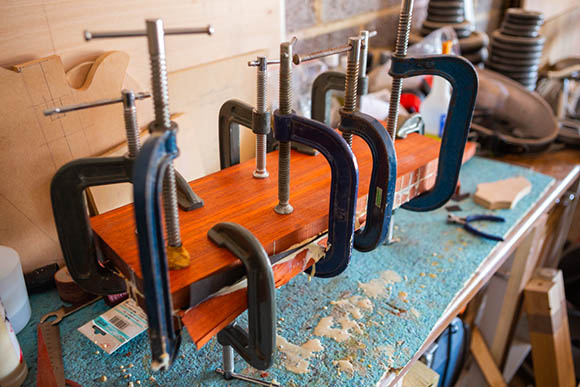
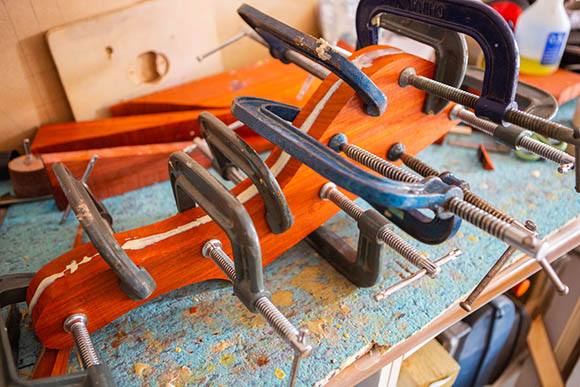
Lots and lots of Titebond Glue for the gluing of the boards.
Lots of clamps to provide an even pressure. Not too much to squeeze all of the glue out...but enough to keep everything in place.
Once glued, this is left for about 3-4 days for the moisure to stabilise and the glue to fully set. |
|
|
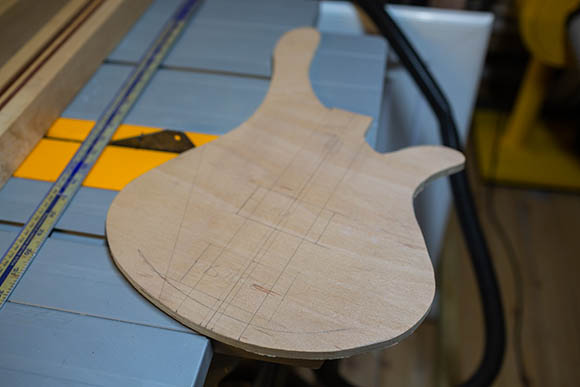
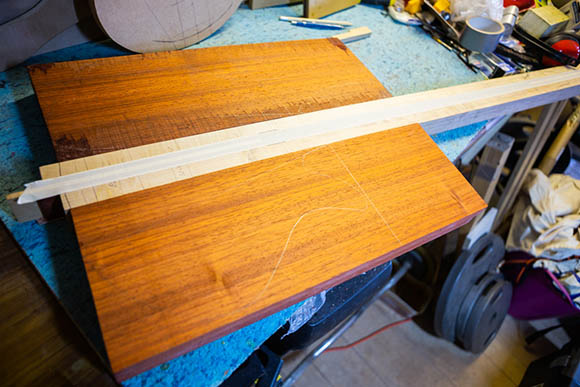
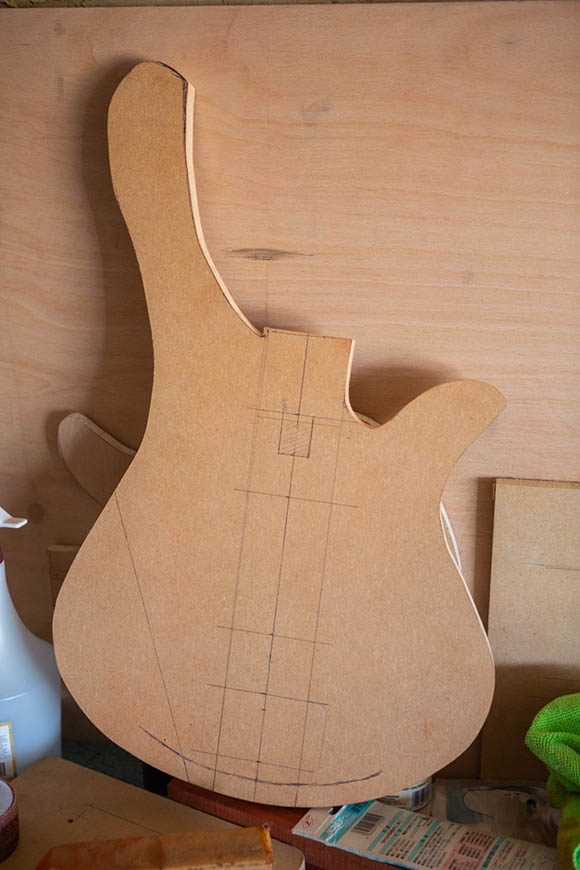
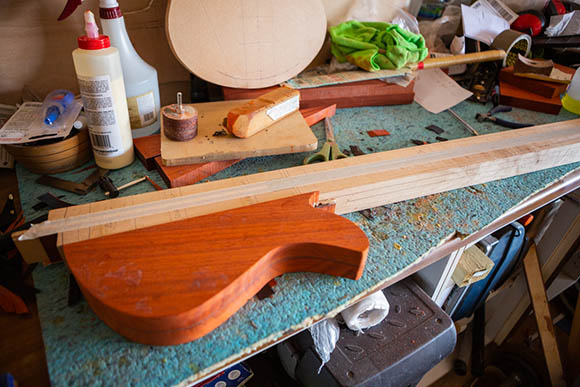
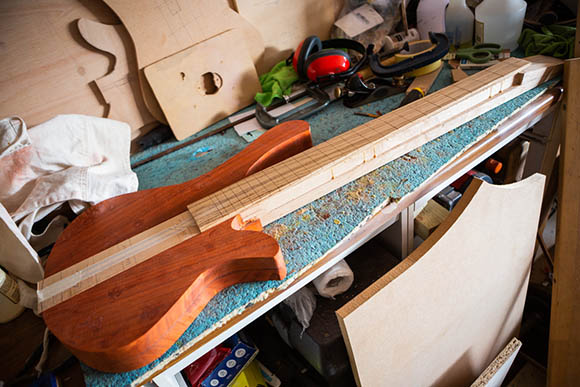
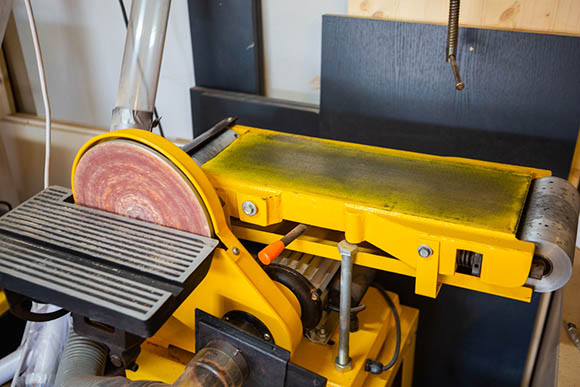
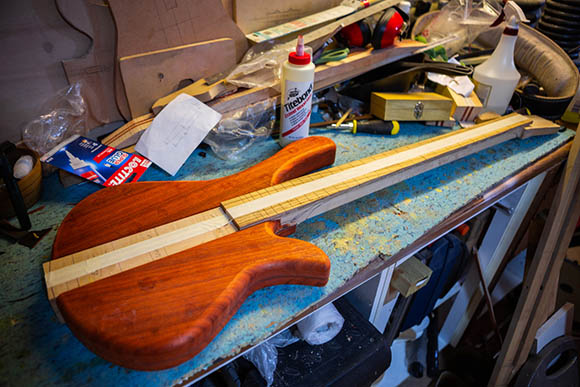
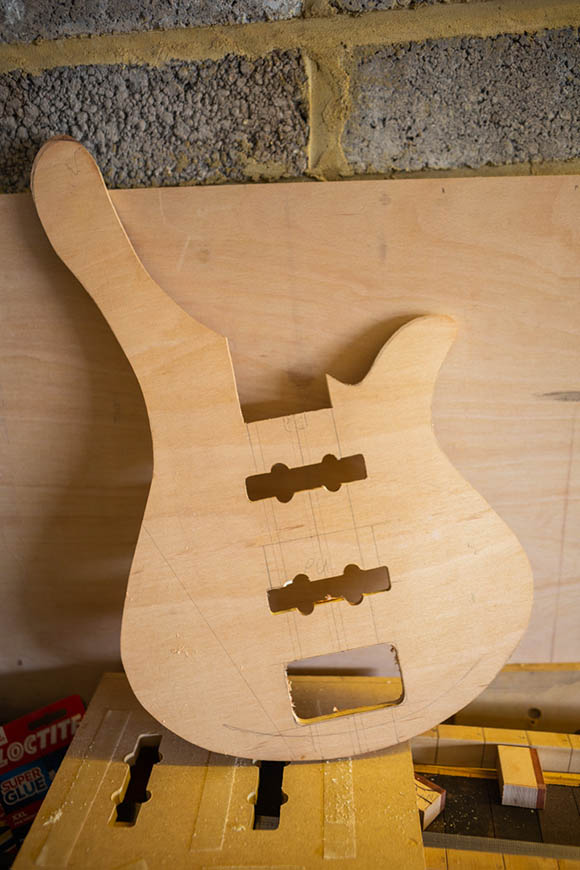
Time to start on the body template. I never made one for this body shape, so it's time I made one now. This was traced from the existing bass (the original bass plan that I drew out on wall paper unfortunatly didn't make the mode to Wiltshire. This made from 15mm marine play that I had spare and I cut it freehand using my band saw. I later used my sanding station to nearten the edges and make the lines flow nice.
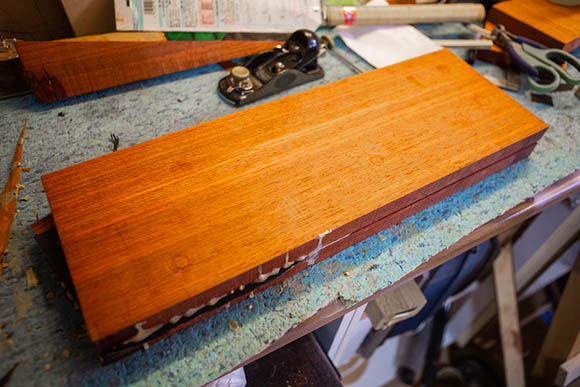
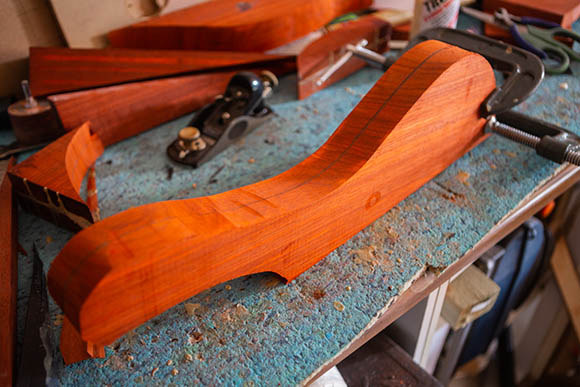
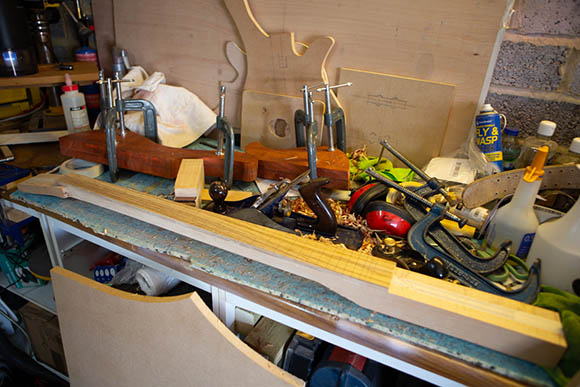
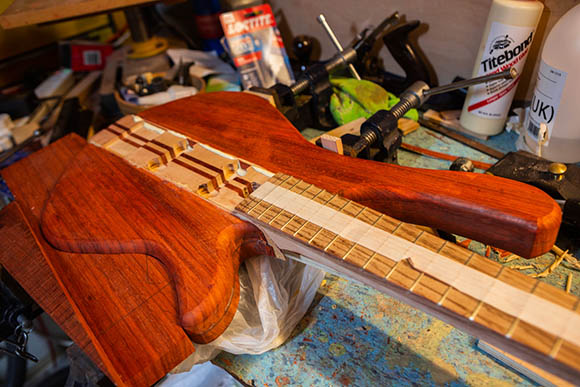
After 4 days, I unclamped the neck section and inspected it.
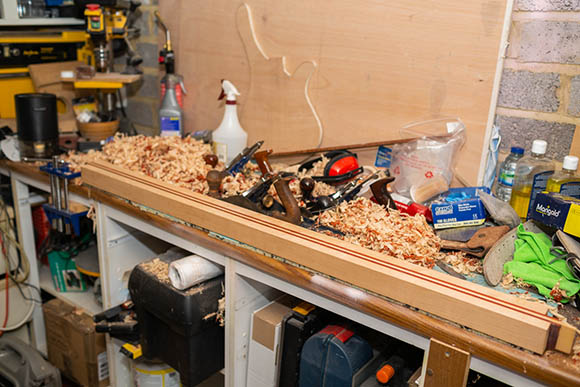
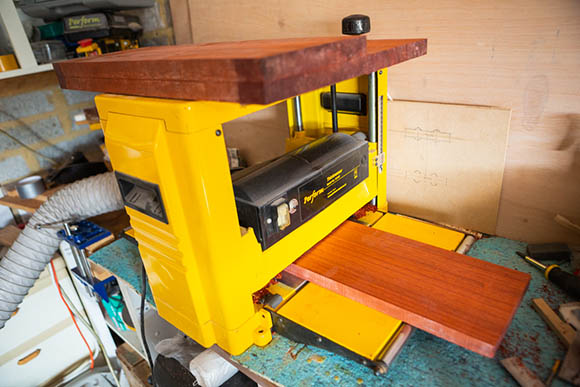
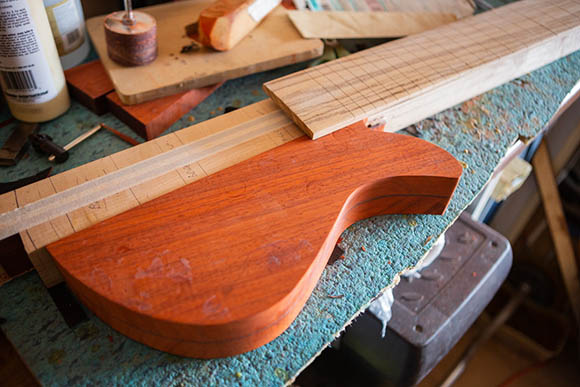
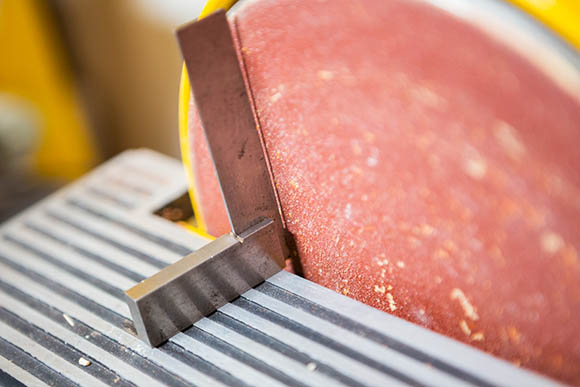
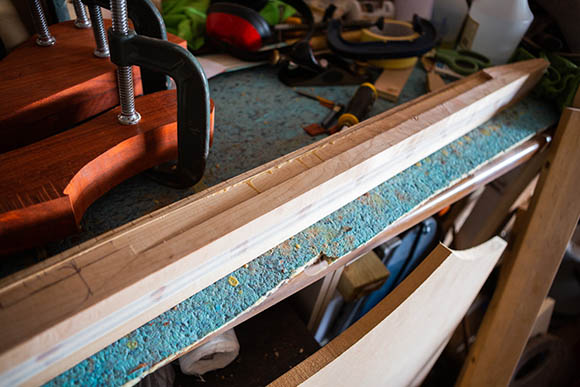
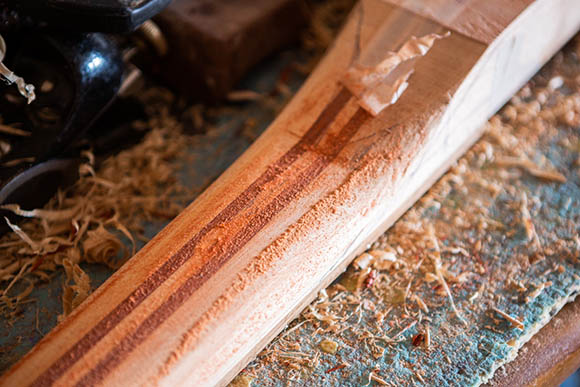
I then started the long process of planing both top and bottom to an even thhickness and then the correct thickness. The sides needed a littel squaring too.
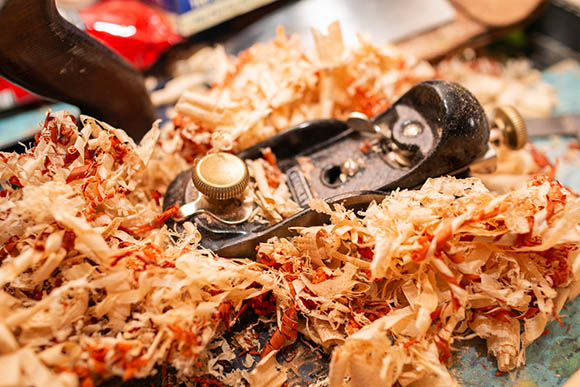
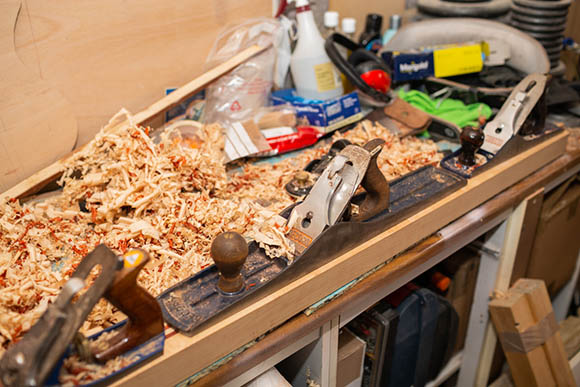
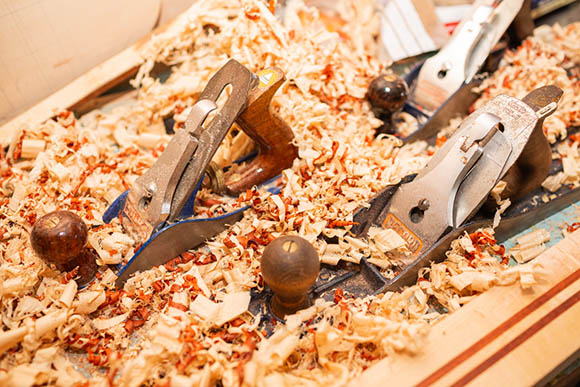
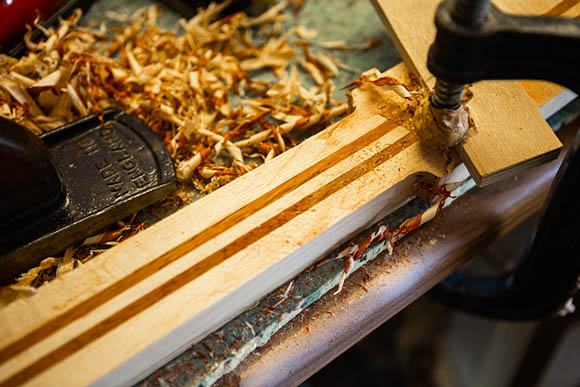
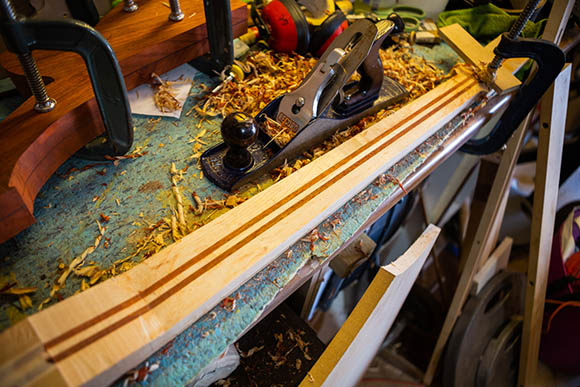
I used an array of hand planes. Although i have a really good Thicknesser, the slight flame in one of the maple boards seems to chip out when machined. So it neeeded the gentle hand planing instead!
So i stated with my small 110, narrow angle hand plane. this hogs off a lot of the excess. Then I swap to my Block plane. Then my No #5 Plain. Finally, once the boards are level, I swap to my big No #8. Set with a very fine blade, this really takes off a lot of material and does most of the heavy lifting. This is what i used to firstly level the top and and then bing it to thickness. I also did the same for the underside. I used the No #8 for squaring the sides.
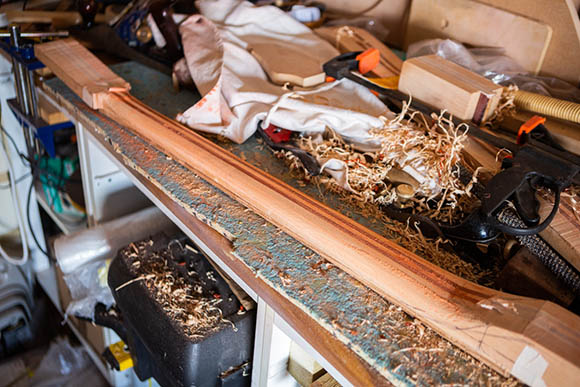
Lots and lots of multicoloured wood shavings. I love the small of freshly worked Paduak! |
|
|
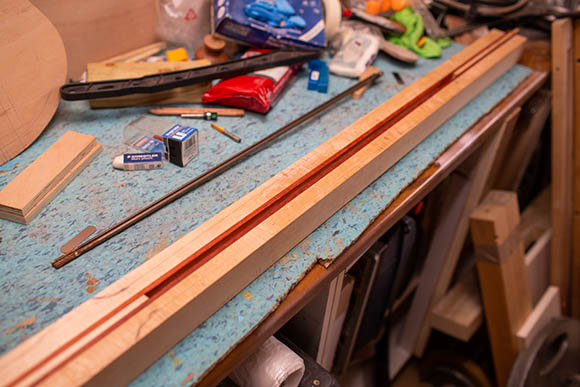
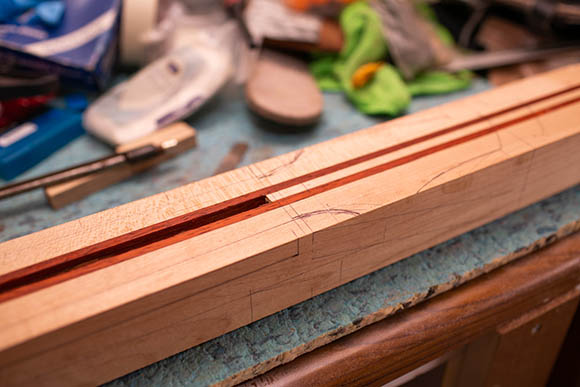
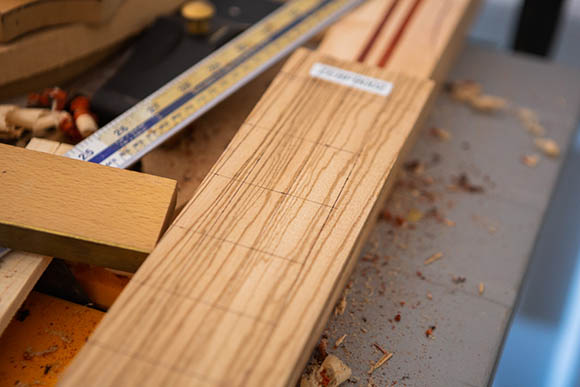
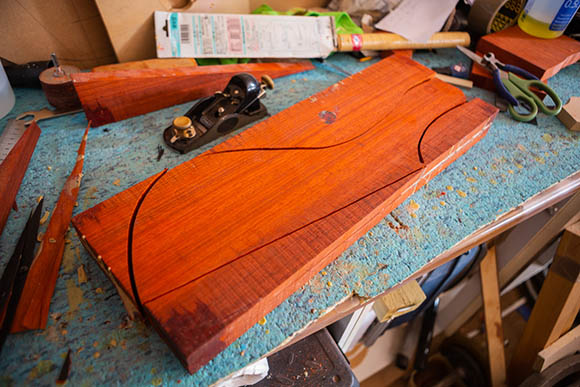
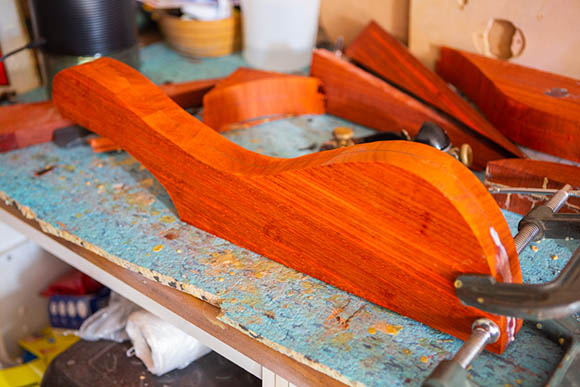
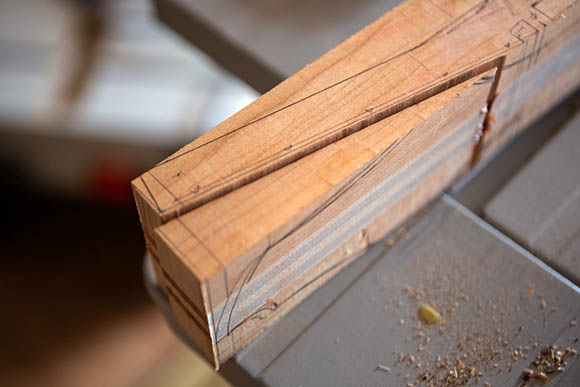
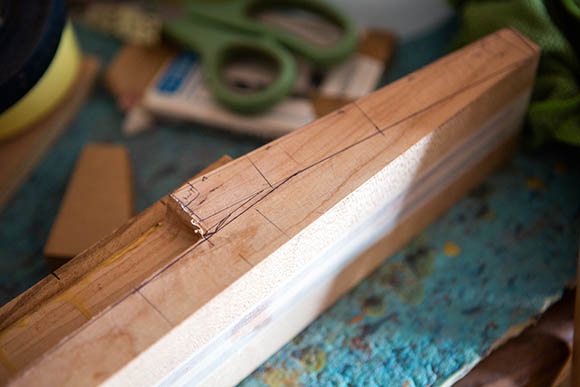
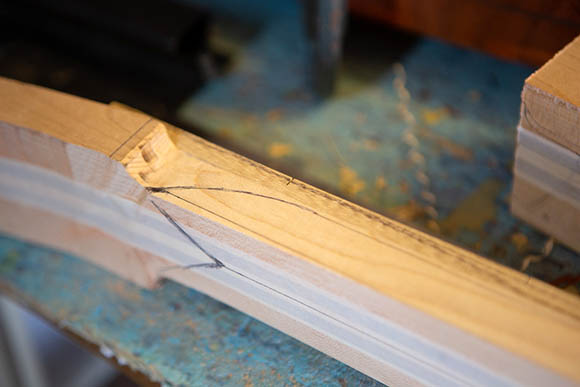
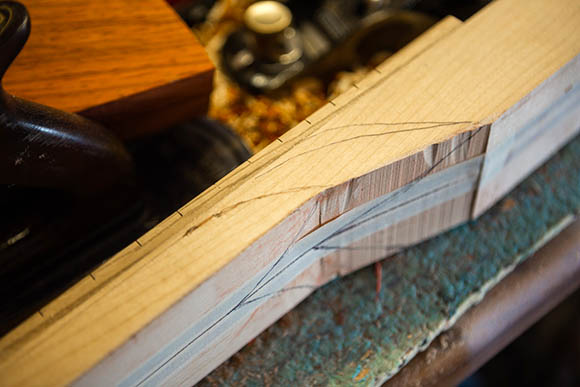
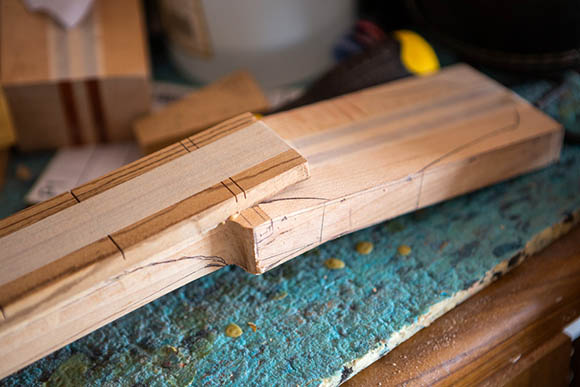
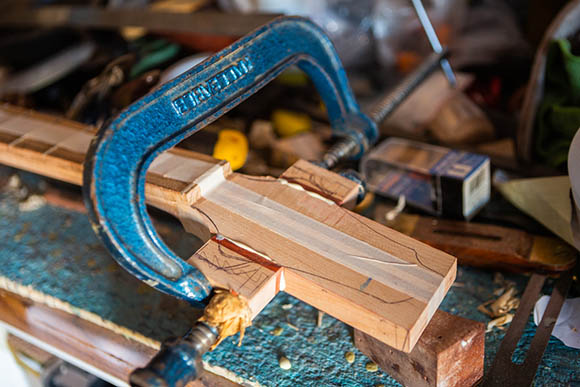
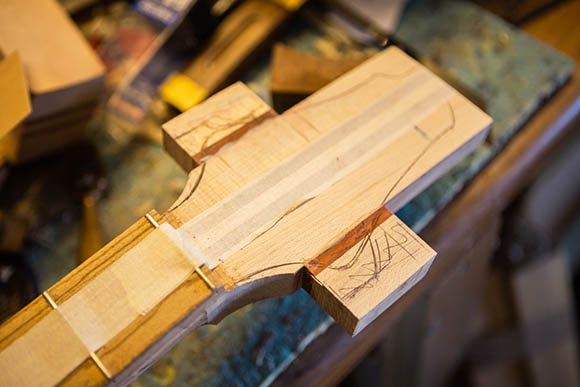
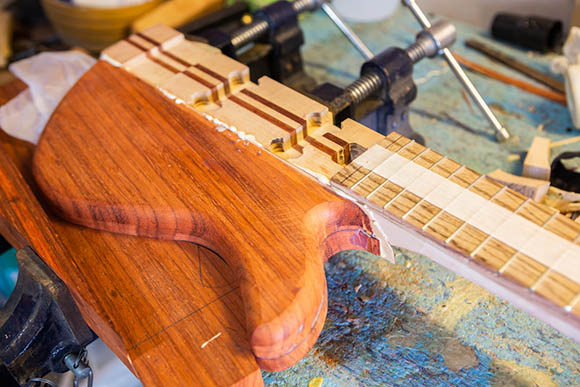
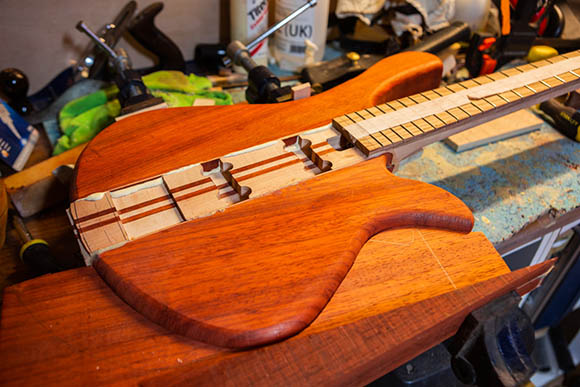
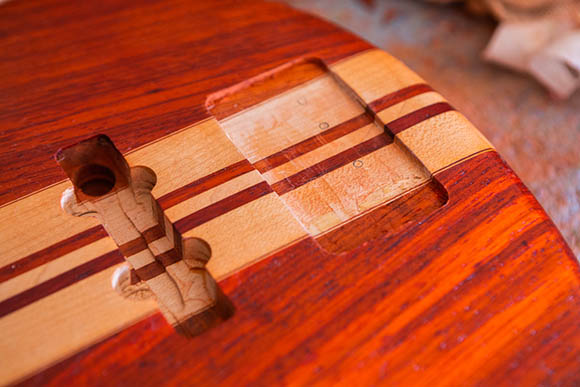
Once squared, levelled and thicknessed, it was time to mark up the neck. Centre line first. Neck depth, Neck width and head stock. Bridge placement and pickups. Pluse fingerboard placement, 24th fret, 12th fret and 0 frets. End of the fingerboard at eitehr end. The Trus rod slot, adjustment cavity and depths need to be marked up.
This helps visualise the bass and it greatly reduces mistakes later. It's important to know these markings well and re-check regularly.
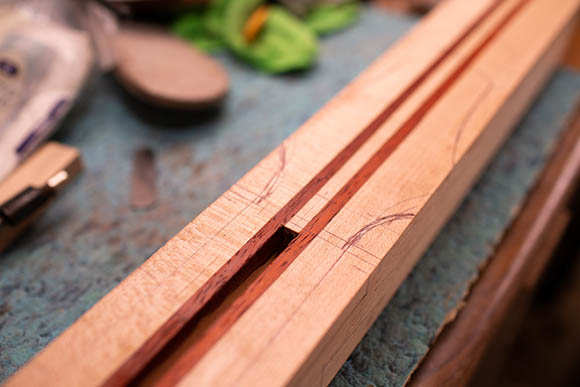
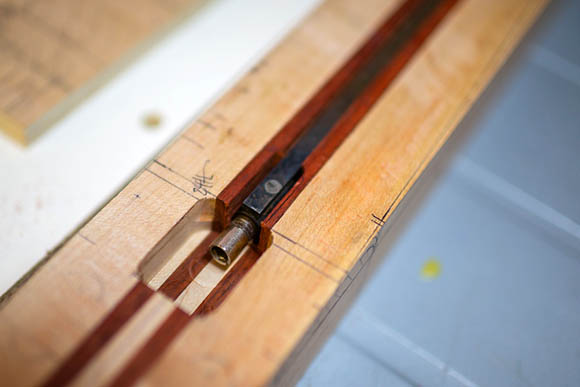
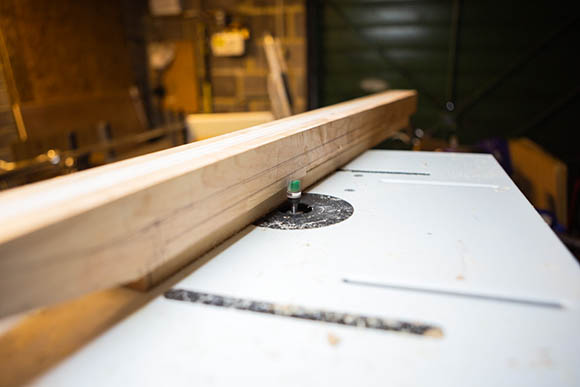
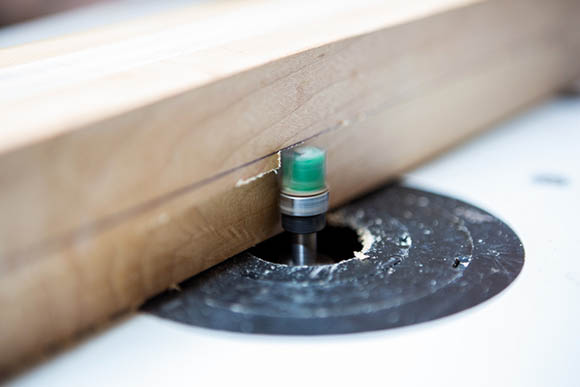
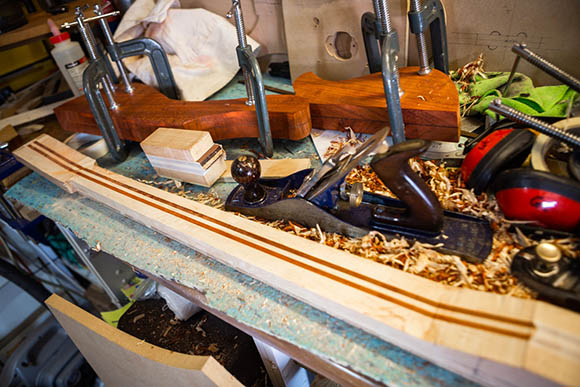
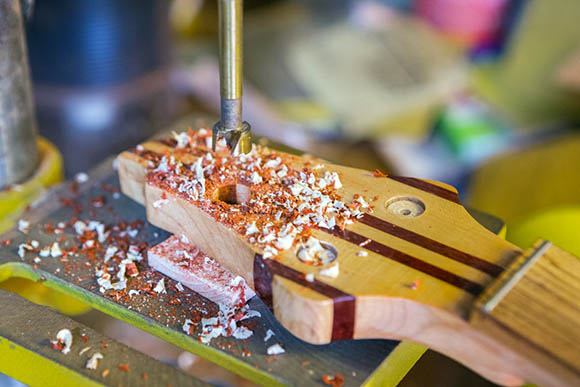
Then it was time to get the router out and cut the truss rod channel out using a batching ball ended router bit.
This went well. I used a top / plunge router (not my router table) so I could see what I was doing clearly and I used a simple router fence along the adge of the neck beam to guide my routing slot. I really took my time and I got a very neat and accurate slot.
The truss rod sits in this channel really snugly.
I then used the same set up to cut out the truss rod adjustment cavity. Which needs to be deeper and three times wider than the truss rod's slot. Again, I took this really slow and I got really nice accurate cuts. |
|
|
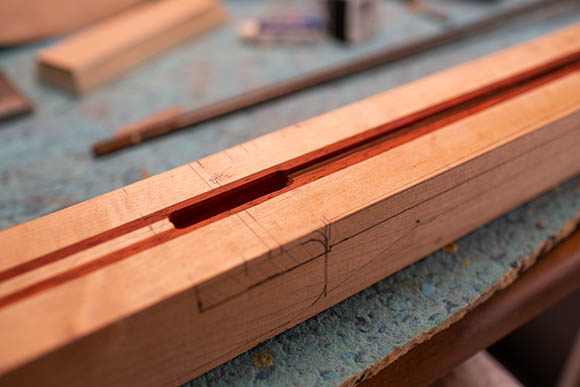
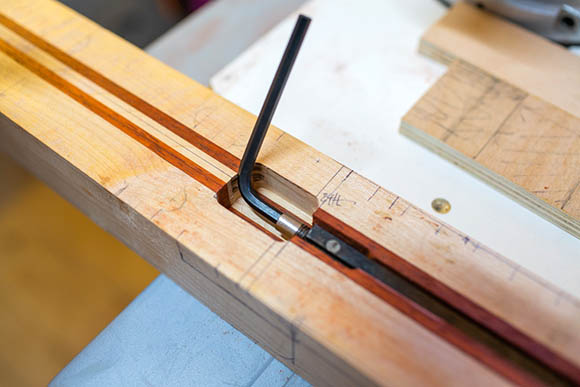
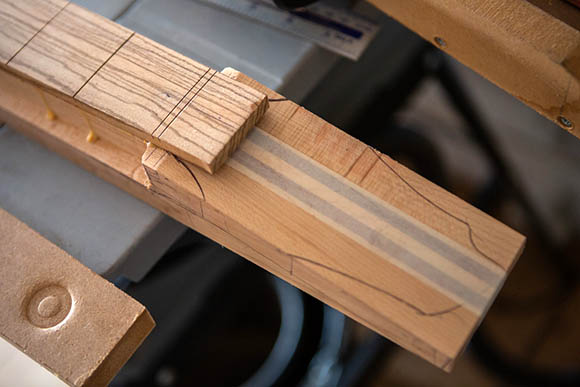
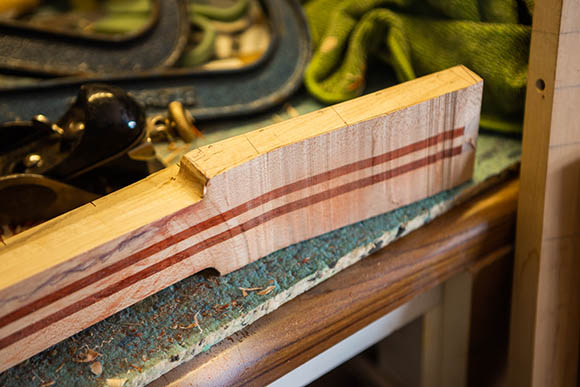
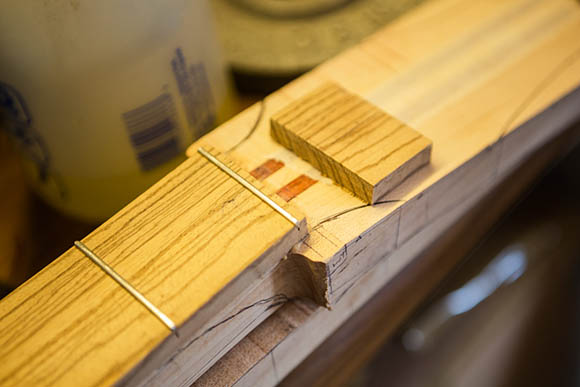
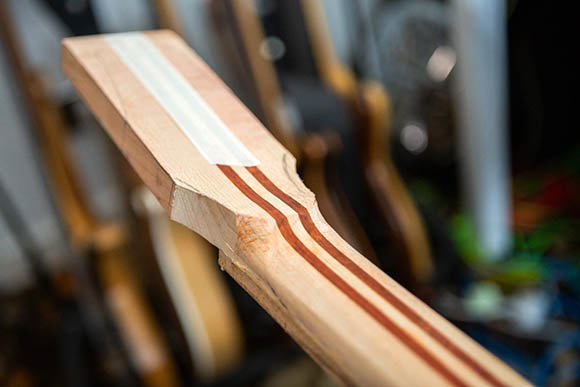
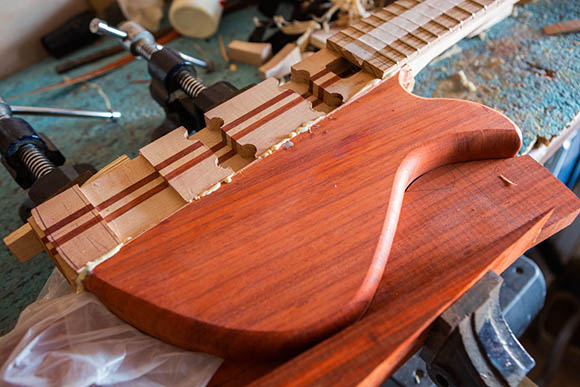
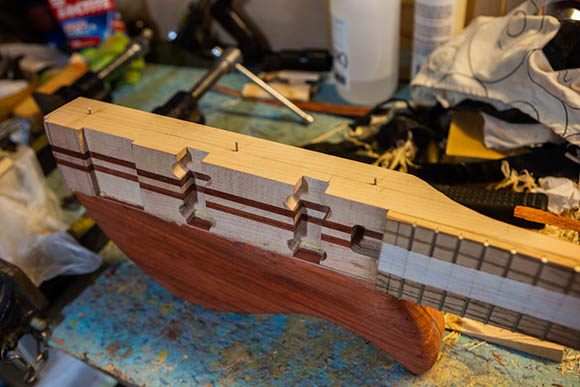
The truss rod sits really snugly in this slot and I can easily get the allen wrench in there for adjustment.
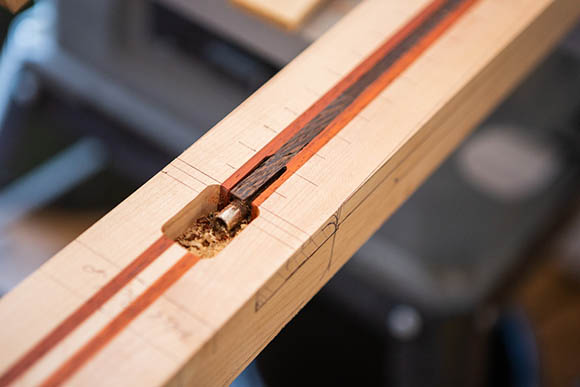
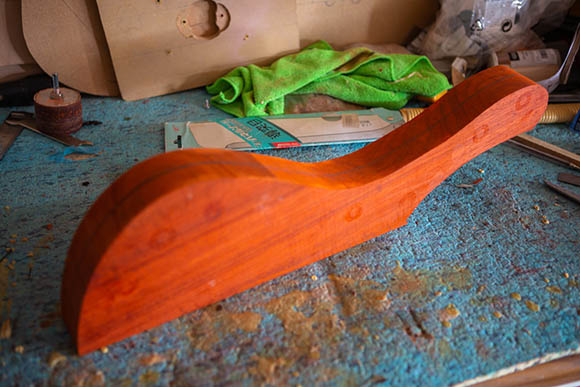
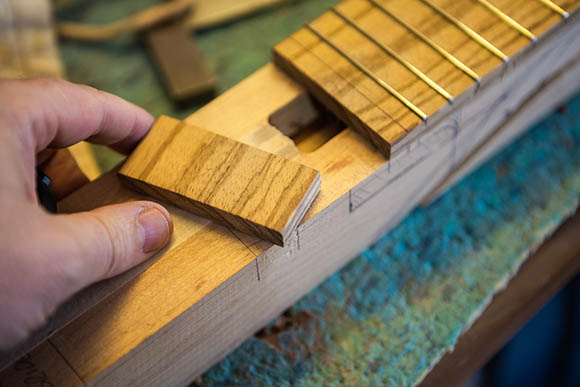
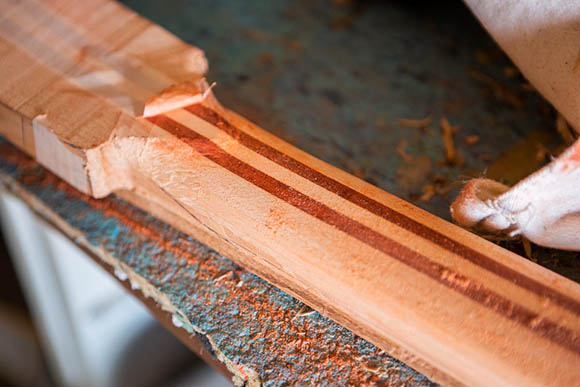
I then cut a fillet to cover the truss rod top (under where the fingerboard will sit). I made this from Wenge, becuase it was easy to reach for, this was a bit from my 6 string's fingerboard....it's good to keep the scraps and off cuts, they come in very handly!
I glued this in and let it set for a few days.
I then hand plained this down uysing my 110 plane and No #5 plane. I needed to scrape it a bit too.
It'll be time to start on the fingerboard soon! |
|
|
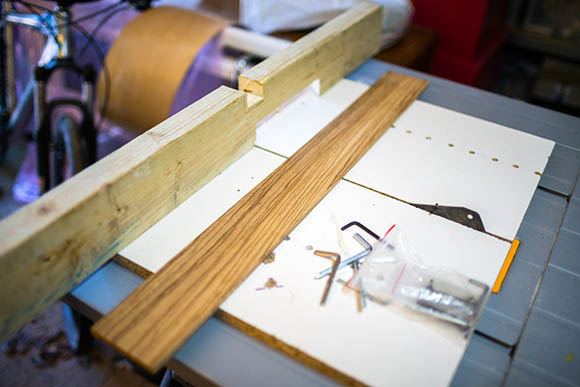
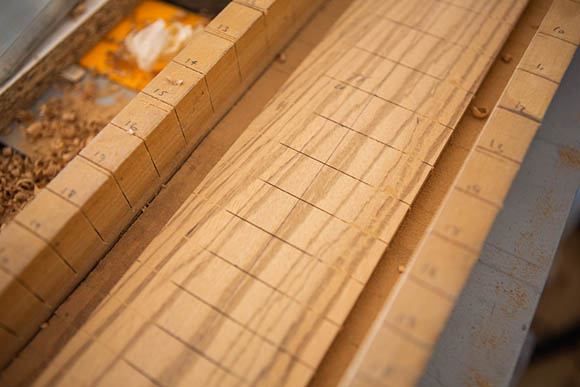
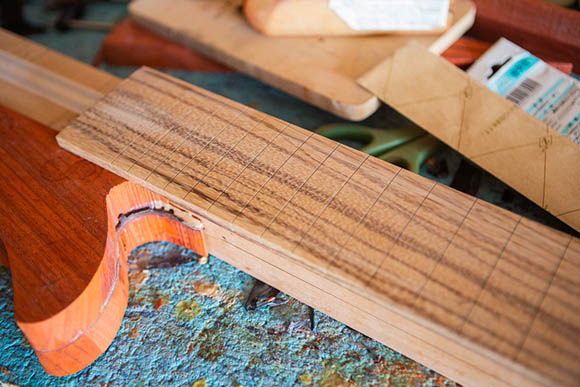
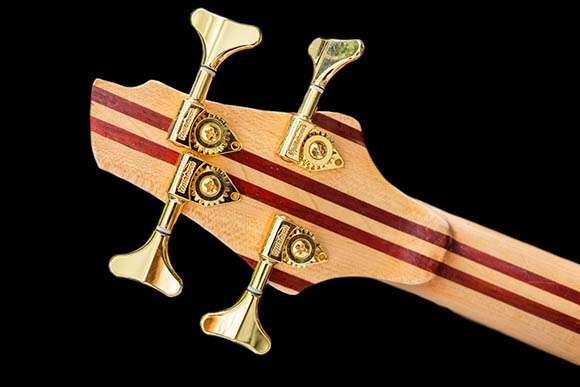
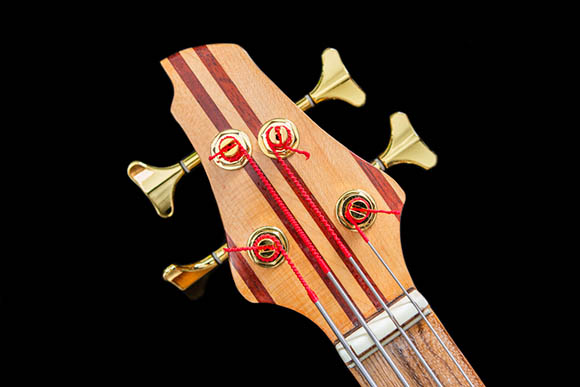
The fingerboard has arrived and it's a really nice piece of Zebrano.
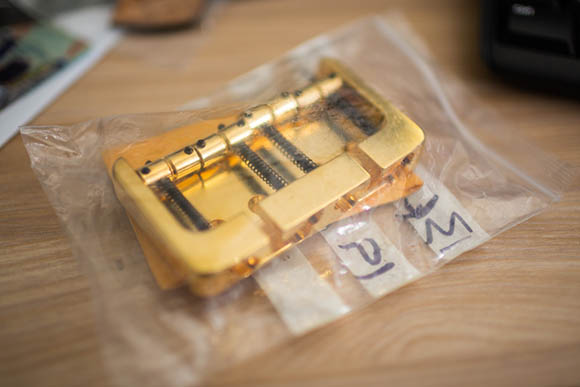
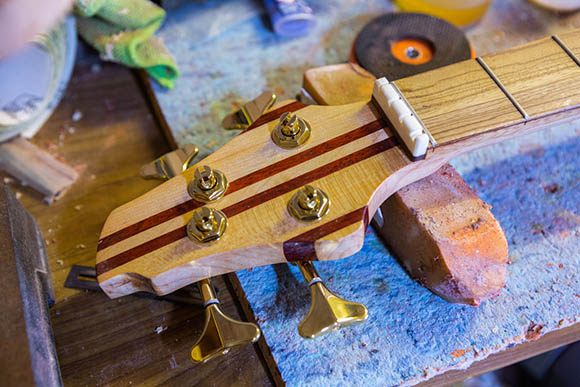
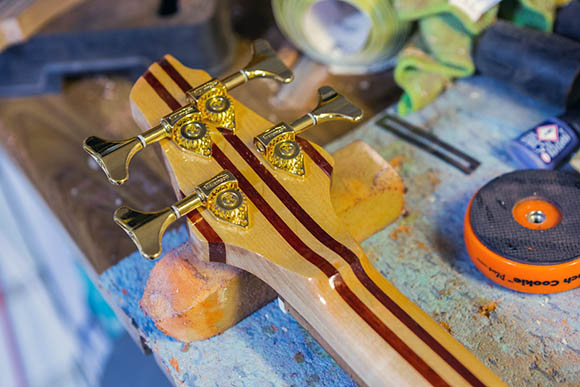
The gold Hipshot Bridge has arrived too, and the tuners. So that's most of the hardware here! |
|
|
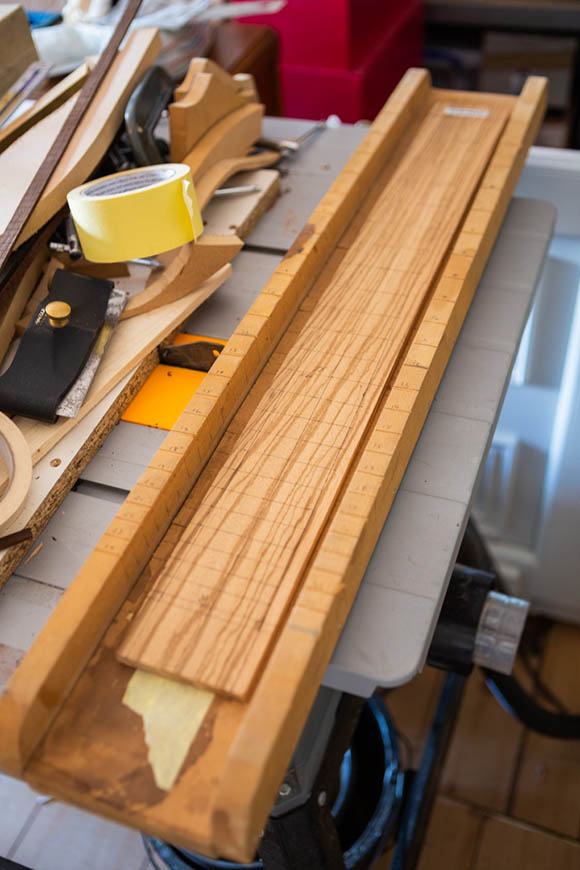
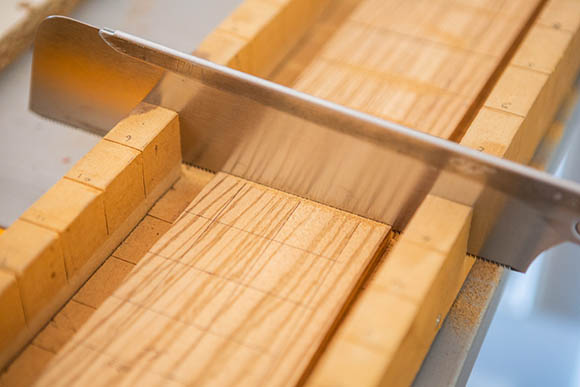
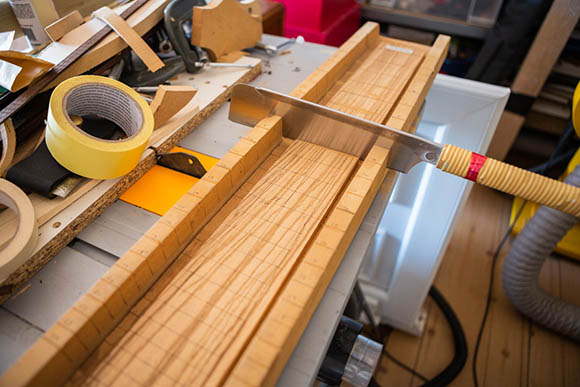
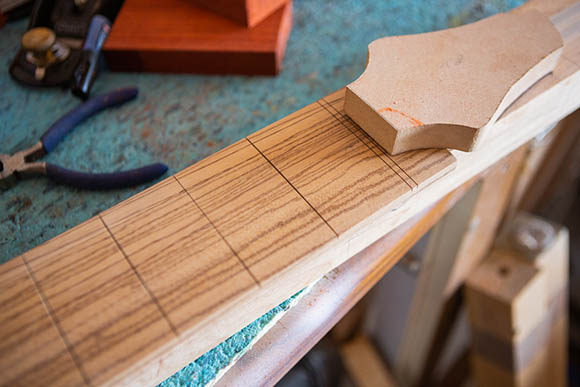
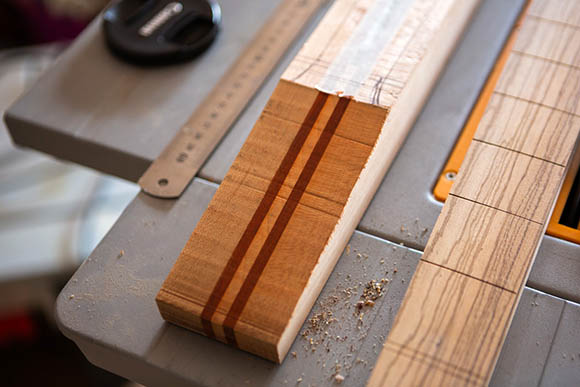
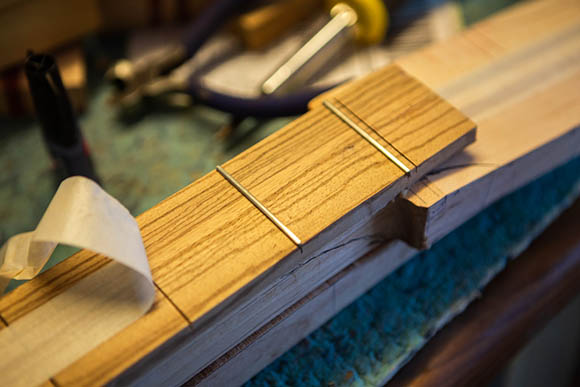
I taped down the Zebrano fingerboard blank into the centre of my 34" scale fingerboard slotting jig. It's so important to find the centre line for the neck and fingerboard.
I like to use a Japanese Dozuki back saw for my fret slots. it's a very accurate and precise tool. I find it much easier to use than a traditional backsaw / tennon fret saw. I have a very god quality fretsaw, but I find the Dozuki much easier to use.
If I was making a dozen basses per month, I would invest in fret slotting machine / device. However, this manual process only takes about 45min per fretboard. Unlike the radiusing...that takes FOREVER!
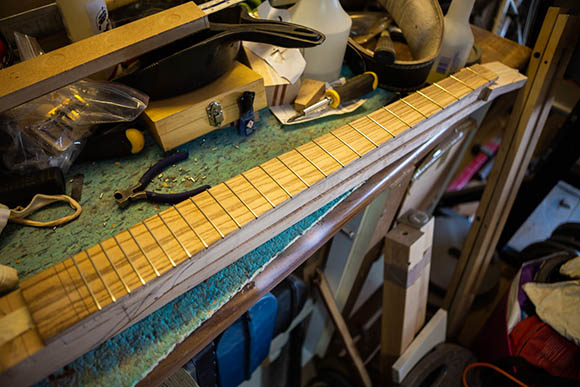
I have a set of Radius Blocks that I bought from Craft Supplies about 20 years ago. Most of my earlier suppliers of timber and materials have all gone or changed. A lot of stuff I now buy from Exotic Woods or Ebay.
I stick down 60-80 grit paper ontot he underside of my radius blocks using double sided carpet tape. I start with a gentle low angle plane on the outer edges for the board. This can be quite rough and tears easily. but it removes a lot of material and makes the sanding much easier.
With wide bass boards, this radius sanding is a huge effort. I can't do more than an hour of sanding and after an hour, the sandpaper is done and needs a re-plenish. I start with a tighter radius then I want and then throught he radius, with a final sand at the target radius. So in this case, I'm aiming for a 16" radius and I'm using 12", 16" and 20" set of radius blocks. I used to have a crude radius routing jig that I made a few years back. Unfortuantly it didn't make the move. Hand sanding takes about 4-5 hours and is a very inefficient process in terms of material and effort.
At some point I will need to design and fabricate a fretboard radius jig for my router, to reduce this hard and slow process. I'll probably need to make this when I'm between bass builds. |
|
|
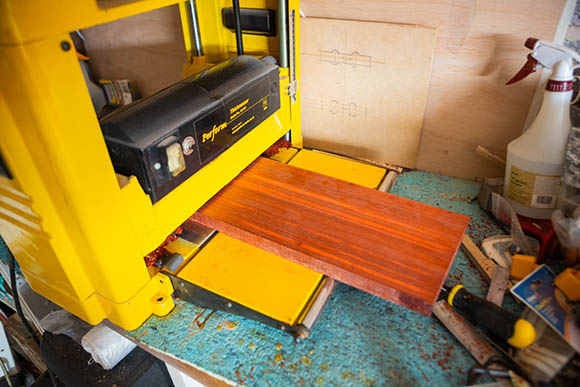
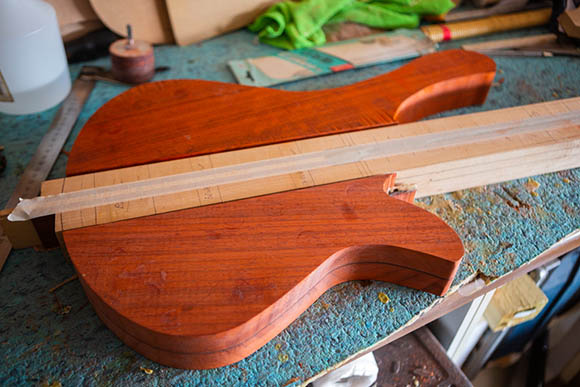
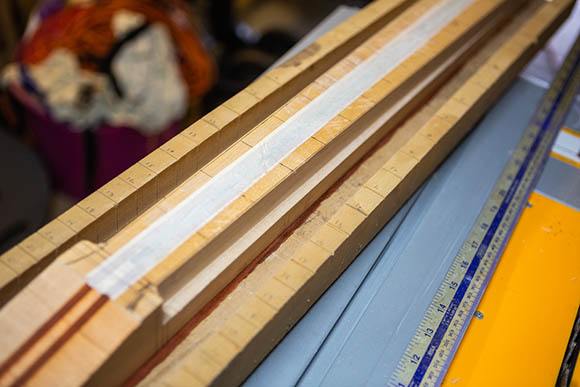
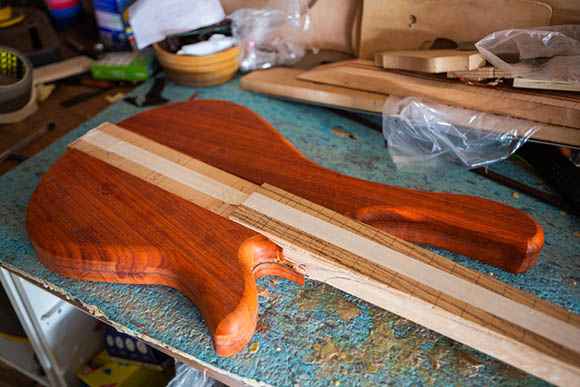
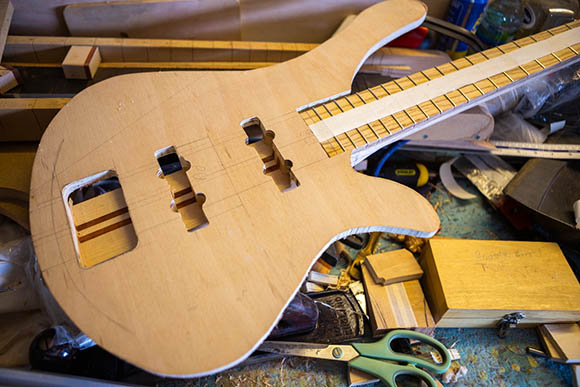
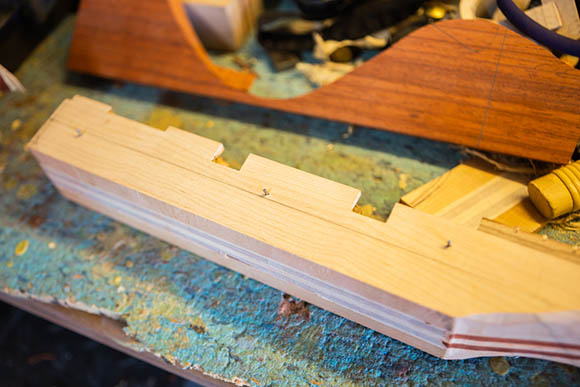
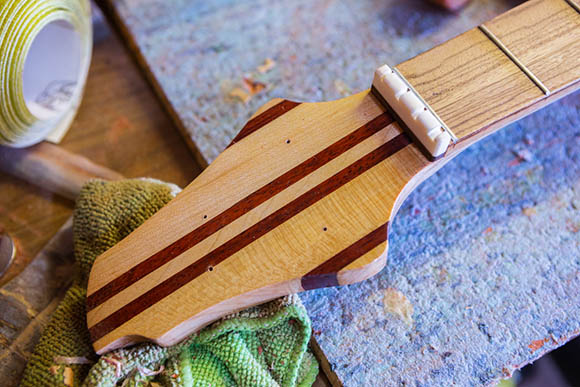
I ran each of the 4 One inch Paduak body banks though my thicknesser. Making each piece exactly the same size. So when I come to gluing two of these with veneers, eitehr side of the body will be exactly the same.
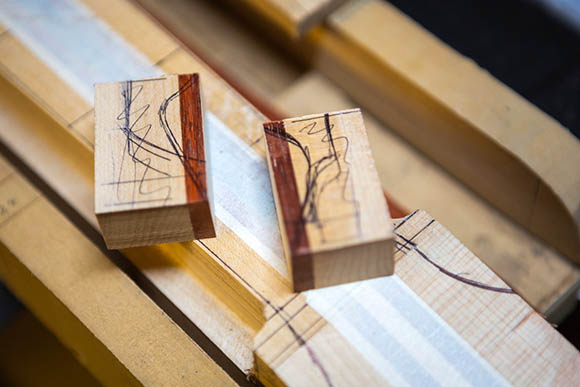
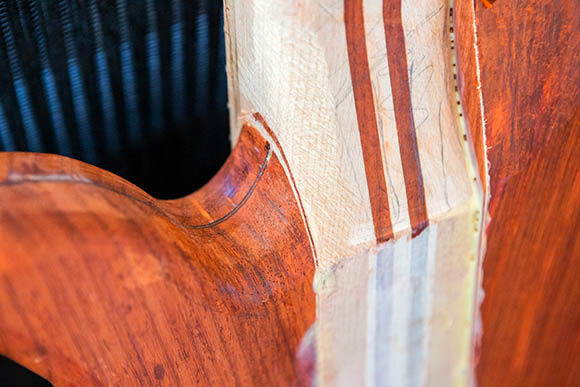
I arranged the pieces so that the grain pattern looked nice and then I marked out the cutting profiles on the selected top pieces.
Because I'm angling the grain run of each piece quite dramatically, so the grain runs out at an steep angle from the through neck centre block, I need to be very careful that my marking are consistant and accurate. Tripple checking everything. |
|
|
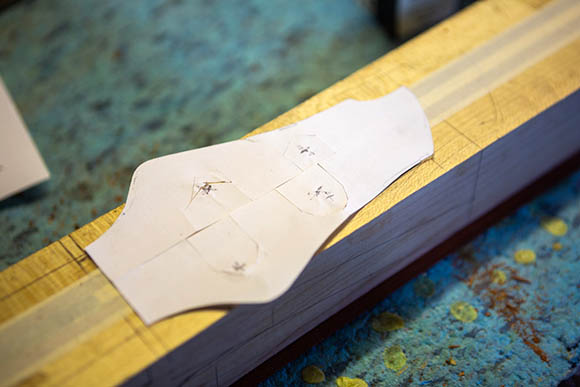
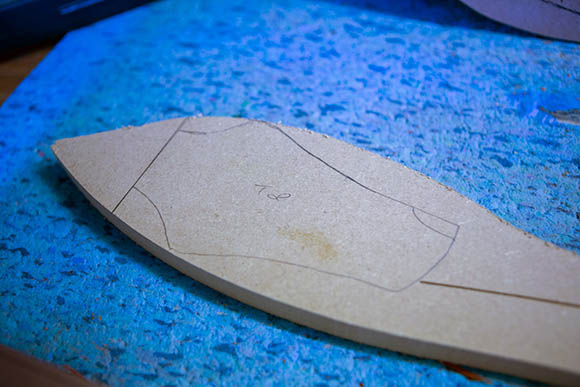
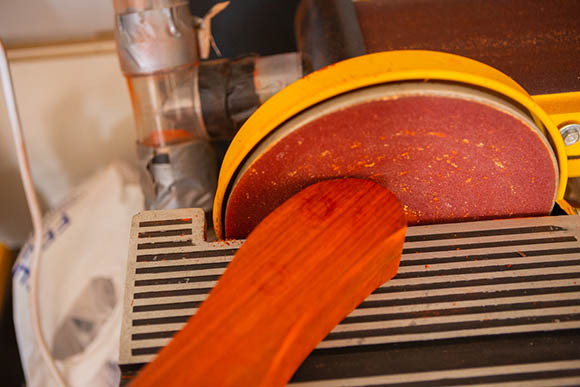
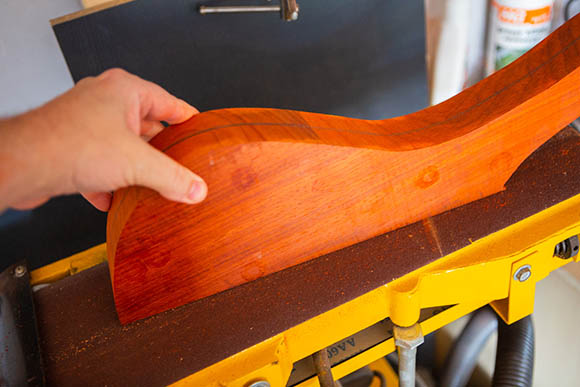
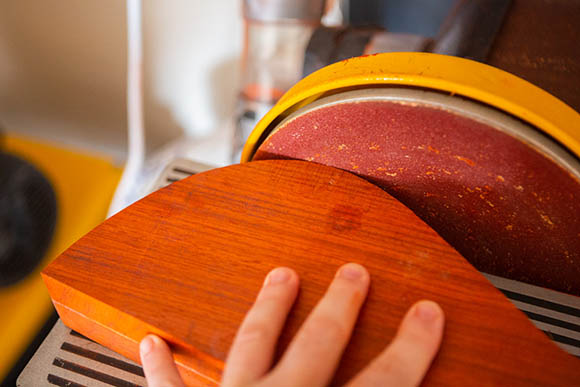
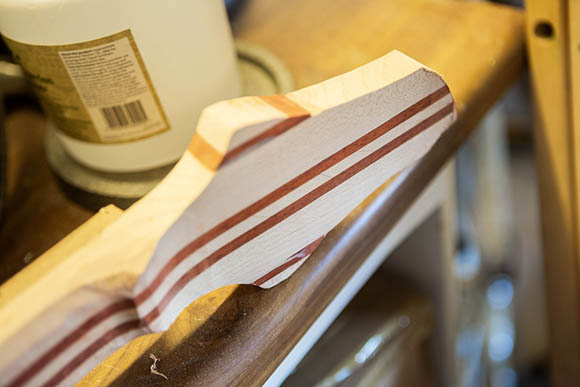
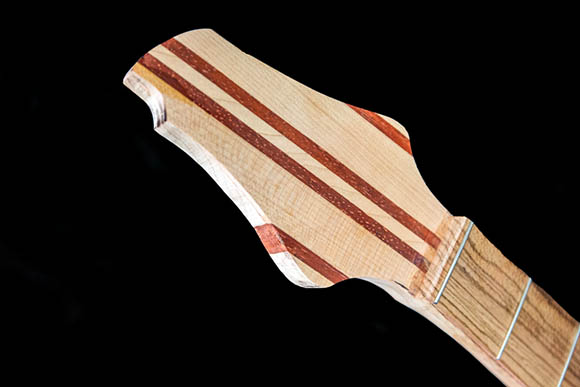
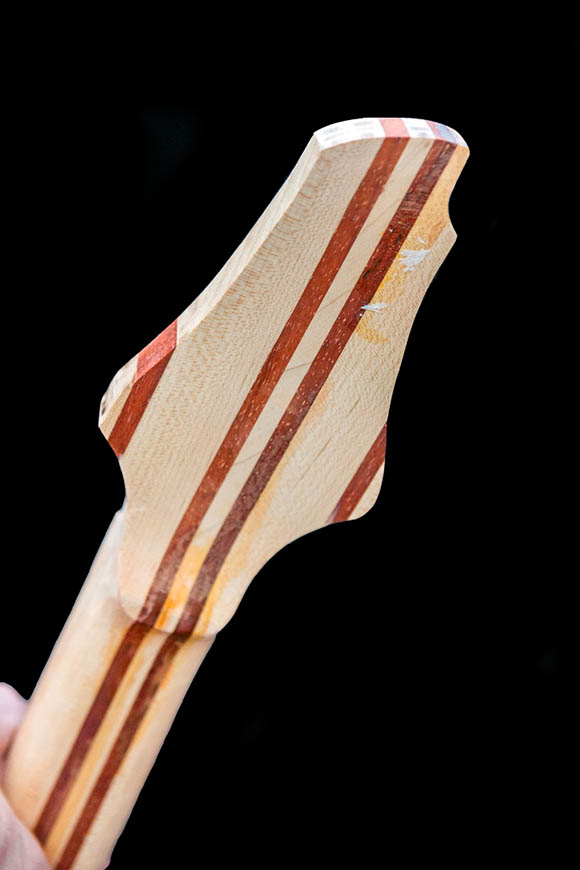
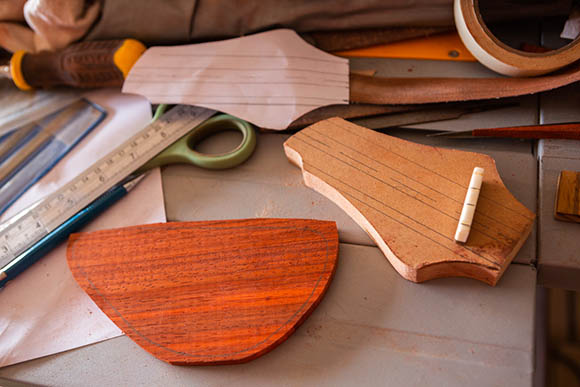
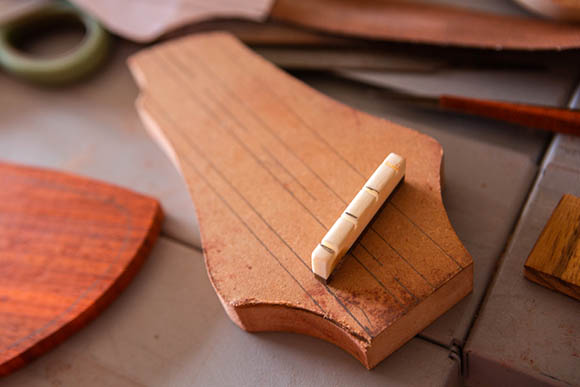
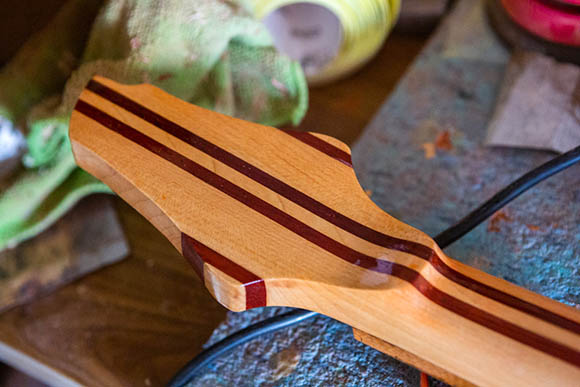
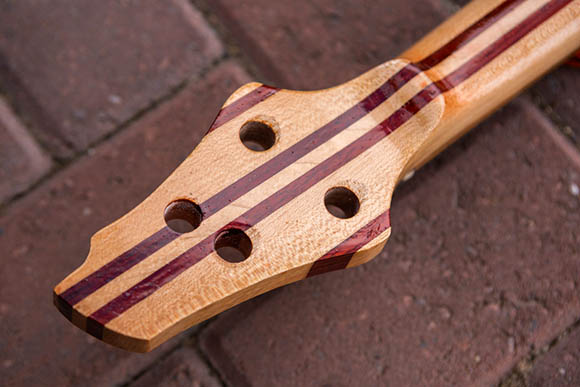
I cut out a new headstock template in 15mm MDF. for me this starts with a paper drawing, then I cut it out. Scribe to the MDF blank. Then i cut it out roughly using my bandsaw and finally neaten to my line using my sanding machine or bobbin sander.
This is a slow and meticulous piece of work and any mistakes wills end this template straight to the bin and start over. this time around, I got the template in perfect shape first time. |
|
|
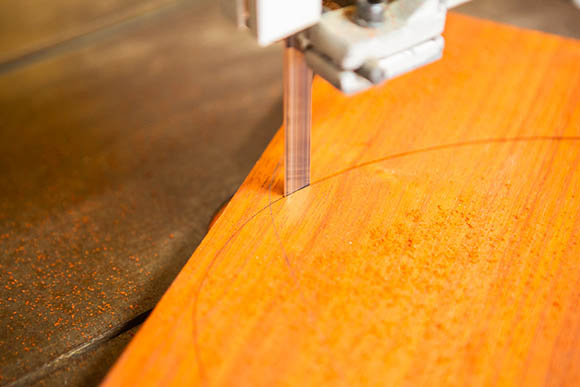
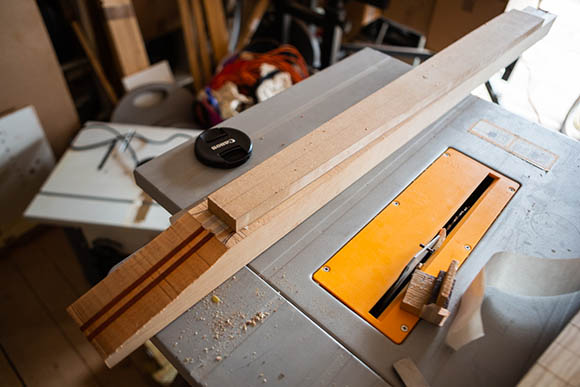
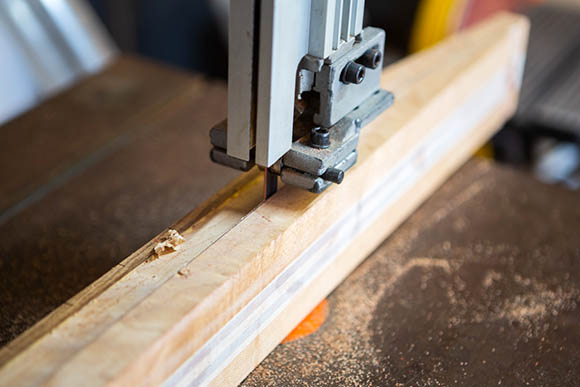
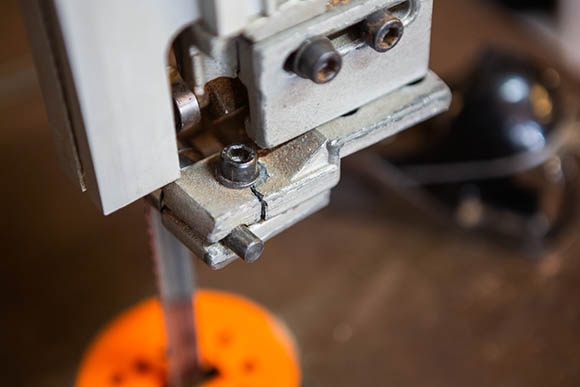
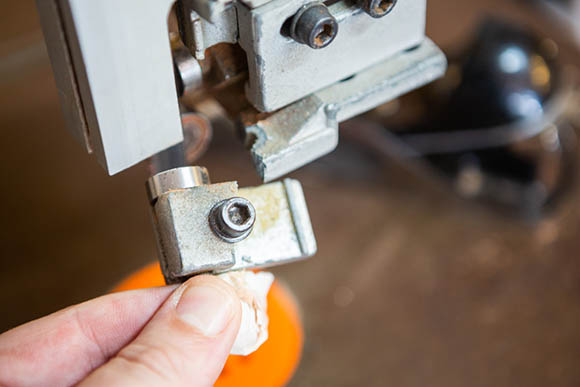
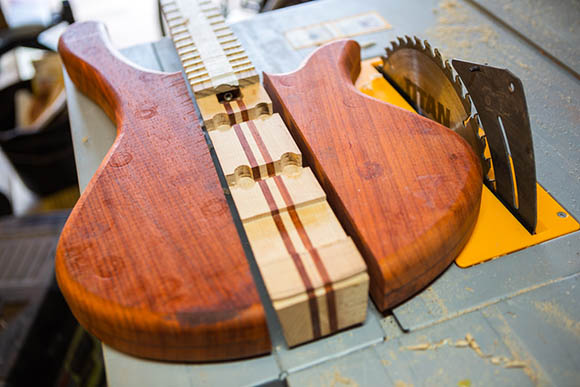
I currently have a wide rip saw blade fitted to my bandsaw. it's the widest that my bandsaw can take. For a band saw, it's a fairly smooth finish. I find the wide blade doesn't drift so much and it's easy to set a 90' angle to the table / blade fairly easy. it's no so good for tight cuts...but I leave those for my jigsaw. I find the thick rip blade is quite slow for thick pieces (like cutting the neck profile) but great for 2" lumber, it cuts though it with ease.
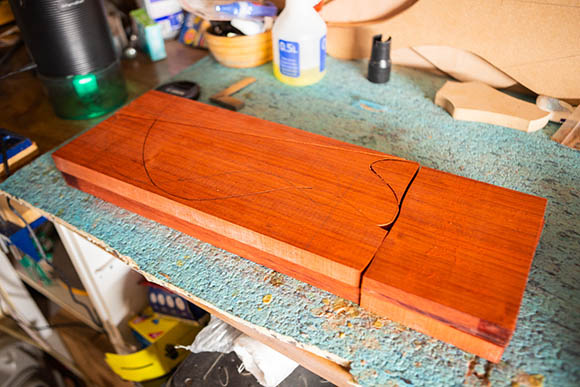
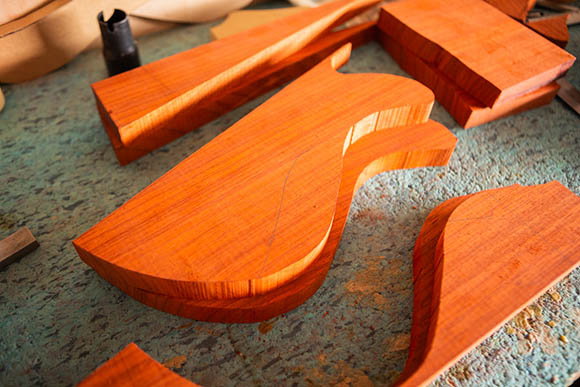
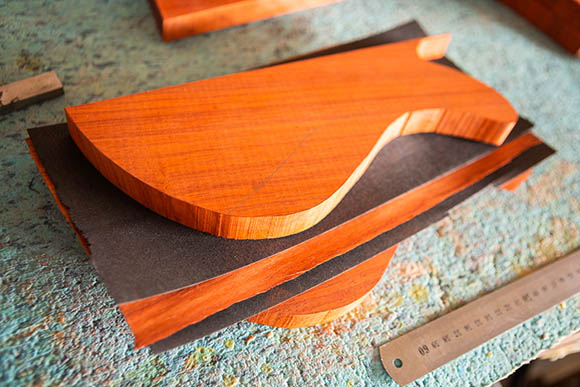
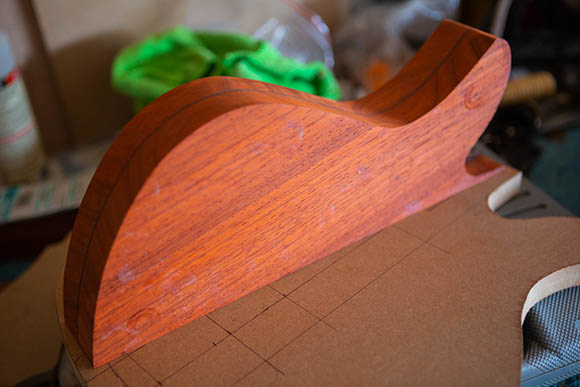
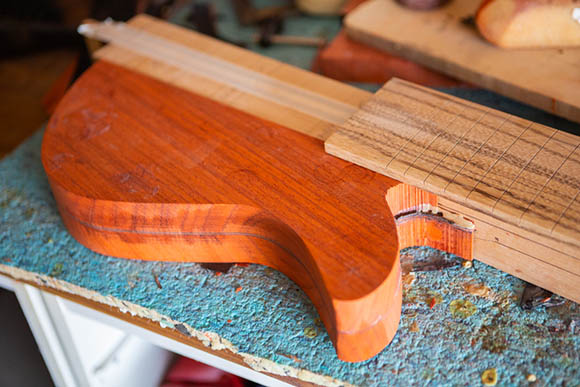
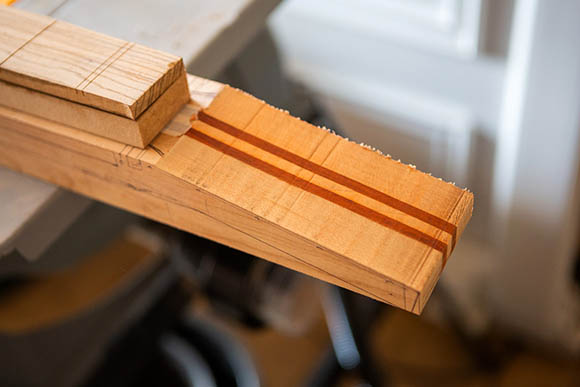
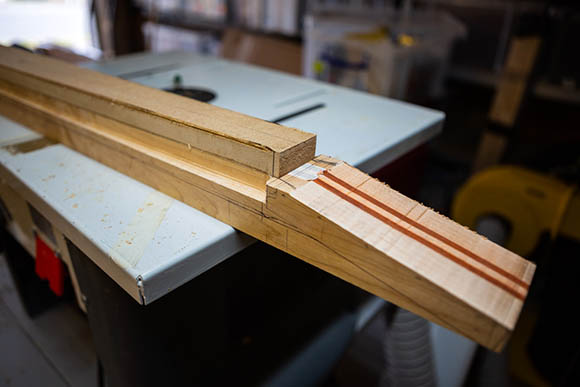
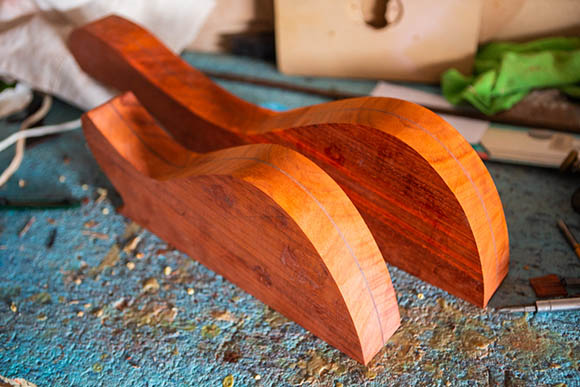
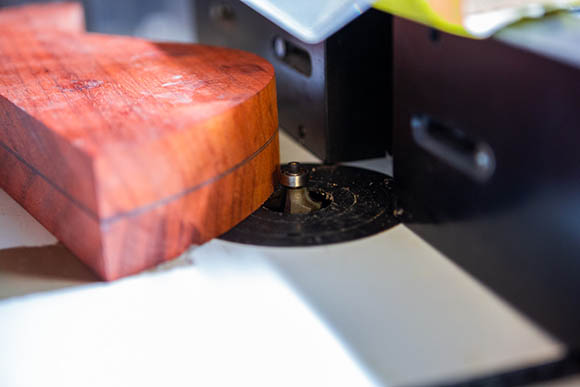
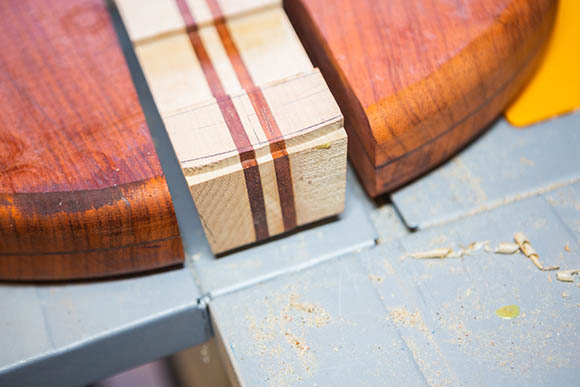
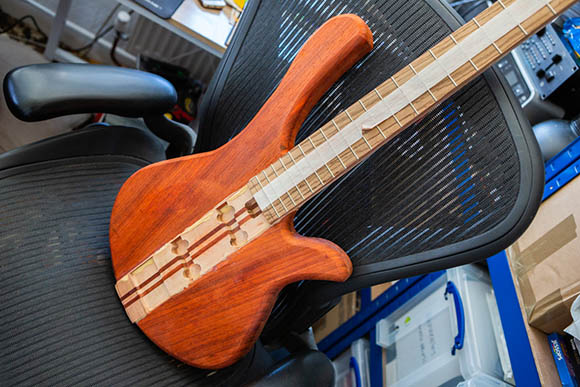
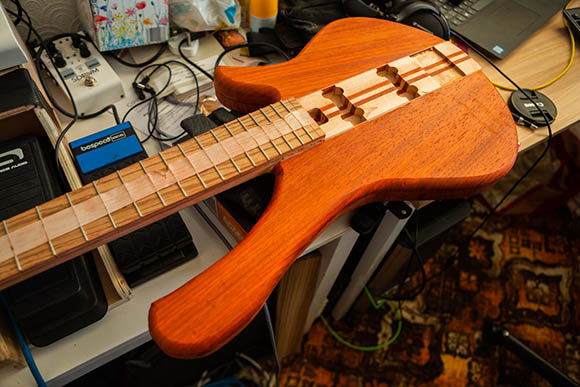
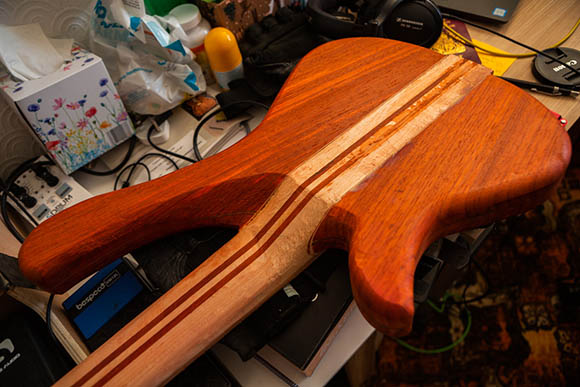
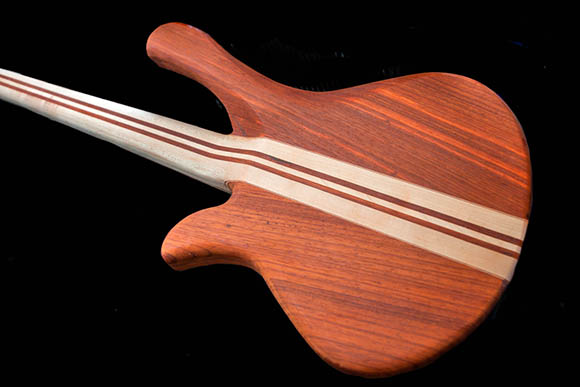
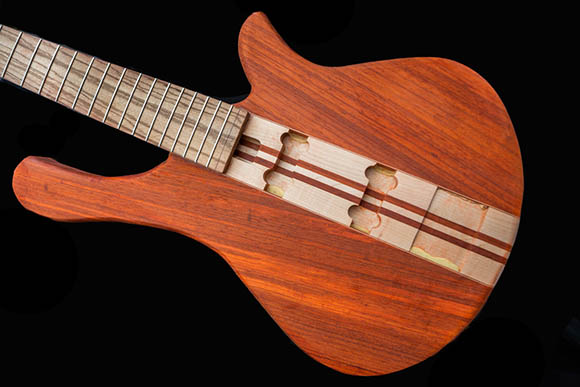
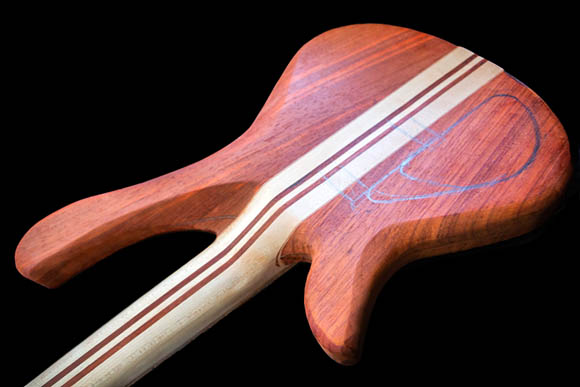
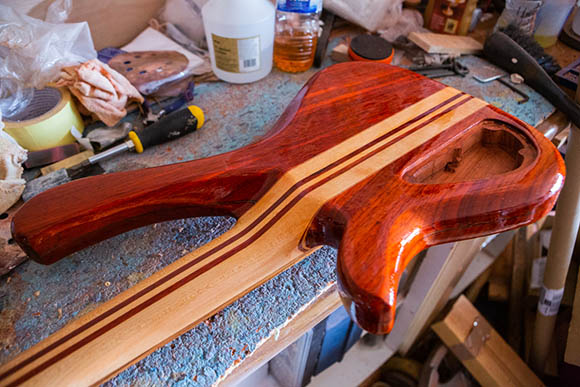
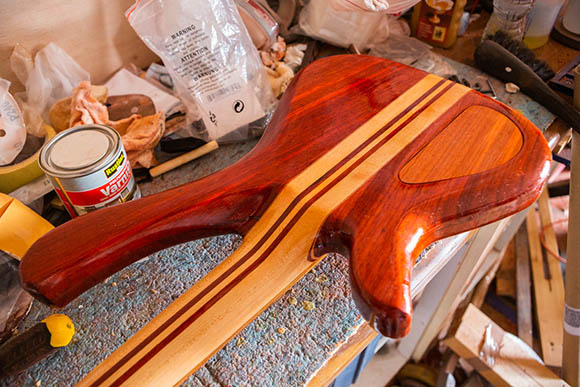
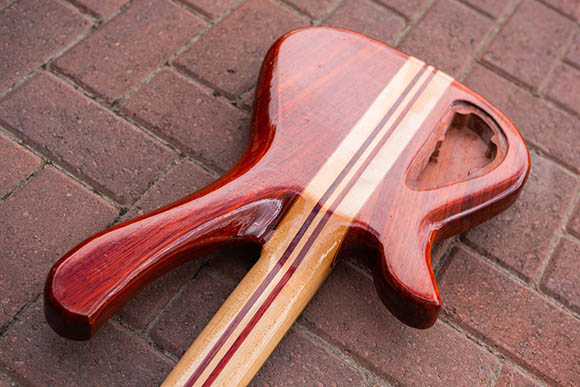
For the lower horn, I cut out the profile of the two body halves. I then selected the veneers for to go between them. In this case, I'm using a single strip of Paduak with black veneers either side. This will create a fancy twin black pin stripe though the body. I've arranged the off cuts so it's easy to see the cutting that I did to make this lower horn.
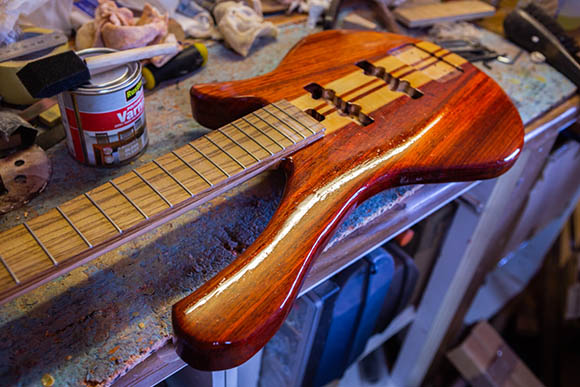
For this bass I need to radius the body's top and counter radius (concave) the underside. The top is easy to do with a hand plane. the underside is more complex and really should be machined. I will need to make a wide boty radius jig for my router. |
|
|
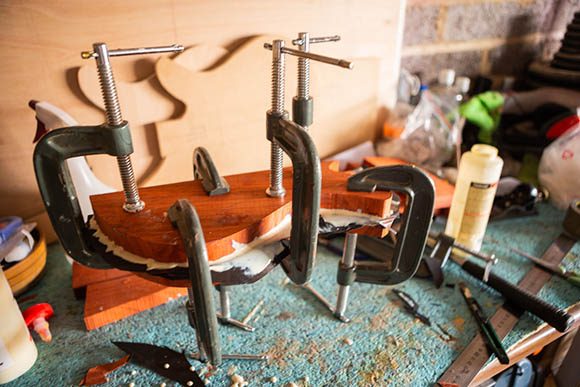
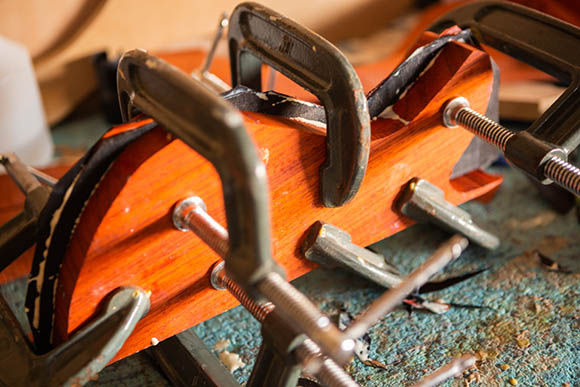
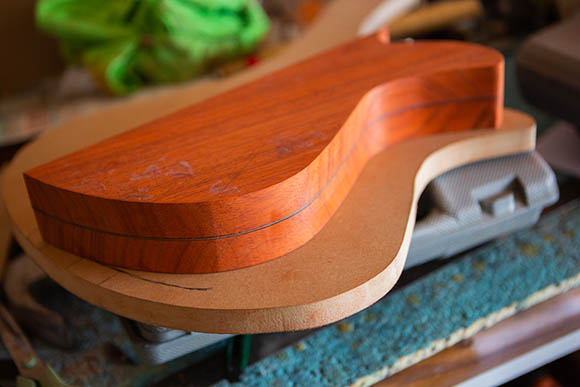
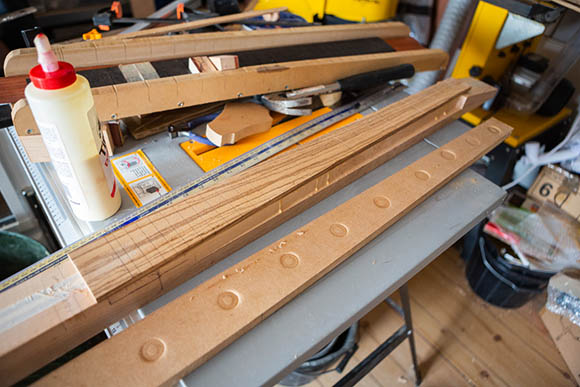
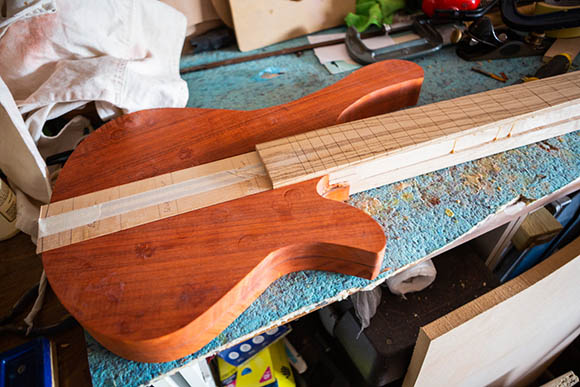
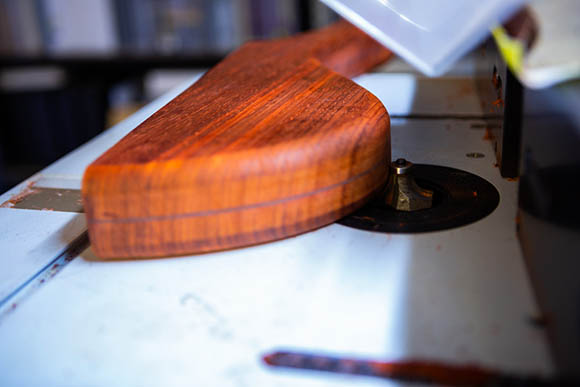
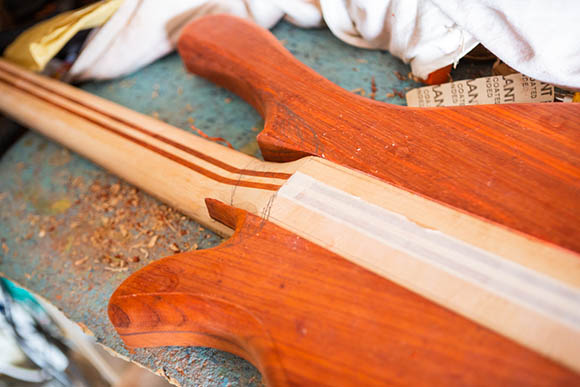
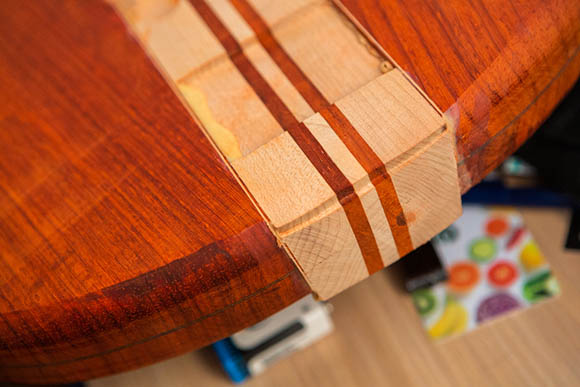
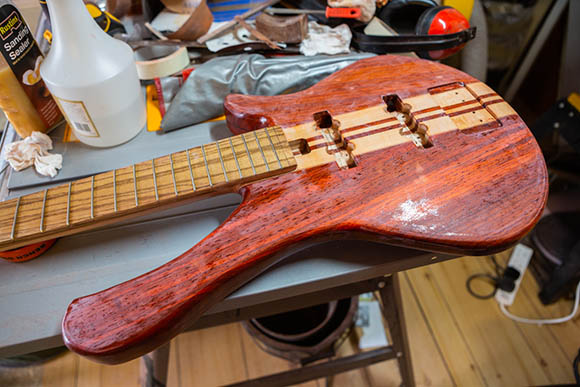
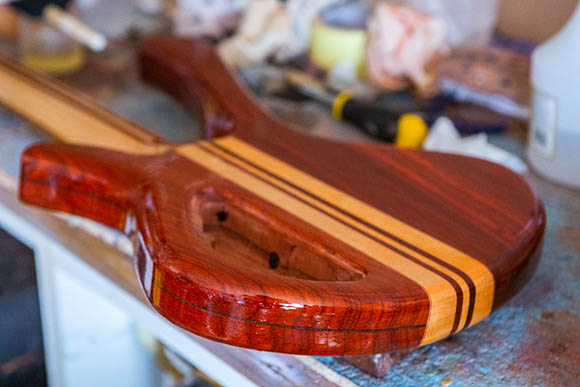
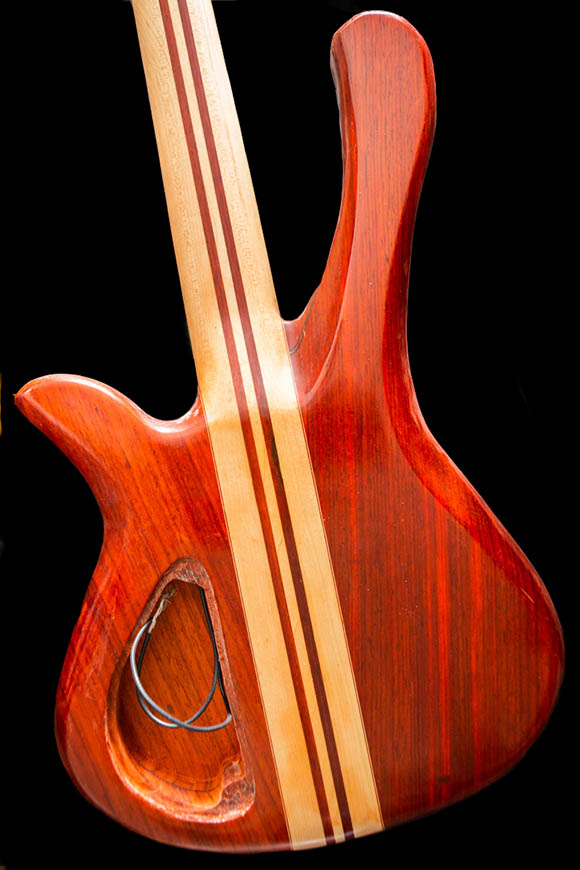
Lots and Titebond glue and lots of clamps are needed to glue the top and bottom planks with the black, Paduak and black veneers sandwiched between them.
I left this over night to set. I then removed the clamps and sanded the sides. |
|
|
|
|
|
|
|
|
|
|
|
|
|
|
|
|
|
|
|
|
|
|
|
|
|
|
|
|
|
|
|
|
|
|
|
|
|
---------- o ---------- |
---------- o ----------
---------- o ----------
---------- o ----------
|