
Page 5: Putting it all together
Page
1.
|
It's been a while since I last worked on Mike's Bass. The time has not been idle, I have been renovating my 7 string bass (Lydia), which is looking fabulous. I have been researching an new Epoxy Grain filler and a newAcrylic laquer that can be brushed on and flatted down. So far, the finnish is looking superb. It won't be long until I start the long and tedious task of finish sanding and laquering (and buffing) Mike's bass! As a friend of mine said "if your arm doesn't hurt, then it's not buffed right!" |
|
Bass 6 Diary Of Construction Page 6: Making it all work Starting with the Tuners.
The problem with a drill bit is that they rarely exit from the rear of the hole cleanly. It's not the top surface that is the issue, but the underside. In extream cases, the rear few millimeters of the rear surface can part ways with the rest of the material, which is usually due to too much pressure exerted on the drill to push through. Even with a fairly clean hole, there's usually damage and chaffing to the area around the exit hole. Although this untidyness is usually covered up by the Machine head's (tuners), it's one of the things that Luthiers look at to assess the quality of a guitar's construction. I use Forsener bits to drill my tuner holes. These are great for cutting clean and accurate holes when mounted in a pillar drill. But even with these, there can can be damage to the hole exit. So they still need to be used with caution. They also leave smooth hole sides and they cut fairly slowly too. They don't generate as much heat so they don't burn the surrounding material and they don't tend to get drawn into the material like other drills. They have a flat bottom (with a spike) which is good for measuring depth and they are extreamly accurate, if a bit slow and tedious. They are also quite expensive compared to normal drills and they tend to ware out quickly too.
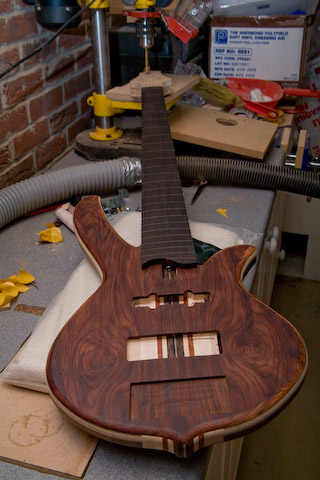
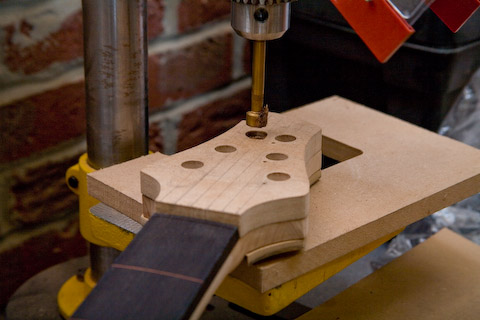
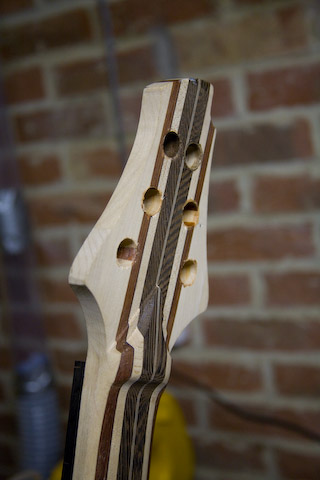
Ready for drilling. A tense moment!
To minimise the risks of tear-out and chaffing, I stick a pre-made template, with exact holes already pre-drilled. This will act as a guide. Forsener bits are great for restarting and stopping, which makes them ideal with a template. On the underside I stick a thinner template with an area cut out to clear the Volute detail on the underside. These templates are fixed using doublesided sticky tape and clamped together to make a tight adhesion. This effectively sandwiches the headstock between two MDF templates. One of the issues with a Forsener bit is that they clog really quicky, so the trick is not to drill too deep and too quickly. Once clogged, they will heat up rapidly and burn. So it's good practise to keep lifting and lowering the bit into the material.
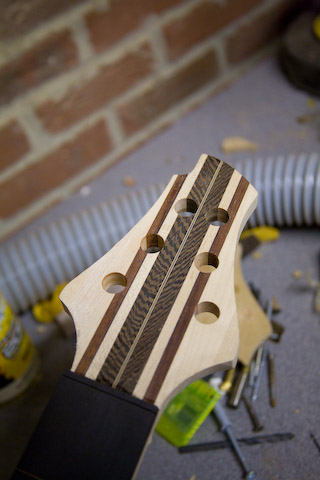
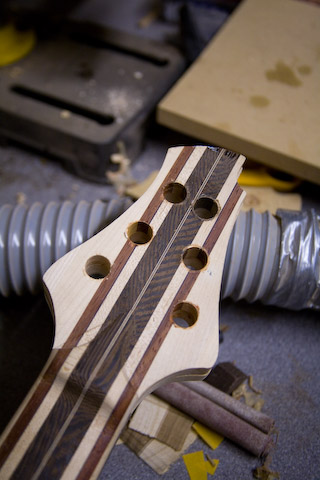
This is the topside. 6 nice clean holes.
The next task is to confirm the Tuner's placement and drill the little guide holes.
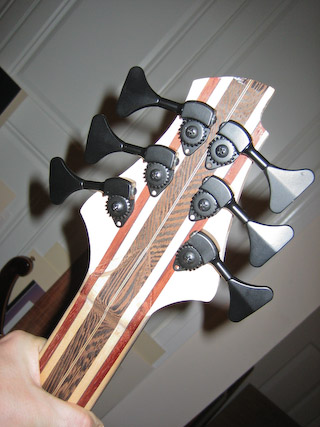
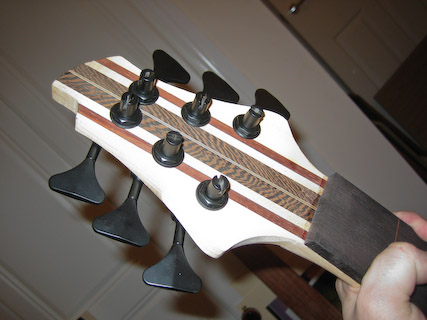
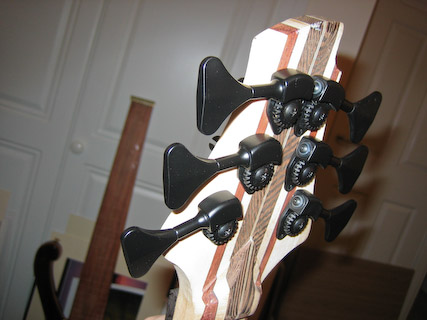
Hmm, swept back tuners look really cool!
|
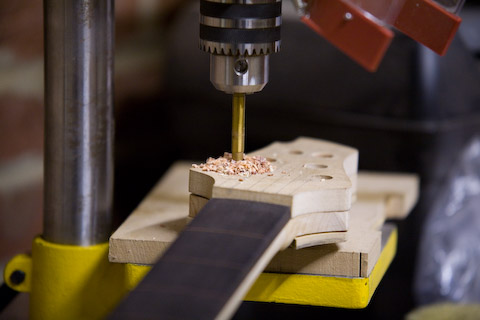
Here you can clearly see the template sandwich and the Forsener bit.
Here you can see the Forsener bit in action.
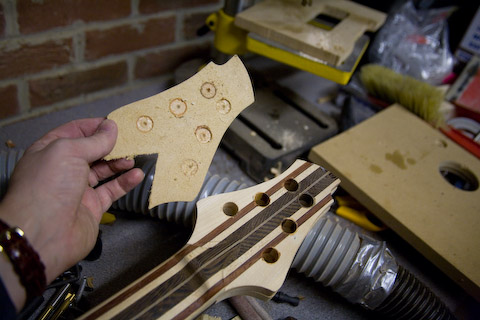
The lower template has done it's job very well.
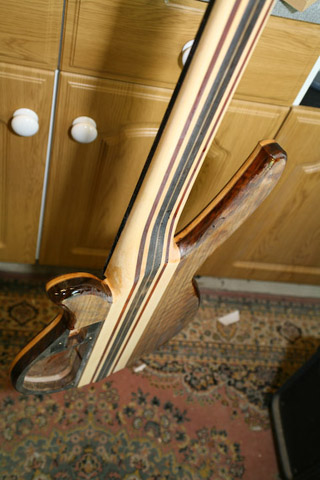
This is the underside, 6 nice clean holes.
The holes are very accurate, perpendicular and very clean. The stuff that looks like chaffing is just sawdust clogging the holes.
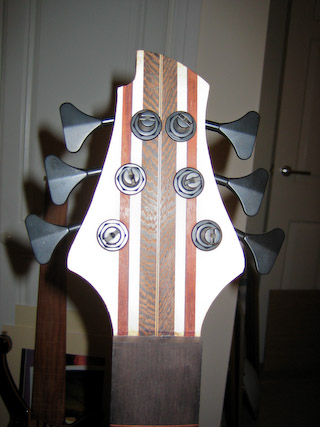
The Tuners are placed to check fitment. It's a nice tight fit. |
|
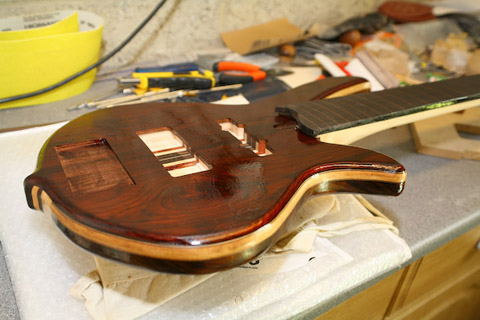
I applied the 3 coats of Epoxy grain filler and Sealer to the underside of the bass. It went on a lot better than the top and I was able to machine sand the surface to a really smooth finish. I'll hand sand the sides and radius edges later. The neck's done too, but I think I'll need another coat of Epoxy. The grain is more exposed much coarser around the neck to body join. The Grain along the neck is quite deep too. It might even need 2 more epoxy coats and then a strong sand-back. Hopefully soon, I get the base sealer to a level that's ready so that I can begin to apply the first few coats of laquer. The sealing and grain filling is a far more important step. Done wrongly and I'll never get a good finish from the laquer. Done right, and it'll speed up the buffing stage. |
Epoxy grain filler has been applied to the cocbolo top. It's such an oily wood, the epoxy blobs and streaks and won't level as it dries. This means that I have to sand it right back to the wood, but still leaving the pores of the wood filled. I recon I'll need to apply several coats to get a level surface and one last coat as my base sealer coat.
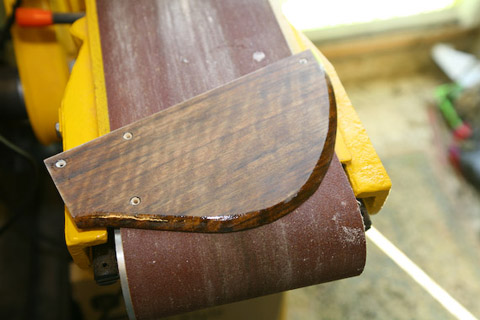
This is the control cavity cover. I have applied 2 coats of the Epoxy sealer and once it had cured for a few days I flattened the top surface using various grades of wet and dry papers (wet), I'll leave the sides till later. |
Page 1.